• Blog
  • About
  • Shop Our Instagram
  • Weekly Newsletter
  • Contact
  • HOUSE + HOME
    • All House + Home
    • Mudroom
    • Kitchen
    • Dining Room
    • Living Room
    • Bedroom
    • Kids Bedrooms
    • Family and Playroom
    • Office
    • Outdoor Living
    • Woodworking
  • LIFE + STYLE
    • All Life + Style
    • Entertaining
      • Tablescapes
      • Birthday Parties
    • Seasons
      • Spring
      • Summer
      • Fall
      • Winter
    • Holidays
      • Valentine’s Day
      • Easter
      • Thanksgiving
      • Halloween
      • Christmas
  • FOOD + DRINK
    • All Food + Drink
    • Appetizers
    • Drinks
    • Breakfast
    • Dinner
    • Dessert
    • Seasonal
      • Easter Recipes
      • Fall Recipes
      • Halloween Recipes
      • Christmas Recipes
  • Shop
    • Our Home
      • Kitchen
      • Living and Dining Room
      • Powder Room
      • Zoe’s Bedroom
      • Ella’s Nursery
      • Family Room and Playroom
      • Outdoor Living
    • Window Shades
    • Paint Colors
    • Nick’s Workshop

Nick + Alicia

Lifestyle

January 3, 2015 | by Nick

DIY Rustic Candle Tray

DIY Rustic Candle Tray

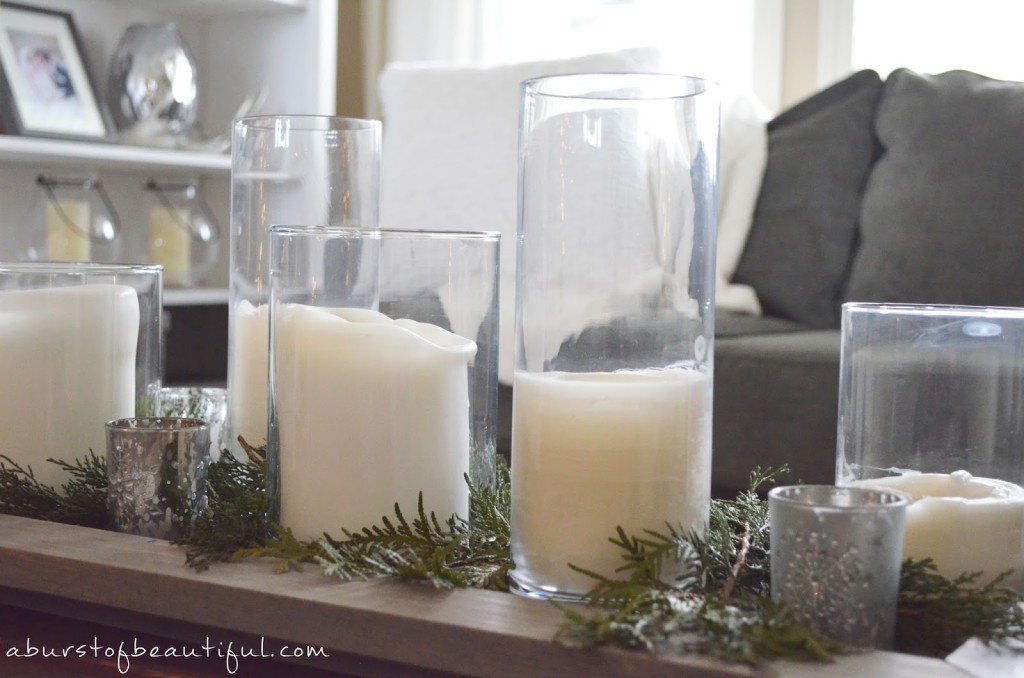
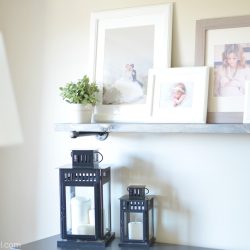
We had seen a “Reflection Centrepiece” that we liked at Crate & Barrel not too long ago. It retailed for $179, which was a little more than we wanted to spend. So when we got home, I decided I could make a similar piece for Alicia. It was so easy and inexpensive to make that I actually made two – a grey one for a rustic look, and a black one for a more formal look. Alicia interchanges these based on her current decorating tastes. It’s a great starting point for a centrepiece, just add in different elements based on the season.

SHOPPING LIST:

  • 1 – 1″ x 12″ x 36″ pine board
  • 1 – 1″ x 3″ x 8′ pine board
  • Minwax Classic Gray 271 (or any colour)

STEPS:

  1. Cut the 1″ x 3″ x 8′ board into the following lengths with 45 degree angles on each end.  Keep in mind the outside corners of the boards are the measurements, not the inside corners (see diagram above).
    • 34.5″ x2
    • 13.5″ x2
  2. Cut the 1″ x 12″ x 36″ board down to 32″ length.
  3. Lay the 4 pieces of the frame out on the floor making sure that each corner is square.
  4. Place the 1″ x 12″ x 32″ board on top, keeping it centred on all sides.
  5. Using a nail gun and compressor, attach the board to the frame pieces using 1 1/4″ finishing nails.
  6. Sand down all edges using a 120 grit sandpaper.  Feel free to distress the piece using a hammer and any other objects that will create some rustic looking marks.
  7. Apply a coat of stain to the top and sides using a foam brush or paper towels.  You can leave the very bottom of the piece unstained if you want.  Wipe off the excess stain and let it fully dry.
  8. You can apply a coat of polyurethane if you will be placing anything on the tray that could damage it, or you can leave it as is.
  9. Apply 4 felt pads to the bottom to protect the surface you will be putting this on from possible scratches (plus it makes it easier to move around).DIY Rustic Candle Tray

YOU MAY ALSO LIKE...

  • DIY Rustic Industrial Shelf
  • DIY Perfect Chalkboard Lettering
  • DIY Rustic Chalkboard

Leave a Reply Cancel reply

Your email address will not be published. Required fields are marked *

A place to find design inspiration, entertaining ideas and simple recipes. Take a few minutes to learn more about us, shop our favourite things and sign up for our weekly newsletter.

JOIN OUR NEWSLETTER

We're welcoming February with a round-up of our fa We're welcoming February with a round-up of our favourite pieces to refresh your home for spring (swipe to see what made the top of our list). We know it's still quite a few weeks away, but that doesn't mean you can't embrace the shifting of seasons a little early. 😉Follow our shop @nick.and.alicia on the @shop.LTK app to shop this post and get our exclusive app-only content! https://liketk.it/3xbcz
Decorating our girls' bedrooms for Christmas is on Decorating our girls' bedrooms for Christmas is one of our favourite holiday traditions. It's always exciting to bring out all of their holiday decor and look through the pieces they may have forgotten about over the year.They look forward to decorating their own miniature trees with the special ornaments they've collected and adding a few festive touches, like this DIY wooden house and bottle brush trees. Swipe through to see all of the details...Follow our shop @nick.and.alicia on the @shop.LTK app to shop this post and get our exclusive app-only content! https://liketk.it/3tYAr
This week we're sharing a glimpse into our home al This week we're sharing a glimpse into our home all dressed up for the season. It feels cozy, inviting, and classic, and we can't wait to share it with you! ⁣ ⁣ Follow our shop @nick.and.alicia on the @shop.LTK app to shop this post and get my exclusive app-only content!⁣ https://liketk.it/3tVpl
We're sharing our favourite holiday wrapping essen We're sharing our favourite holiday wrapping essentials on the blog today. And while I've got everything I need to create beautiful gifts for under the tree, I still need to finish our Christmas shopping. 😳⁣ ⁣ Have you started your holiday shopping yet? ⁣ ⁣ Follow our shop @nick.and.alicia on the @shop.LTK app to shop this post and get our exclusive app-only content!⁣ http://liketk.it/3sWRM⁣ ⁣ #
We decorated our front porch this week just before We decorated our front porch this week just before the first snow of the season. ❄ Cedar and pine garland, a fresh pine wreath, and a prelit faux tree create a simple and festive look to welcome guests into our home this season. ⁣ ⁣ Yesterday we shared our favourite ways to decorate with holiday greenery on our blog, nickandalicia.com. Visit the link in our profile to read the post and follow our shop @nick.and.alicia on the @shop.LTK app to shop this post and get my exclusive app-only content!⁣ ⁣ http://liketk.it/3sFs4
Alright, I know it's early, but it's true...the go Alright, I know it's early, but it's true...the good stuff always sells out so quickly! So today we are sharing the holiday decor essentials we're stocking up on!Tip: Order your greenery now because it's usually the first to go! 🌲Follow our shop @nick.and.alicia on the @shop.LTK app to shop this post and get our exclusive app-only content! #liketkit #LTKGiftGuide #LTKHoliday #LTKhome@shop.ltk http://liketk.it/3pMcr
Am I the only one that feels like our home is neve Am I the only one that feels like our home is never really finished, even after a big renovation? 🙋🏻‍♀️We shared our finished renovation a few months ago but we knew there would still be additions to make in the weeks and months ahead. I've added a few new pieces of decor and we installed a custom roman shade, but the biggest change we made was replacing our kitchen appliances. It's a big investment, but one that is worth it.We partnered with our friends at @frigidairecanada to update our existing appliances and today we are sharing all about it, from why we chose @frigidairecanada appliances again to the favourite features we're swooning over.

Join our Newsletter

Copyright ©2022 Nick + Alicia
  • Contact
  • POLICIES + DISCLOSURE