Gallery walls are a great way to infuse interest and personality to any space. Learn how to create a curated gallery wall to display your favourite photos or art with these easy ideas.
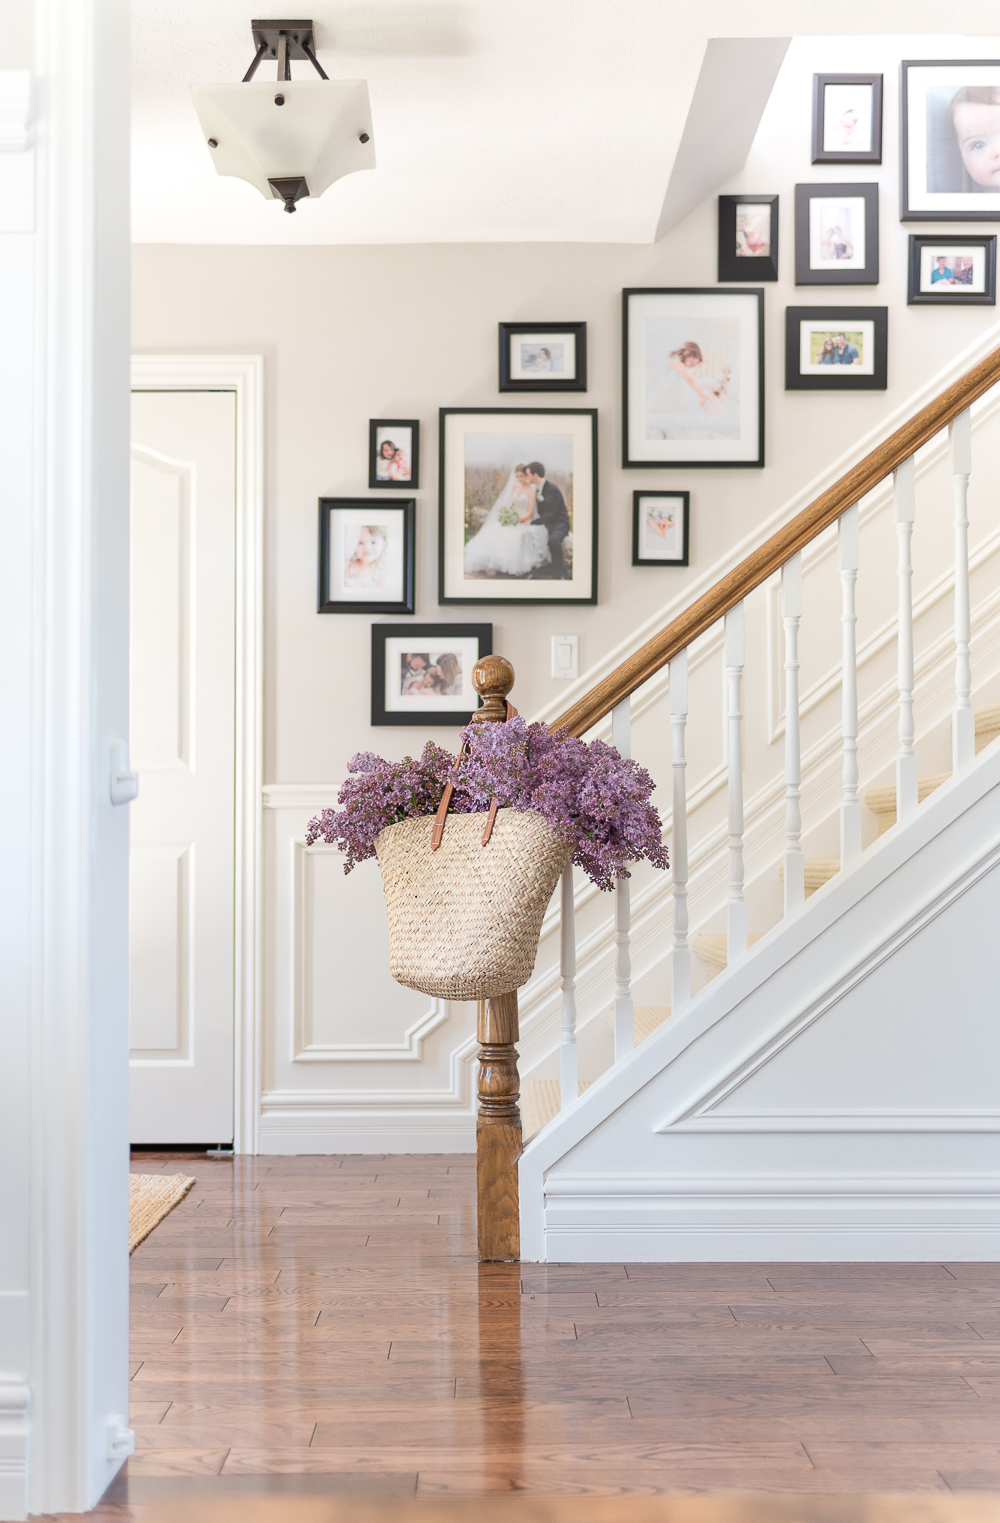
Gallery walls are a popular choice for displaying art, and for good reason. With a little thought, you can create a polished and sophisticated collection of art in your home. It’s an easy and inexpensive way to create a big visual impact, all you need is a collection of art and picture frames, a blank wall and a few hours of your time.
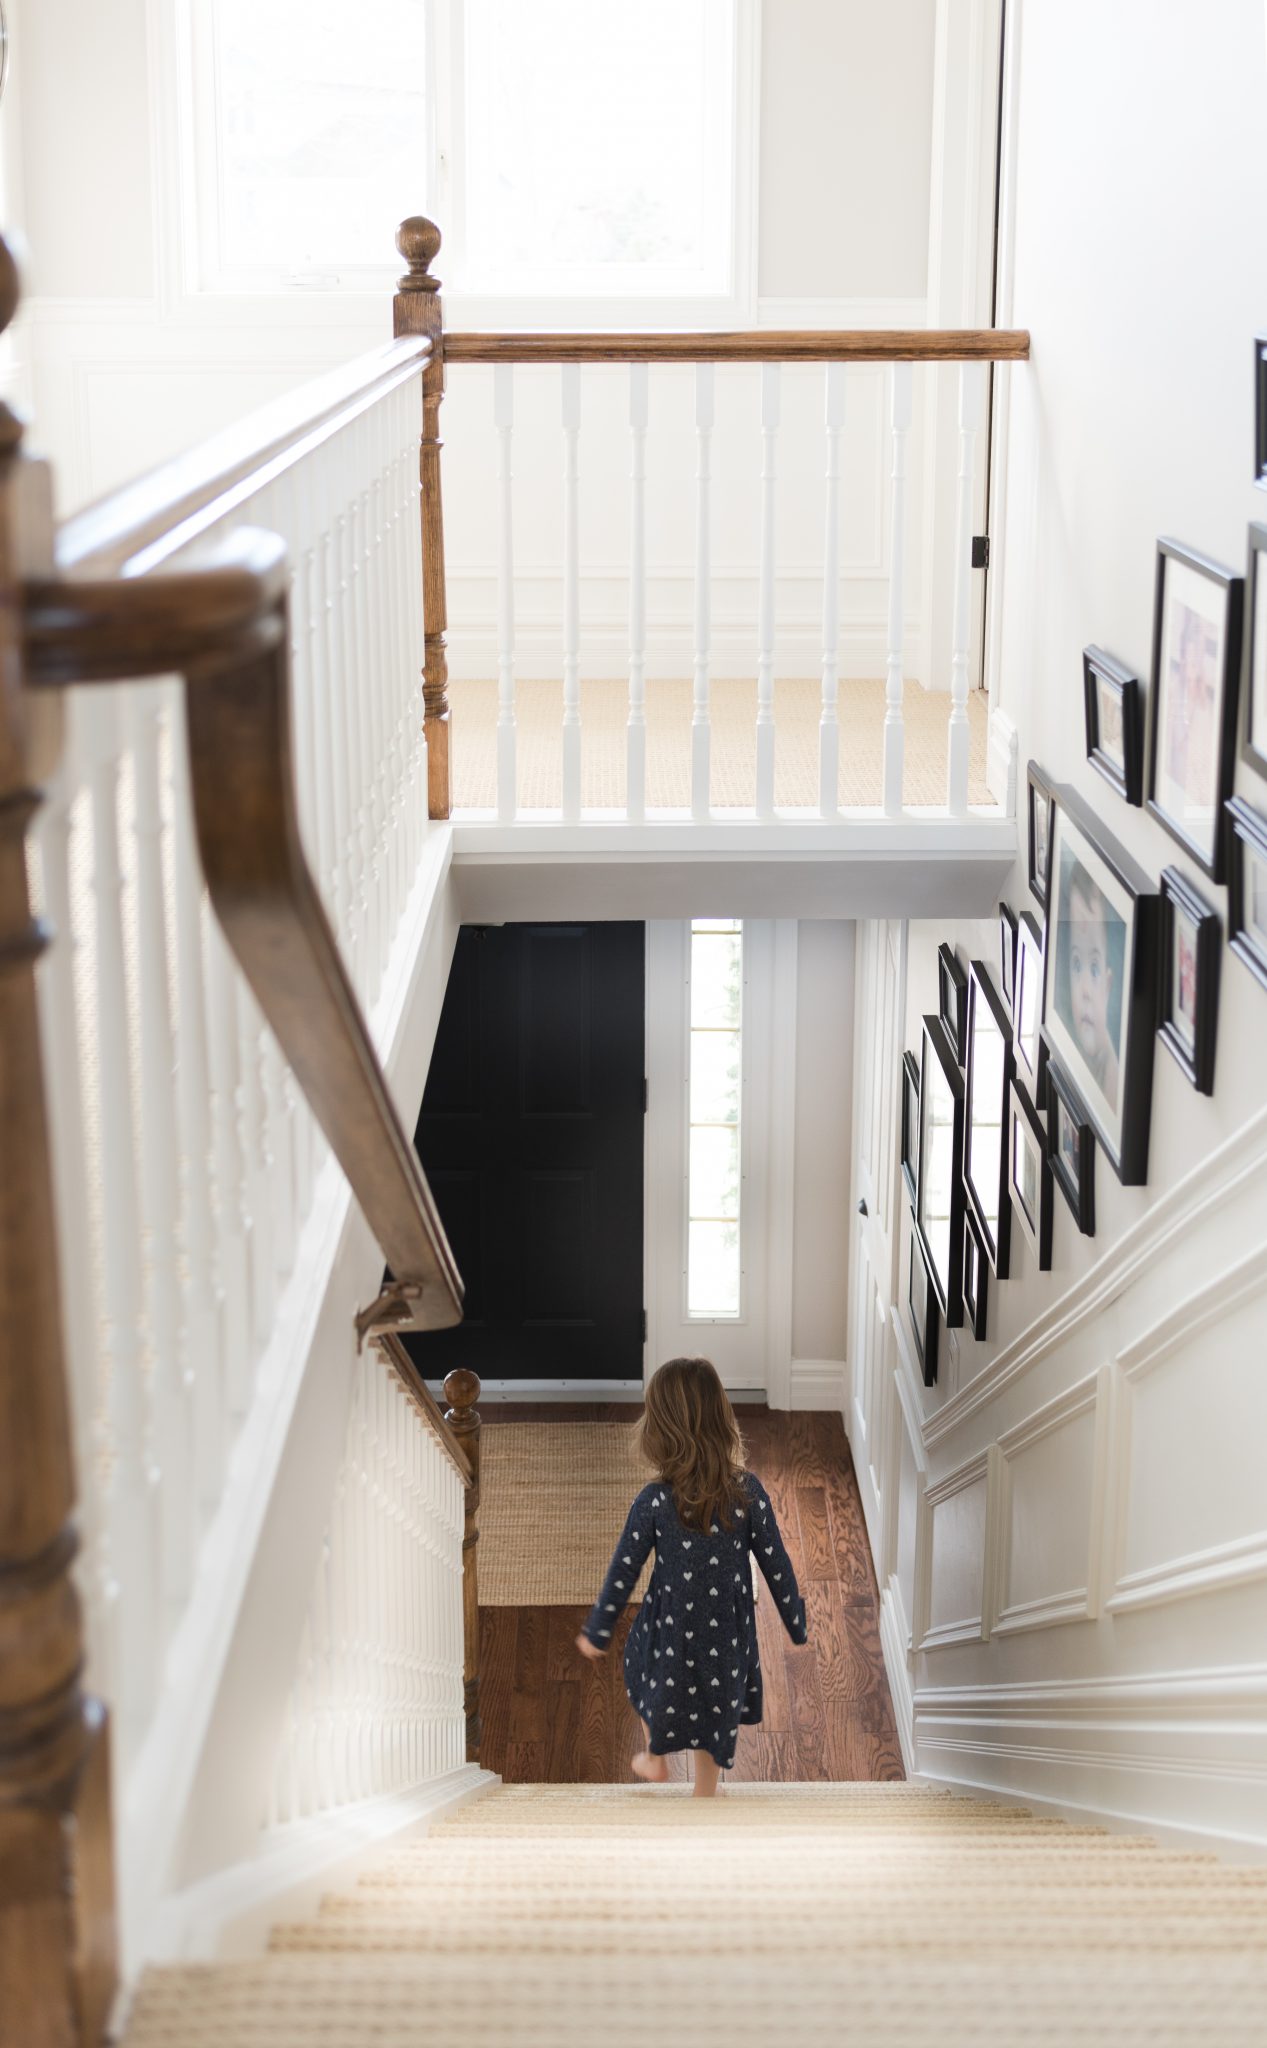
Our gallery wall is one of the first projects we tackled in our house, and it’s still one of my favourites. We used the blank space in our stairwell to create a large collection of our family photos. It’s a big statement that always attracts the attention of our guests, who love to peek at some of our favourite memories and learn the stories behind the photos.
We also added a layered gallery wall in our living room, but after making a few changes to the space we replaced it with our DIY craftsman style fireplace and hidden TV.
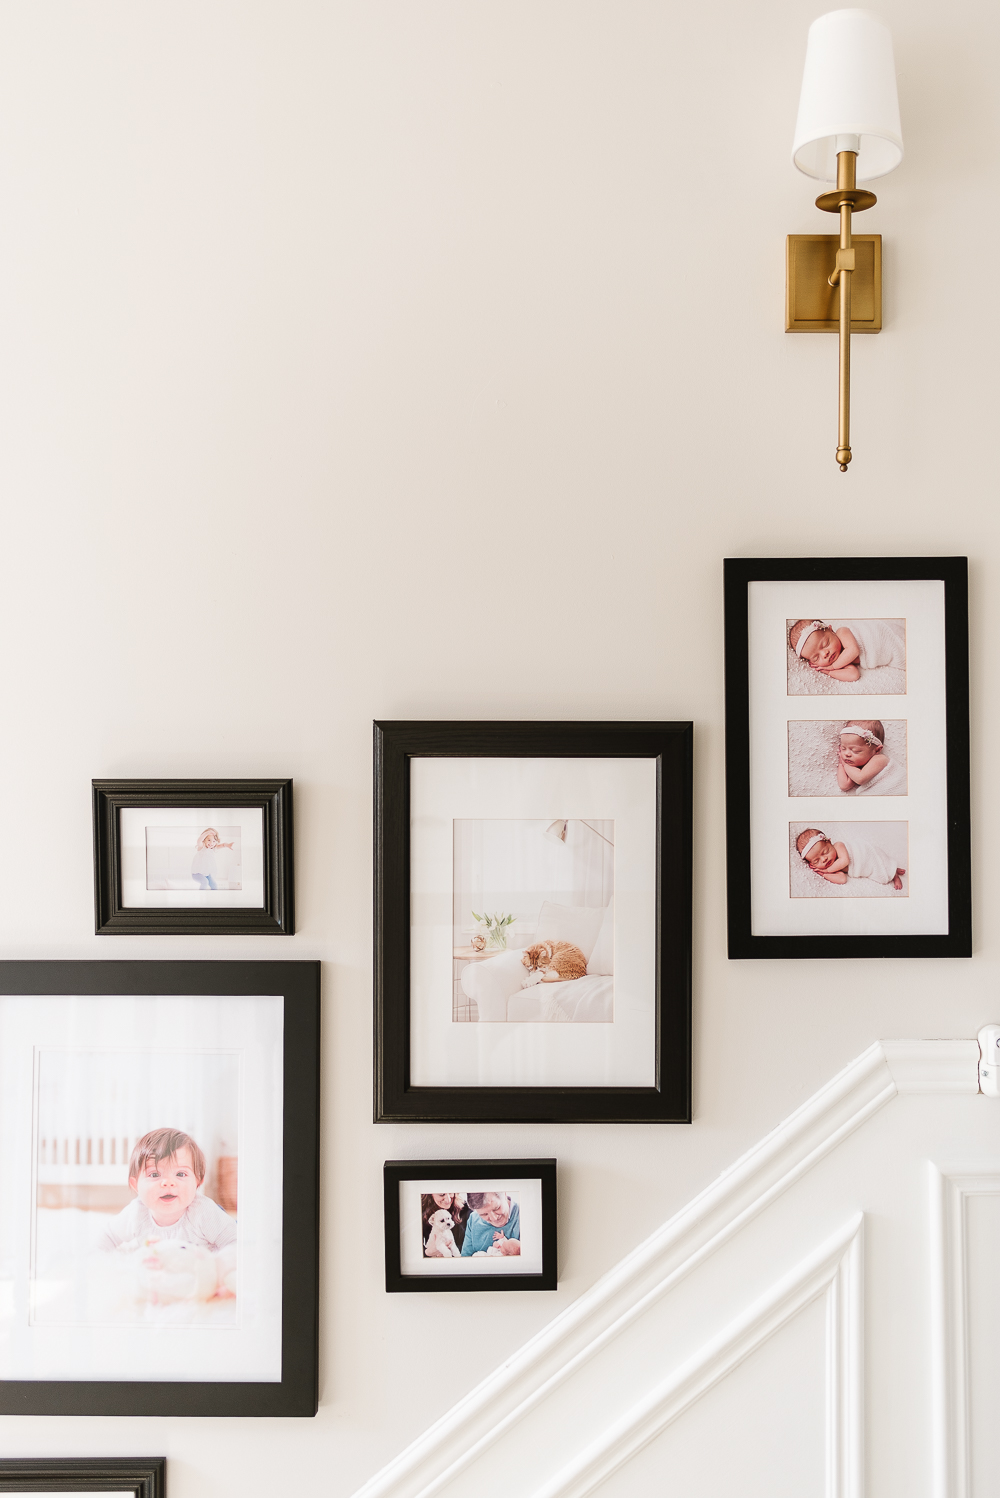
When it comes to creating a gallery wall, there are a few ideas and steps you can follow to achieve a perfectly curated collection of art. So we thought we’d share our advice…
How to Create A Gallery Wall
Choose Art
Start by collecting a selection of art for your gallery wall, or maybe you already have a collection tucked away. Deciding what type of art and determining a common theme is the starting point for any gallery wall.
We decided to use our gallery wall as a way to display our favourite family photographs in one dedicated space in our home. But there are so many different types of art you could include, so remember to be creative and think outside of the box.
- Family photographs
- Kids art projects
- Fine art prints or paintings
- Sculptural pieces (baskets, hanging plants, etc.)
- Heirloom pieces (framed jewellery, menu, material, etc.)
Choose pieces that bring you joy or remind you of people, places or moments from your past. Your gallery wall should be a reflection of your personality and life.
Create Consistency With Frames
Once you’ve decided on the art you want to display you need to think about frames. Choose frames in a similar colour and finish for a cohesive look, or use a mix of different styles for an eclectic feel. You’ll also want to consider size, using frames of different sizes will create visual interest. One or two large pieces (these can be actual large-scale art pieces or small art pieces that are framed in oversized frames) are needed to anchor the gallery wall.
We opted to use a collection of black frames to create a feeling of consistency. I also like to use frames with matting or have custom mats made, I find it helps to ground the photos and create a bit of breathing room.
Plan A Layout
Before you start hanging frames on the wall, you’ll want to play around with the layout to make sure you get it right. If you have space, lay the frames on the floor in front of the wall to get an idea of the arrangement. You can also create templates for each frame by tracing them on kraft paper. Use painter’s tape to attach the templates to the wall and create a layout you’re happy with.
It will take a little bit of finessing to get it just right, so don’t be discouraged. Take your time and create a layout that works with the space, not against it.
Time To Hang
Now that you’ve created a layout you love, it’s time to pick up that hammer. We suggest starting with the largest piece, that should be near the center and working outwards. Remember to keep about 2 to 3 inches of space between your frames to create visual space, otherwise, your gallery wall will look and feel busy.
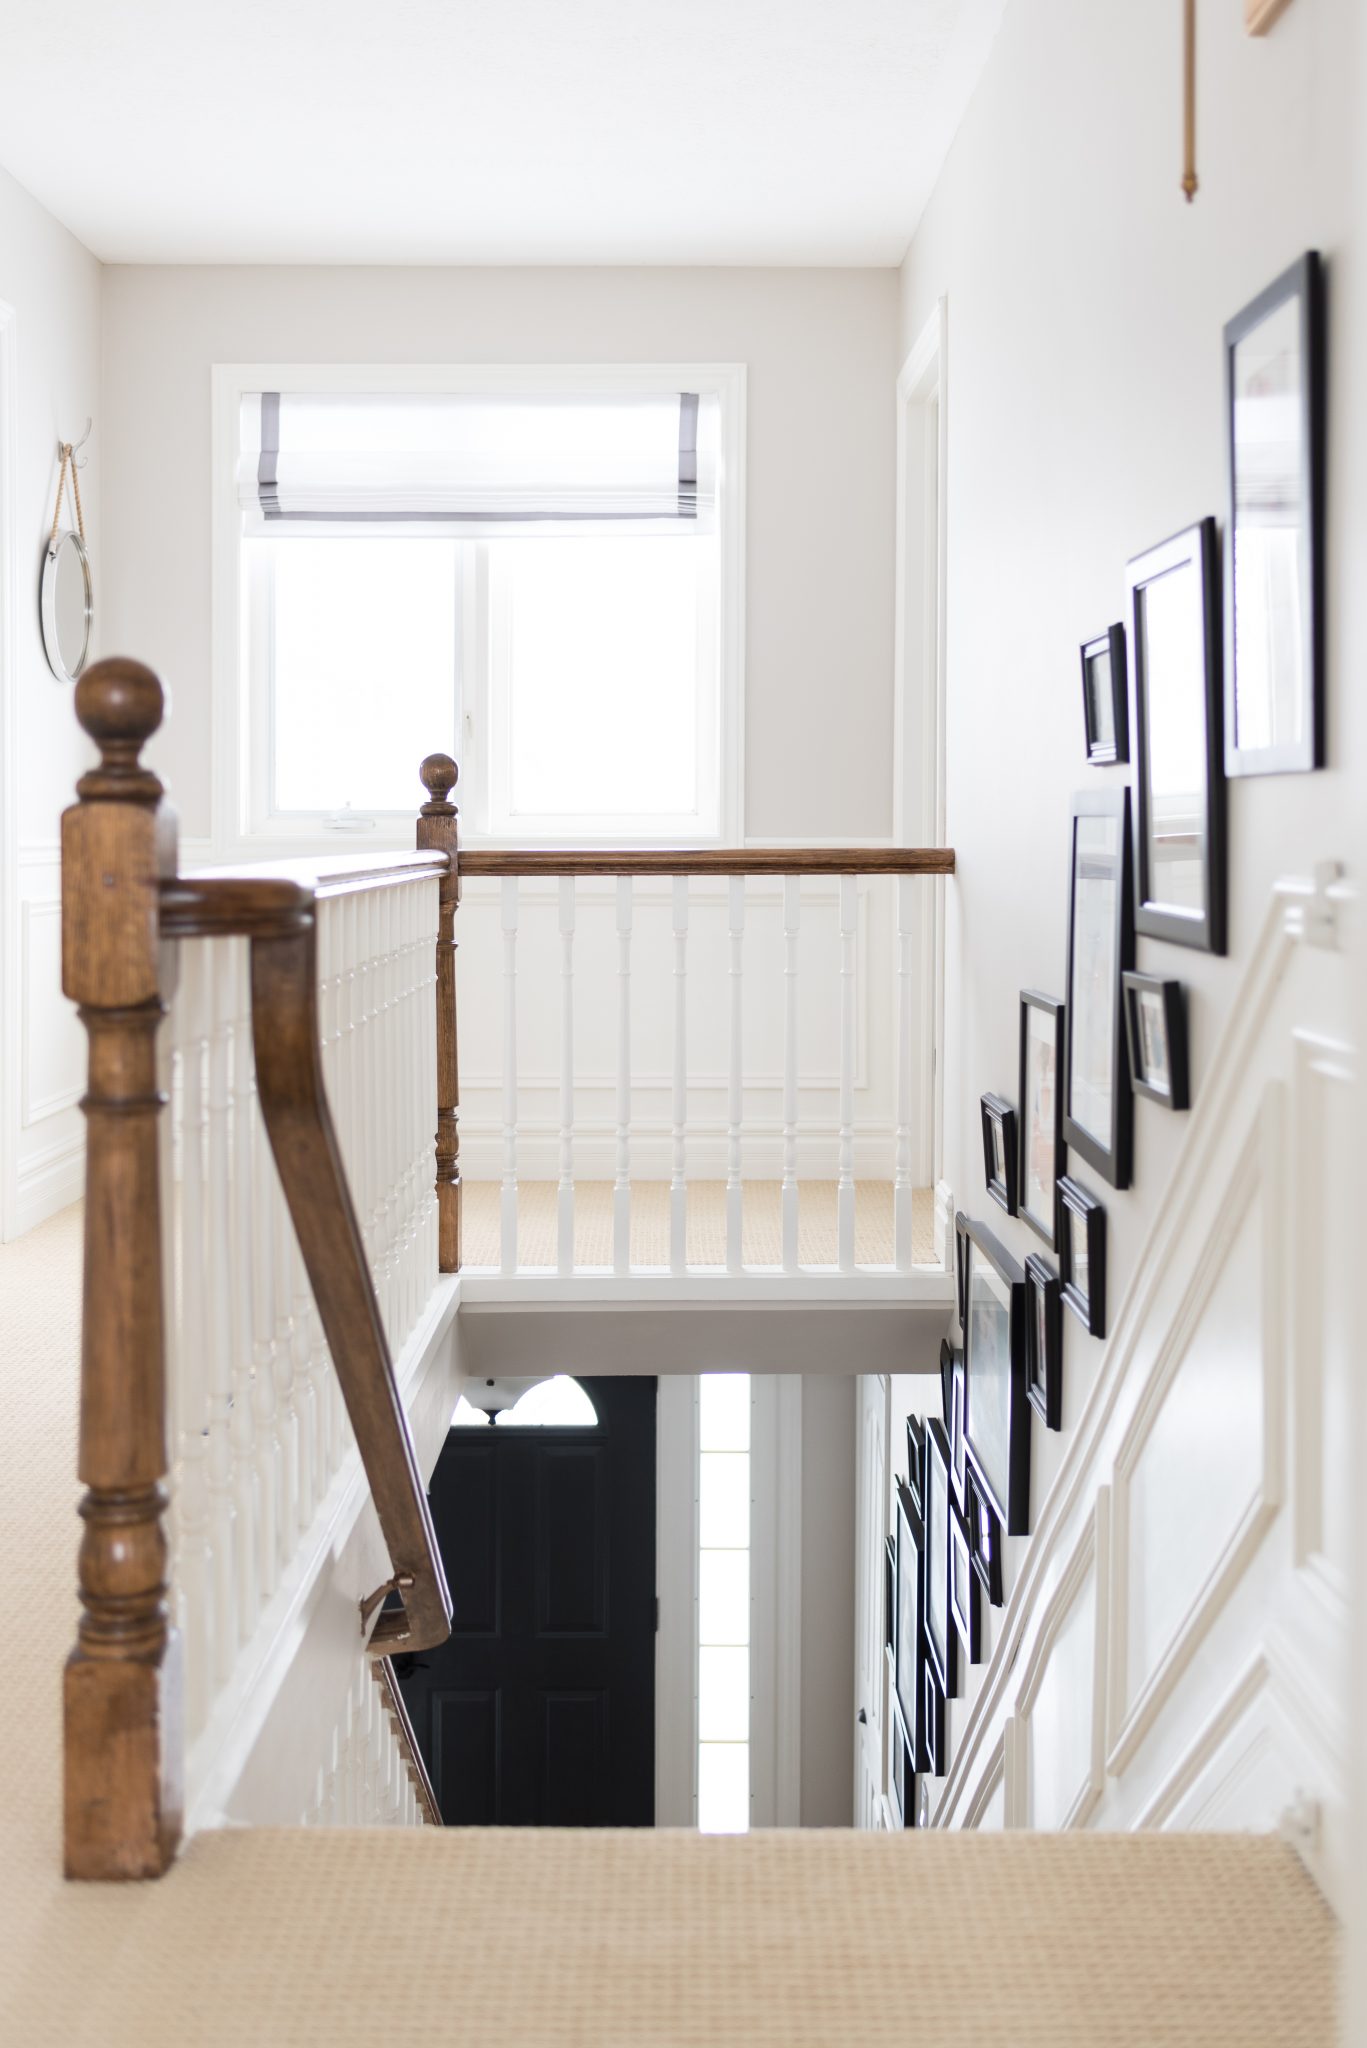
We get a lot of questions about the number and dimensions of frames in our staircase gallery wall, so I included a helpful guide with this information if you’re interested in creating a similar look.
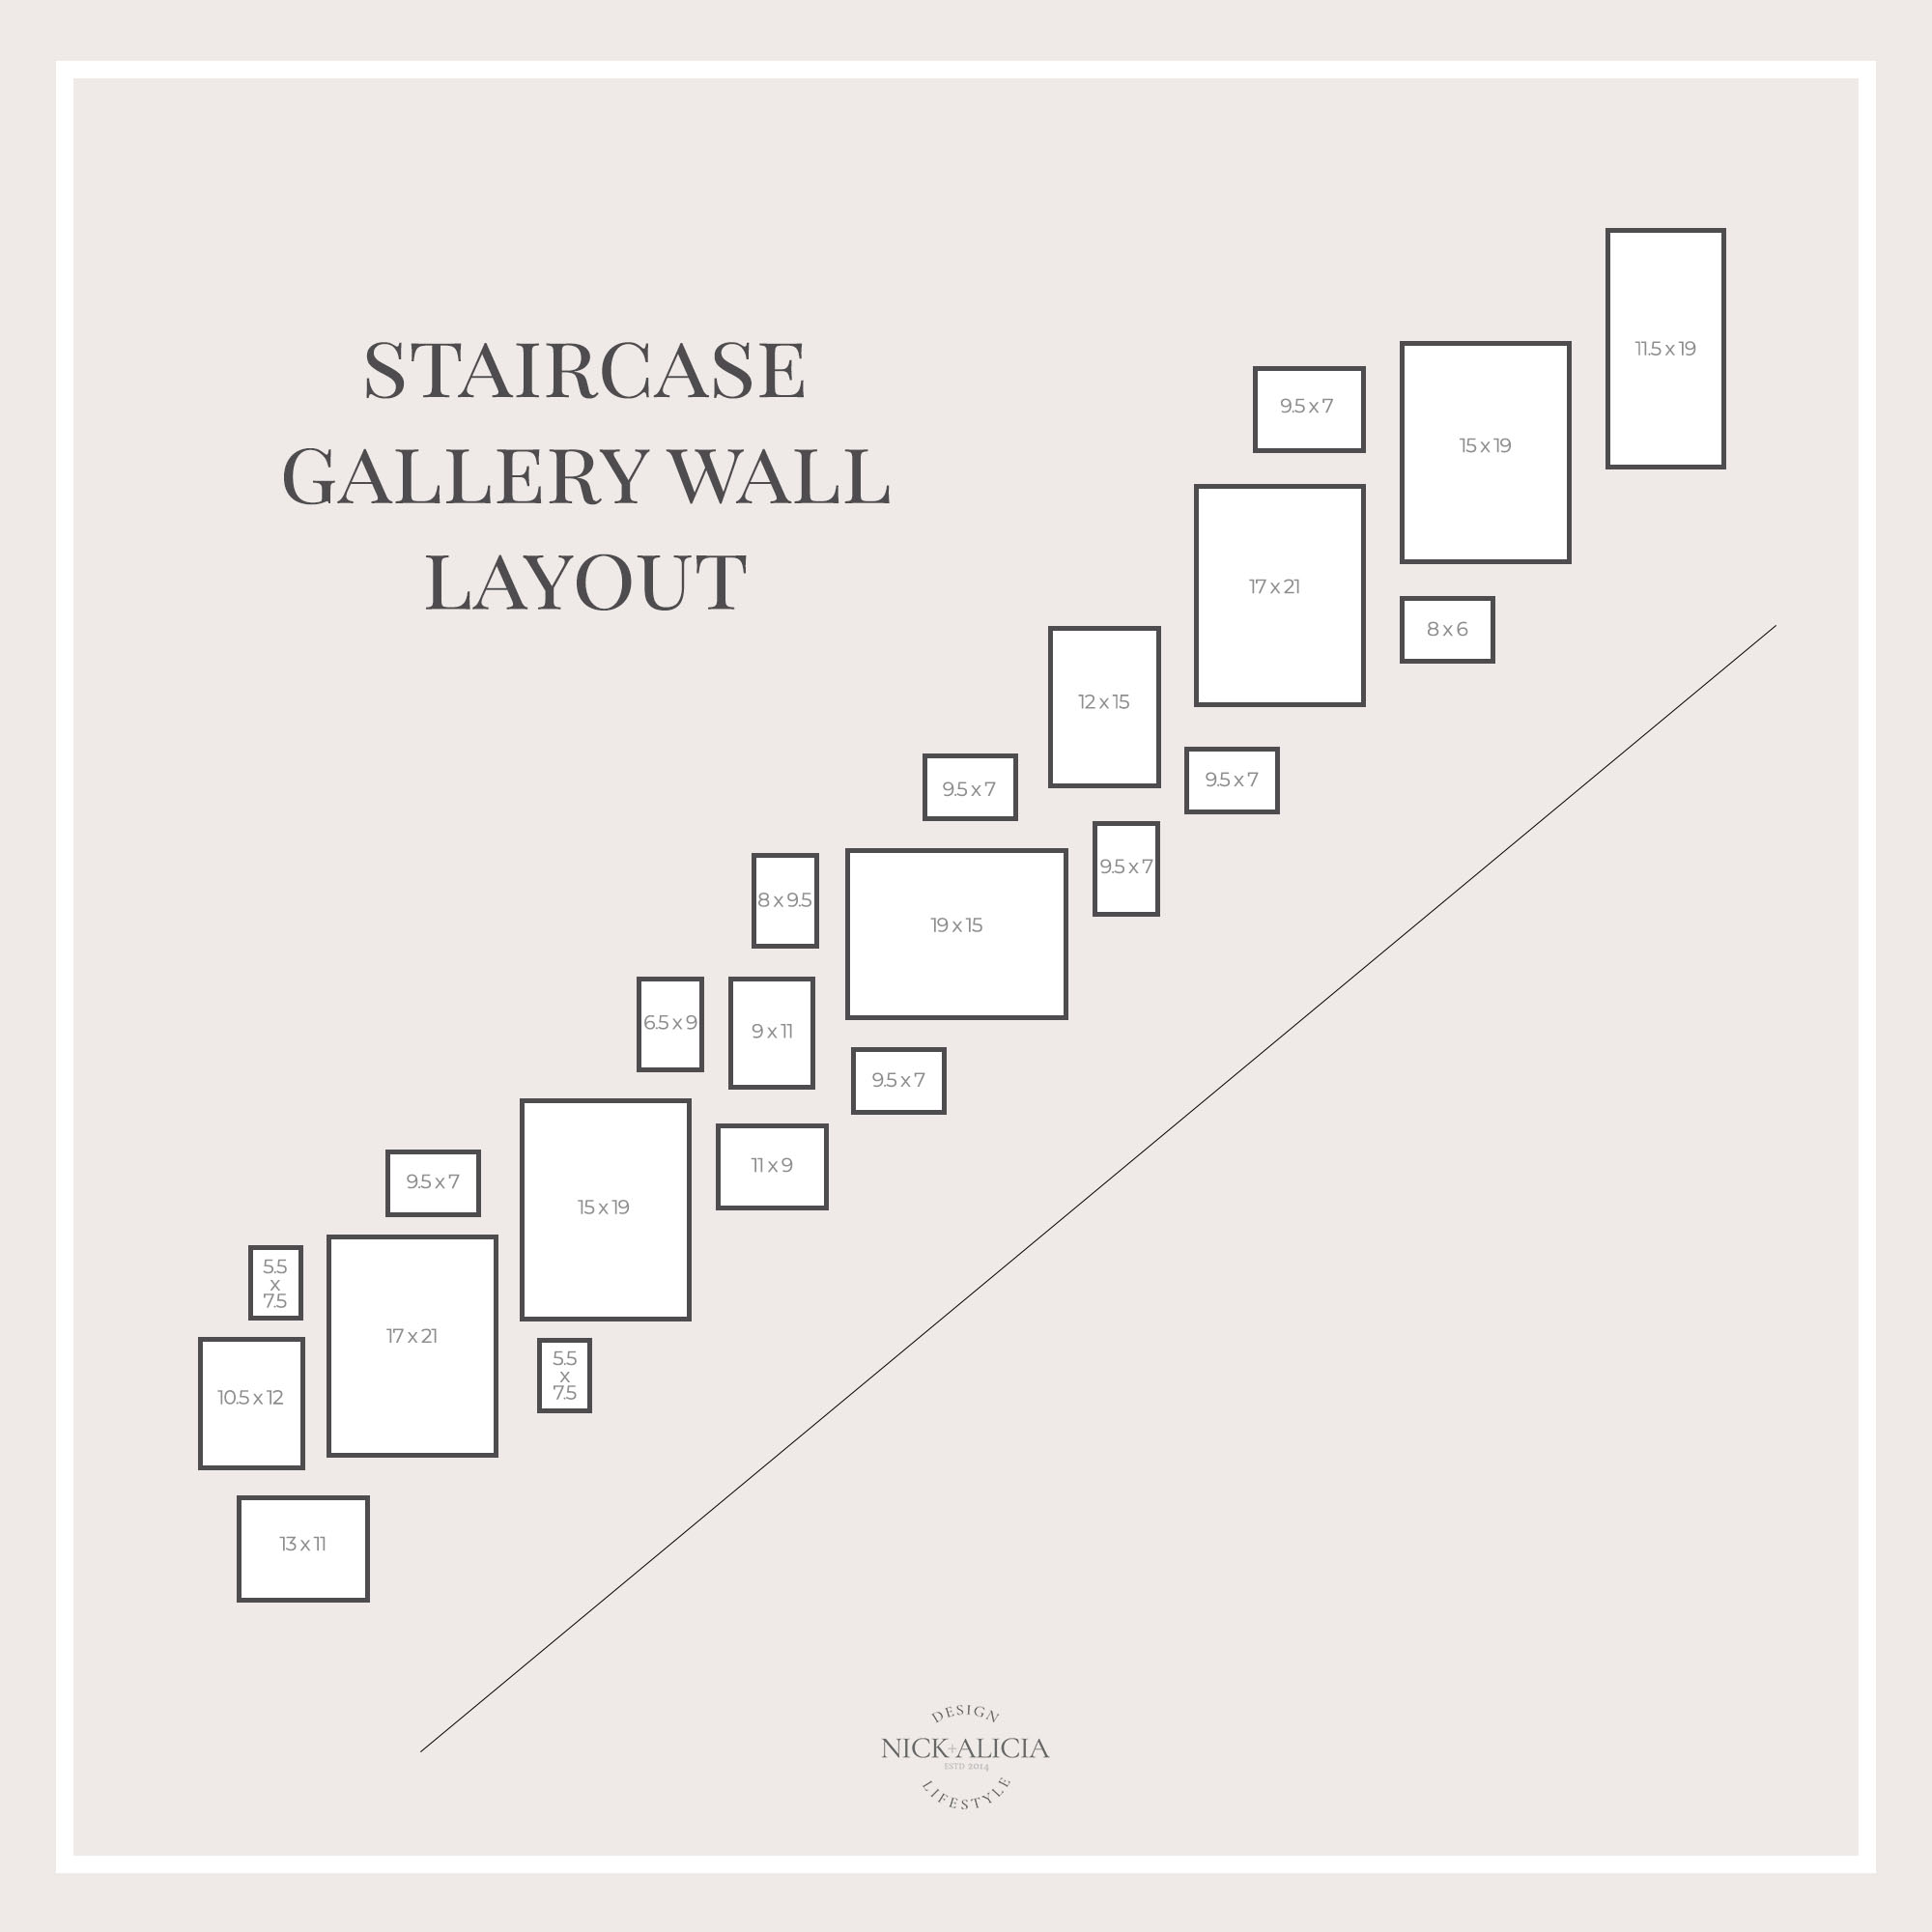
Don’t get too caught up with “the rules”, instead enjoy the process of putting together a collection of photos and art that tell a story. And remember to make changes and additions in the months and years to come to keep your gallery wall feeling fresh. If you’re looking for even more inspiration take a look at our Pinterest board where I’ve pinned some of my favourite artwork and gallery walls.



Sarika says
Hi love your page. Can you please tell me if measurements are in cms or inches? Thanks
Nick says
Hi Sarika, the measurements are in inches!
Saraya R. says
This is awesome! I actually used your layout to plan out our gallery wall. However, I’m having trouble finding frames of these sizes. Where do you find 9.5 x 7 frames? Or are these custom frames?
Alicia says
Hi Saraya, I’m so glad you found our layout for the gallery wall helpful! The frames are from Ikea, however, we bought them a few years ago so I’m wondering if they are still available. If you can’t find that size, I would just add frames that were close to the dimensions we used. It will still turn out beautifully! 🙂
Erin Marie says
Hi! Did you get all of these frames from Ikea?
Alicia says
The majority of them came from Ikea, but a few of the small frames we already had on hand.
Oona says
Thank you so much for your really useful guide, your gallery wall looks amazing. In your layout, are the measurements for the entire frame from edge to edge, or are they the measurements for the photos that go in them?
Alicia says
Hi Oona, thank you for your kind message! These measurements are for the frames, not the photos, I hope that helps!