
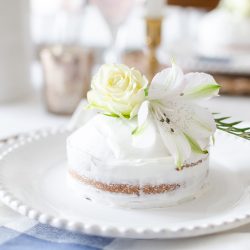
I think there is something so special about Naked Cakes. They are dainty, beautiful and whimsical. I’ve been admiring them from afar for quite some time now, and this fall I finally decided to attempt my own seasonal themed Fall Naked Cake.
I was a little intimidated in the beginning as baking is not one of my strengths (it is definitely my husband’s forte). But I pushed past my reluctance, rolled up my sleeves and started baking.
It truly was one of the easiest baking projects I’ve attempted. I used a simple box mix and store-bought icing. I know it’s kind of cheating, but I wanted this to be as easy as possible. If you’re a whiz in the kitchen you can certainly use your own favourite cake recipe instead. Next time I will bake my cake from scratch.
Another reason I avoid baking is because I am a perfectionist. If I’m going to bake a cake or cupcakes, I want them to look as if they came from the finest bakery around. And I know that won’t happen. Icing cakes can be a difficult skill to master, not to mention extremely time consuming, but with a Naked Cake you don’t have to worry about perfection. They should have a more organic and natural feel to them. It is all about being creative and having fun with the process.
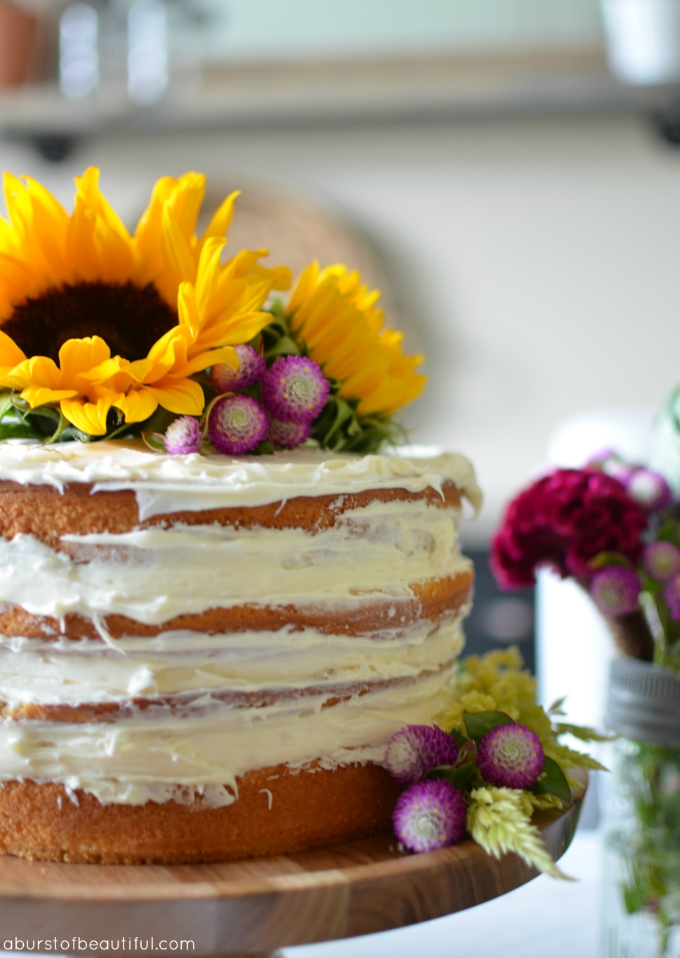
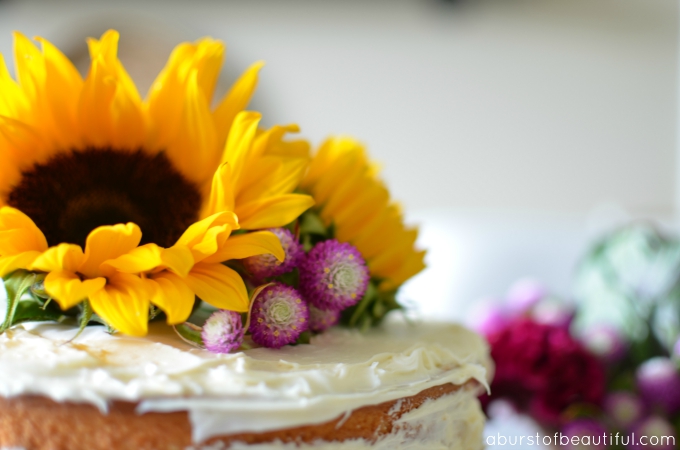
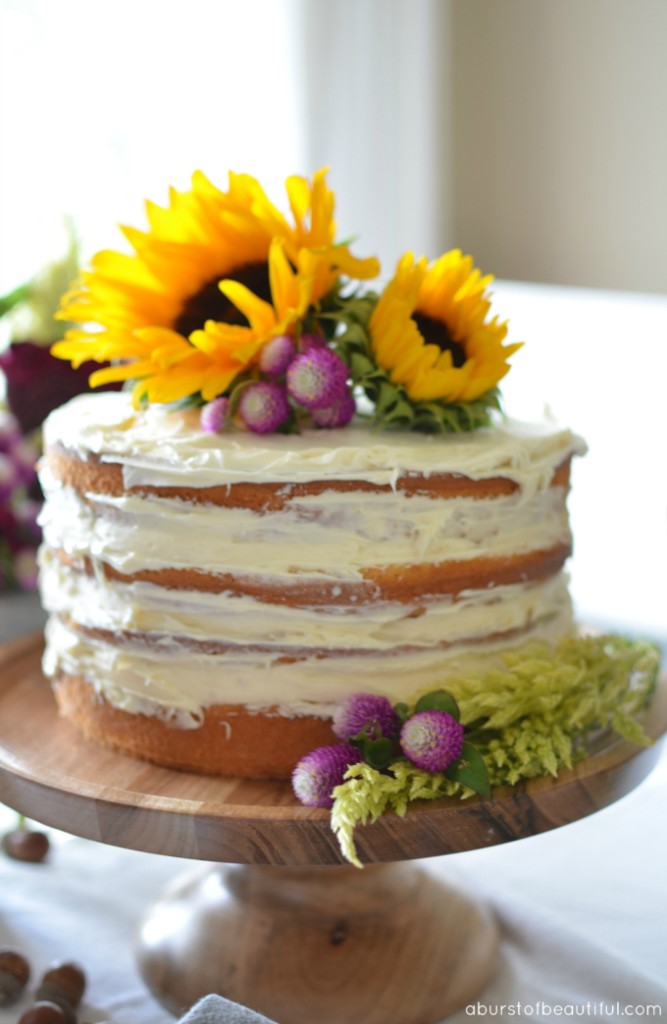
And the best part of a Naked Cake is the finishing touch. I picked up a beautiful bouquet with a variety of fall flowers from our local grocery store that I knew would be perfect for accenting the cake. You want to garnish your cake with a mix of florals, herbs or foliage that are going to really pop and stand out to give you that show-stopping dessert.
Fall Naked Cake
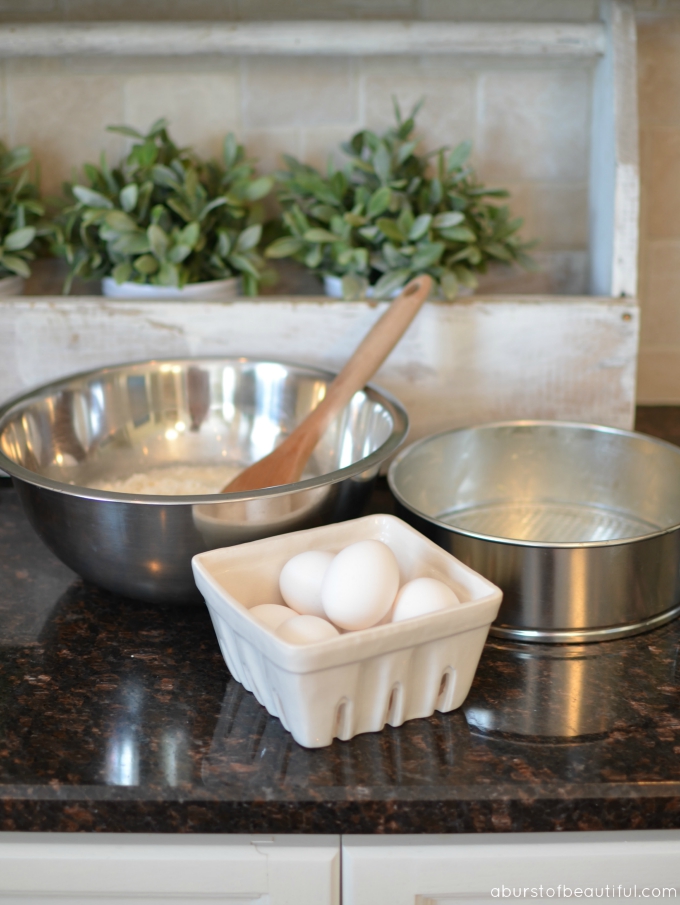
Supplies:
- 2 boxes of cake mix (or your favourite cake recipe)
- 2 containers of frosting
- 2 3 x 9 spring-form cake pans
- Cake stand
- Parchment paper (or floral tape)
- Seasonal blooms
Instructions:
Prepare two cakes as per box instructions (in 3 x 9 spring-form cake pans) and allow to cool on a wire cooling rack.
Once the cakes have cooled it’s time to start cutting. If the cakes did not bake evenly you will need to slice the tops off to create a flat surface. Next, carefully slice each cake in half length-wise.
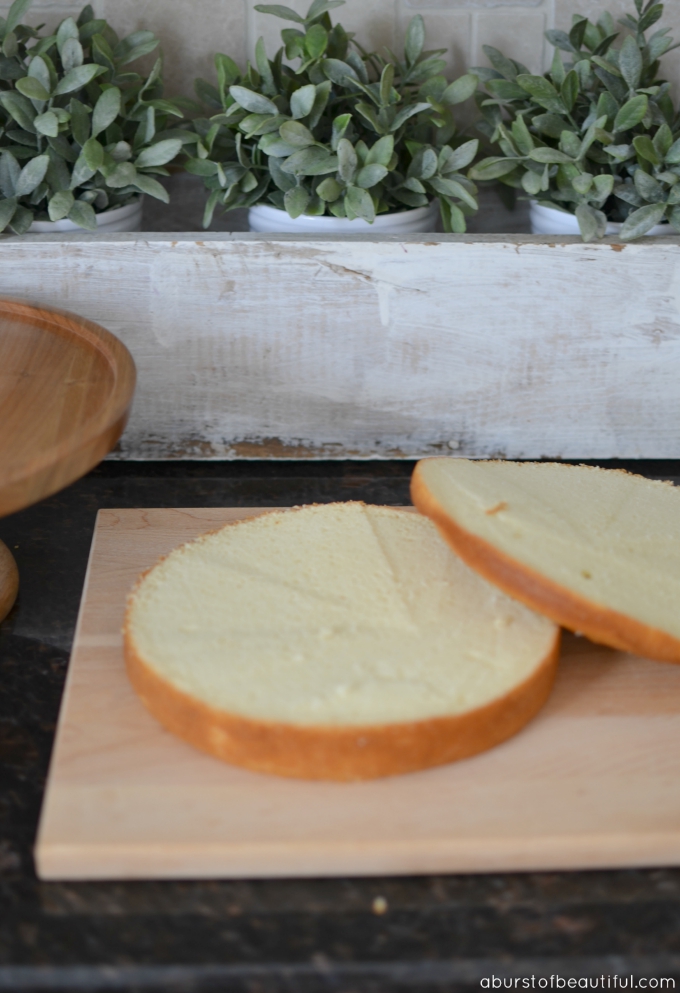
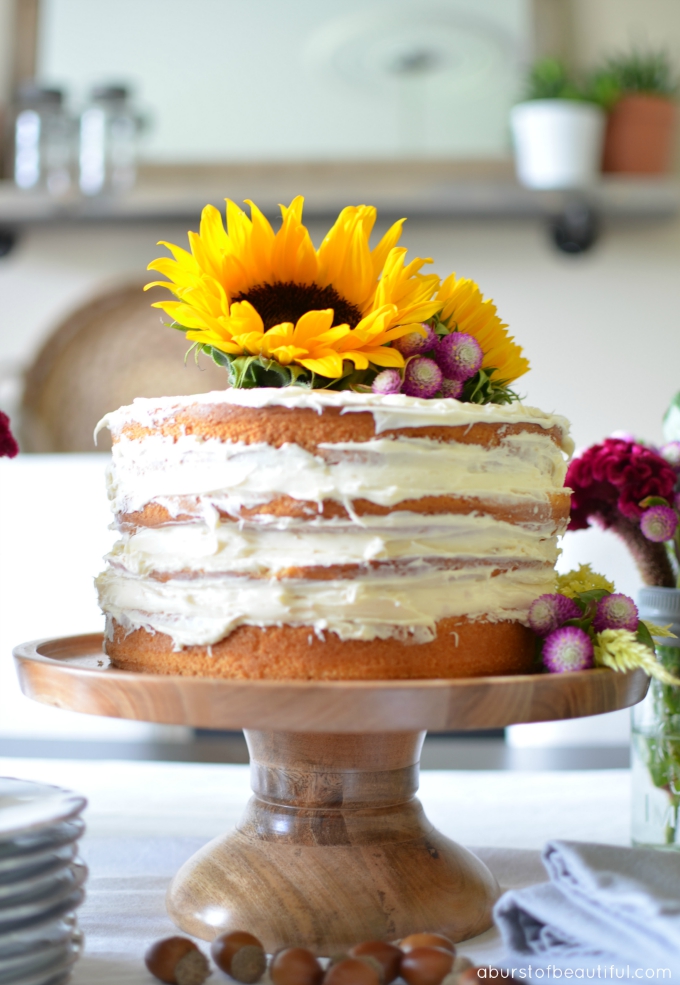
Now it’s time to assemble your cake. Place one layer of cake on your cake stand and apply a generous layer of frosting on top. Add your second layer of cake and continue the process until you have added all four layers of cake and frosting.
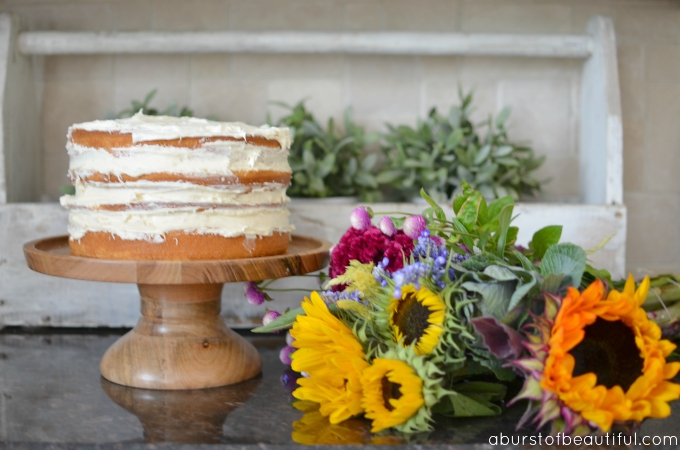
Next, fill in any gaps with extra frosting and make sure your cake looks even. Then smooth the icing around the sides of the cake with a knife (I found it worked best to hold your knife in place and slowly spin your cake stand in a circle), this will give the frosting that nice wispy effect.
Now comes the fun part…flowers! I didn’t want to put the flowers directly on the cake, so I cut a small piece of parchment paper in a circle and placed it on top of the cake. I’ve also heard that wrapping the ends of the flowers in floral tape works well. Before I started working with the flowers I ran them under water to wash away any dirt or bugs that may be hanging around.
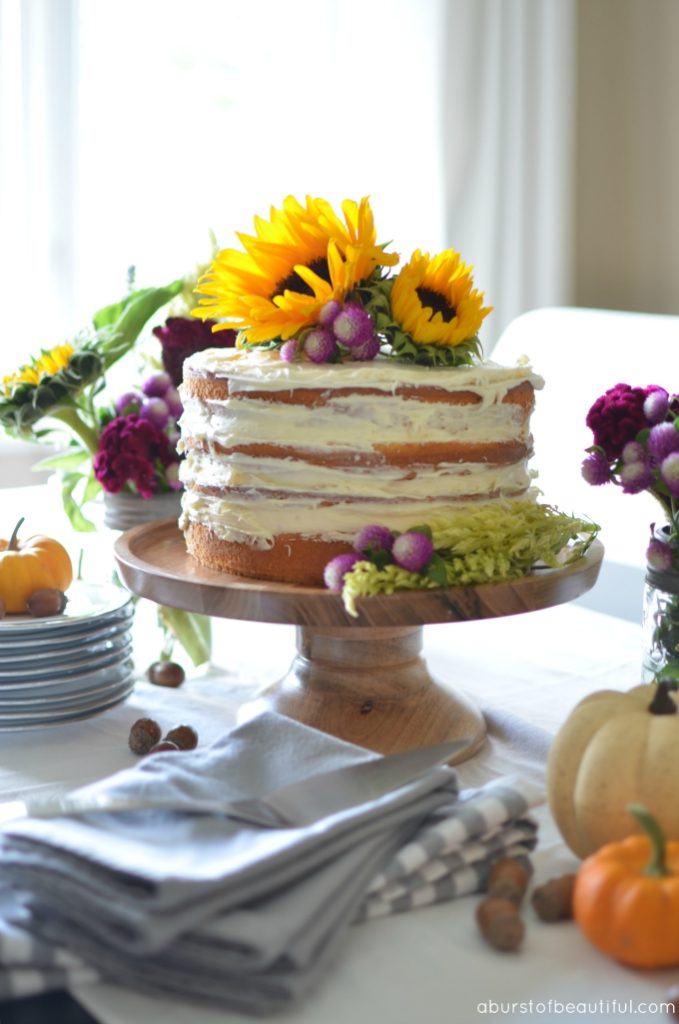
Arrange your flowers and greenery on the top of your cake. I also added a few flowers to the cake stand for an extra pop of colour.

The end result is a show-stopping centerpiece. I had just as much fun setting this fall inspired tablescape to coordinate with my Naked Cake. You can get all of the details on how I set this bright and cheerful tablescape here. Or see how these beautiful blooms inspired our fall decor this year in our fall home tour.

This post was originally published at Ella Claire on September 24, 2015.


Emily says
I saw this on Ella Claire when it was first posted… it's just beautiful! I love the whole look of the table!
Alicia says
Thank you Emily! It was definitely one of the most fun projects I've worked on so far. I love neutrals, but it's always fun to use colour every once and a while!
Susan Shipe says
My daughter baked me a "naked carrot cake" for my birthday – she topped it with silk hydrangeas – it was beautiful AND delicious.
Alicia says
That sounds just perfect Susan! I'm sure you enjoyed it! xo
Courtney {a thoughtful place} says
I am drooling over this. You all are so talented. Hope it's ok to share on my blog. So gorgeous. Love a good naked cake! xo
Alicia says
Thank you so much Courtney! It was so fun to decorate this one. I would feel honoured if wanted to share this on your blog! xo