
This post contains affiliate links, see our full disclosure policy here.
Thank you for helping support our blog.
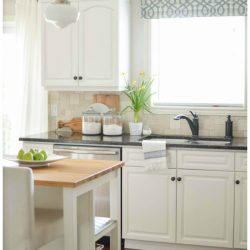
This post has been a long time coming. Before the holidays, we tackled a big project. We painted the entire main living space of our home, including the kitchen, hallway (both on the main level and upstairs), living room and dining room and I couldn’t be happier with the results.
When we moved into our home about three and a half years ago, the entire house was painted Shaker Beige by Benjamin Moore. It is a lovely neutral, but it was just too much of the same color for us. We were craving a change.

Last year we painted our master bedroom and the nursery and wallpapered the powder room, so I was excited to get started on the rest of our home. I wanted to continue with the same soothing and calm atmosphere, and after a lot of deliberation, we choose two beautiful neutrals that make our home feel light, bright and a little more modern.
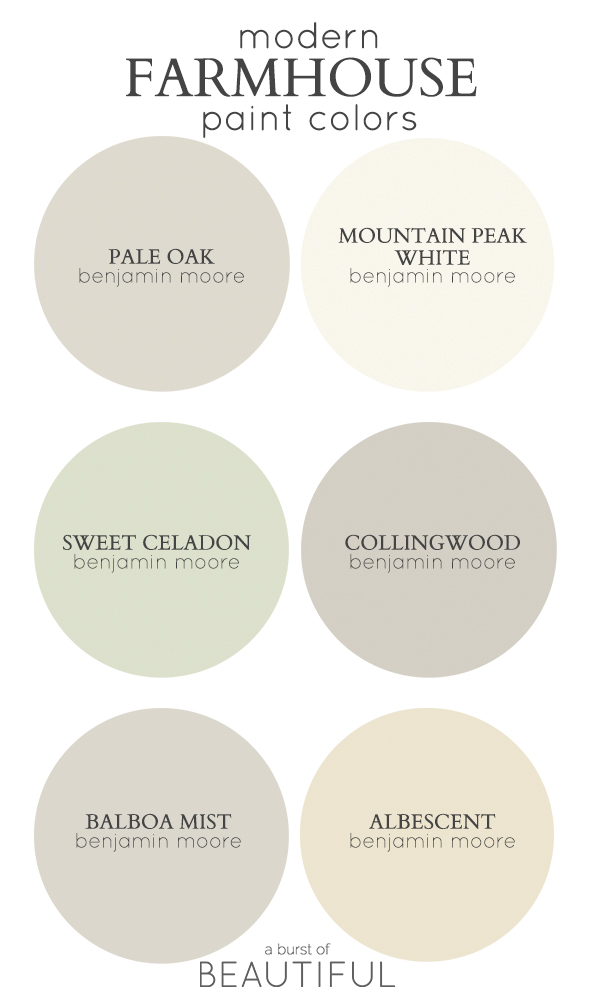
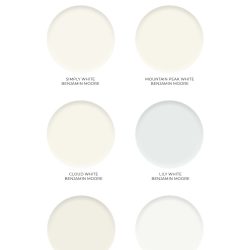
Now, I’m not going to spoil the fun and share the colors we chose just yet. I’m working on a fun reveal post to show you the newly painted kitchen, hall, living and dining room, but for now you’ll just have to wait until I reveal the paint colors!
Over the years, I have done a lot of painting. The first house I owned was a beautiful old century home, but it needed a lot of love. I (along with a lot of help!) ended up painting every single room, including the ceilings and trim and in some cases, even the floors.
But that was the norm for me. I grew up in a home where my mom painted and re-painted rooms all of the time (I credit my love of home decor to her). My uncle always jokes that the rooms in my parent’s house are getting smaller and smaller each time he visits because of the many layers of paint.
So needless to say I have gained a lot of valuable tips and tricks when it comes to painting a room. And today I’m going to share my advice on how to paint a room like a pro.
How to Paint a Room Like a Pro
Step 1: Choosing a Paint Color
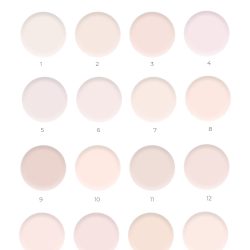
I can’t emphasize the importance of testing a few different paint colors before painting an entire room. I have learned the hard way that the color on the paint chip doesn’t always reflect how that color will look once it is on your walls. Plus, it’s such a small sample that it makes it really hard to see the true color.
Most companies sell small test jars of sample paint. They are inexpensive and I promise you will be so thankful you took this extra step. Make sure you test the paint on different walls in your room and look at it during different times of the day, this will give you the most accurate idea of how a particular color is going to look. Lighting and reflections will be different in all parts of the room.
Before painting our living room, dining room and kitchen we tested at least 10 different paint colors on the walls. The initial colors I chose looked completely different once the paint dried, it took a lot of trial and error to find the perfect colors for our house, but the result was colors that we truly love and work with our space.
I have saved myself many headaches and extra work by simply picking up a few paint samples and testing them on our walls before I tackle the big job.
Step 2: Prep
This is definitely the most laborious task, but also the most important if you want to avoid extra work later.
I start by pushing all of my heavy furniture into the center of the room and covering it with drop cloths![]() , then I remove anything from the walls, including shelves, art, and light and outlet covers. Take the time to carefully fill and sand all holes and blemishes on the walls with Dap DryDex
, then I remove anything from the walls, including shelves, art, and light and outlet covers. Take the time to carefully fill and sand all holes and blemishes on the walls with Dap DryDex![]() . Make sure you prime over any large holes or blemishes so that the finished sheen will not vary over these areas. Wipe down with a damp cloth to get rid of drywall dust. You want to paint with a clean canvas.
. Make sure you prime over any large holes or blemishes so that the finished sheen will not vary over these areas. Wipe down with a damp cloth to get rid of drywall dust. You want to paint with a clean canvas.
Next, I tape around all of my trim, including crown moldings, windows, doors and baseboards. I find that if you spend that extra bit of money to purchase a quality painter’s tape![]() you will reap the benefits once the job is complete. Use your fingers or a putty knife to smooth out the tape and ensure the edges have made good contact with the wall.
you will reap the benefits once the job is complete. Use your fingers or a putty knife to smooth out the tape and ensure the edges have made good contact with the wall.
Finally, pick up a few drop cloths![]() from the dollar store and cover the floor in the areas you are painting to avoid splatter. And remember, if you spill paint, make sure you wipe it up immediately with a damp cloth.
from the dollar store and cover the floor in the areas you are painting to avoid splatter. And remember, if you spill paint, make sure you wipe it up immediately with a damp cloth.
Step 3: Edging
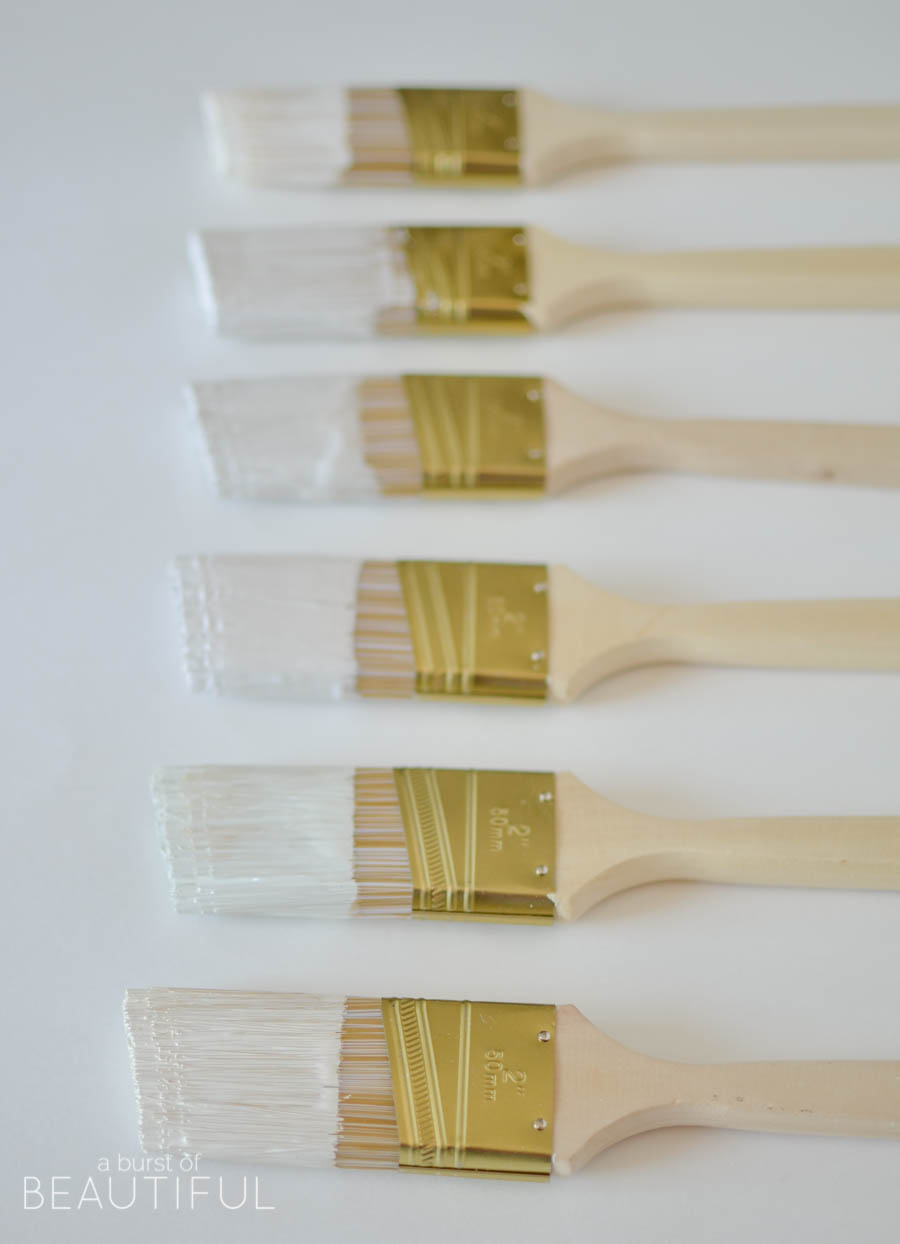
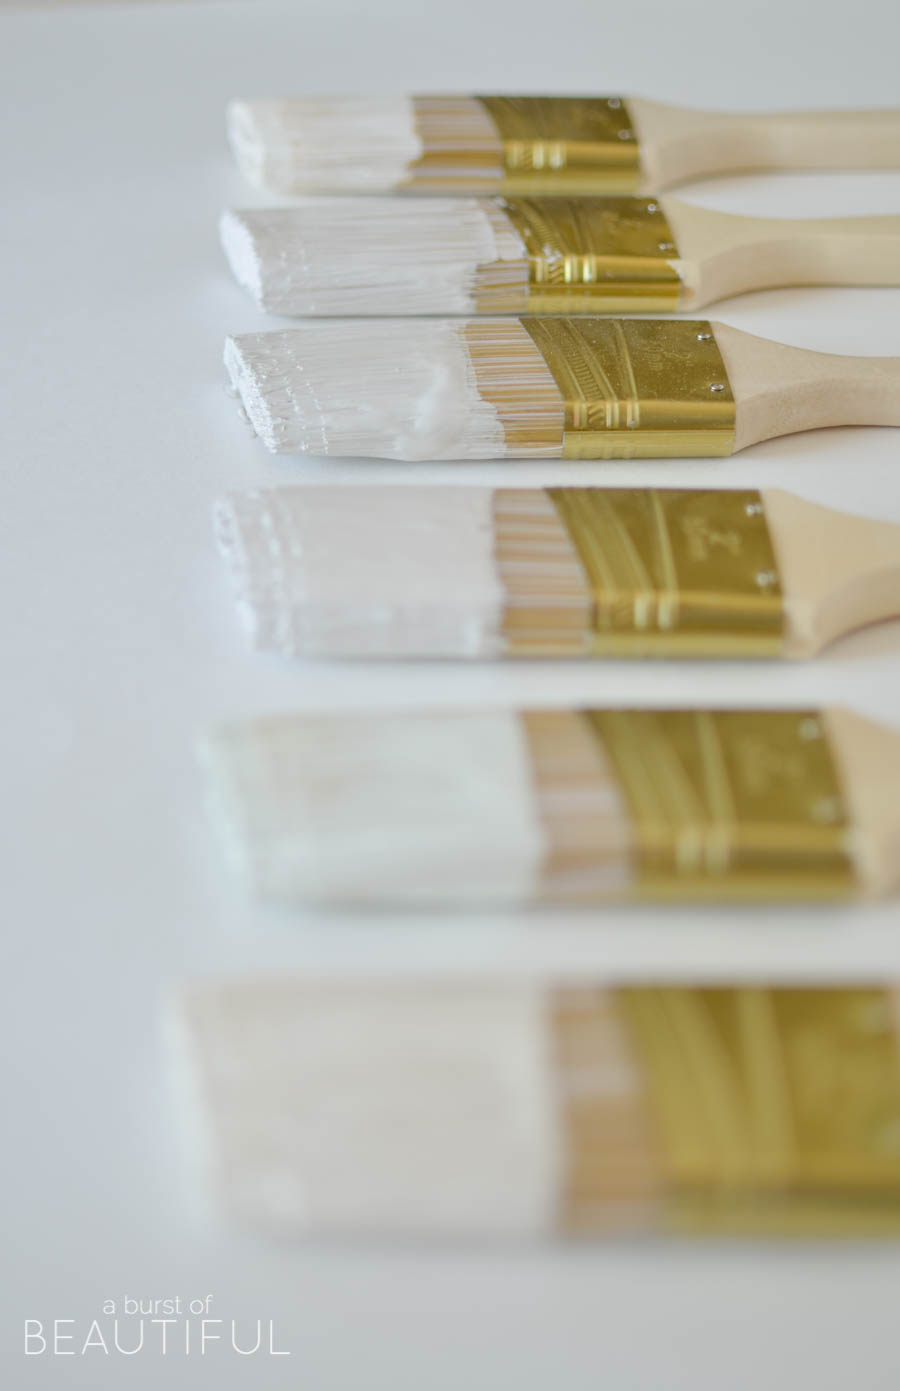
I usually use a 2.5 inch angled brush to edge. Simply paint around all the trim in your space and in the corners of the room.
I’d recommend buying a paint edger![]() , it is my all-time favorite tool and something I only recently discovered. Edging a clean, smooth line between the wall and ceiling can be difficult and time-consuming, but using a paint edger makes edging along the ceiling a cinch and guarantees a clean, straight line every time. Discovering this tool was a hallelujah moment!
, it is my all-time favorite tool and something I only recently discovered. Edging a clean, smooth line between the wall and ceiling can be difficult and time-consuming, but using a paint edger makes edging along the ceiling a cinch and guarantees a clean, straight line every time. Discovering this tool was a hallelujah moment!
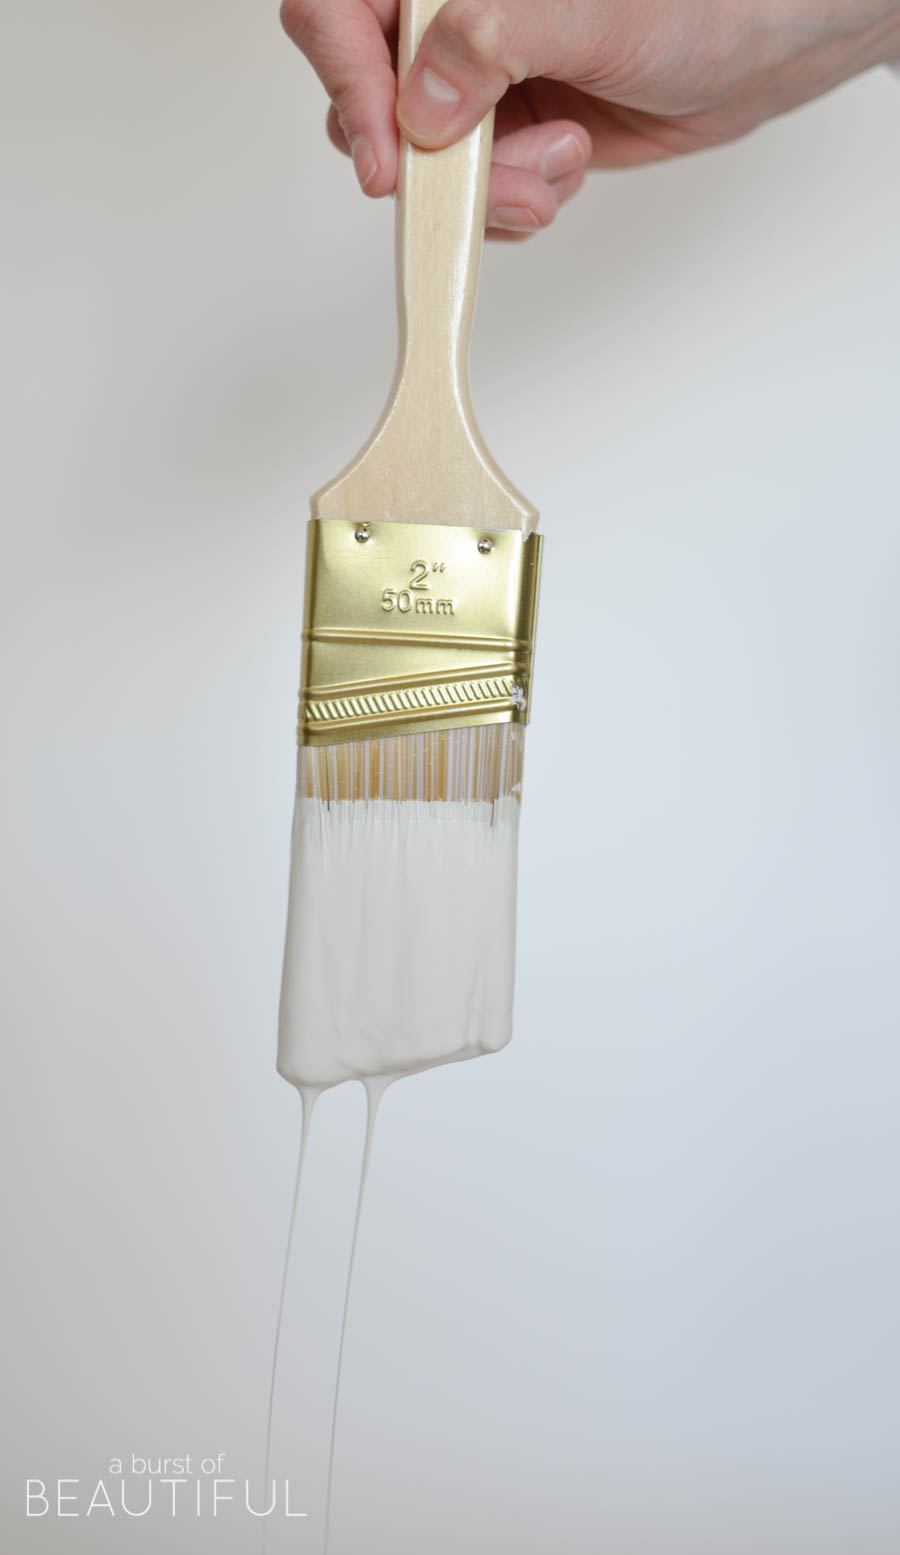
Step 3: Rolling the Walls
Invest in a few good quality rollers, like these, and begin rolling your walls. Standard practice is to start with a V or W pattern and then fill in about a one square meter area. Also, the nap on the roller is important depending on what type of wall surface you are applying the paint. Check the roller packaging for ask your Benjamin Moore specialist what nap to choose.
Step 4: Repeat
Repeat steps 2 and 3 to ensure you have equal and full coverage of paint on your walls. Once you are finished make sure you remove the painter’s tape as soon as you have put on your last coat. If you wait until the paint dries, you risk peeling when you remove the tape.
Personally, I love painting. I think it is the best way to make a dramatic change in your space for minimal cost. I’d love to hear your painting tips, leave us a comment below!
This post was generously sponsored by Benjamin Moore. All opinions are my own. We only ever share products that we love and trust.
Take a tour of our paint colors – room by room!

susan says
It looks beautiful! I love it!
Shawnna says
great tips girl!
Anna Picket says
While there’s nothing wrong with “shaker beige” as you call it, I can see why you’d want a change. Contrast is good for the soul in my opinion. We could also use some variety in our walls. We’ll have to follow your advice and try out different colors on our walls to see what we think.
Alicia says
You are definitely right Anna, it is good for the soul! Changing your paint colors every once and a while is a wonderful and inexpensive way to completely transform the look and feel of a room. Have fun!