
One of the first posts we ever published on this blog was about our kitchen facelift. That post has garnered so much attention that we felt we should update it to better reflect the changes we made along the way and give you a tutorial on how to paint kitchen cabinet doors based on our experience!
When we moved into our home, the kitchen was the very first big project we tackled. It was spacious, but dated and lacking any character. I truly believe the kitchen is the heart of the home. It’s a gathering place for family and friends to savour delicious meals while spending time together. We knew our kitchen had potential and we wanted to create a space we would love, and truly enjoy spending time in.
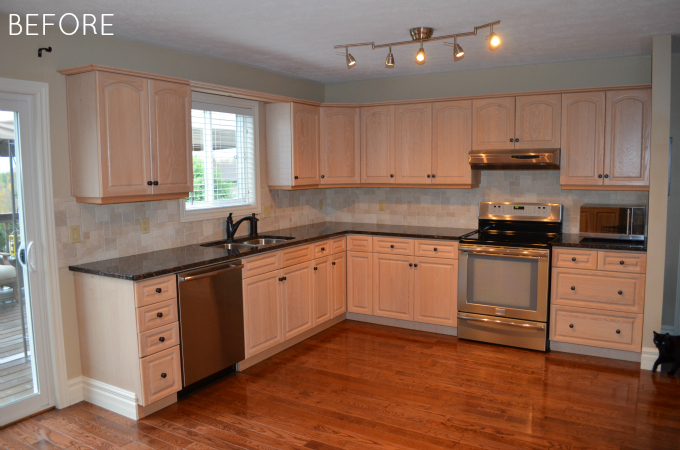
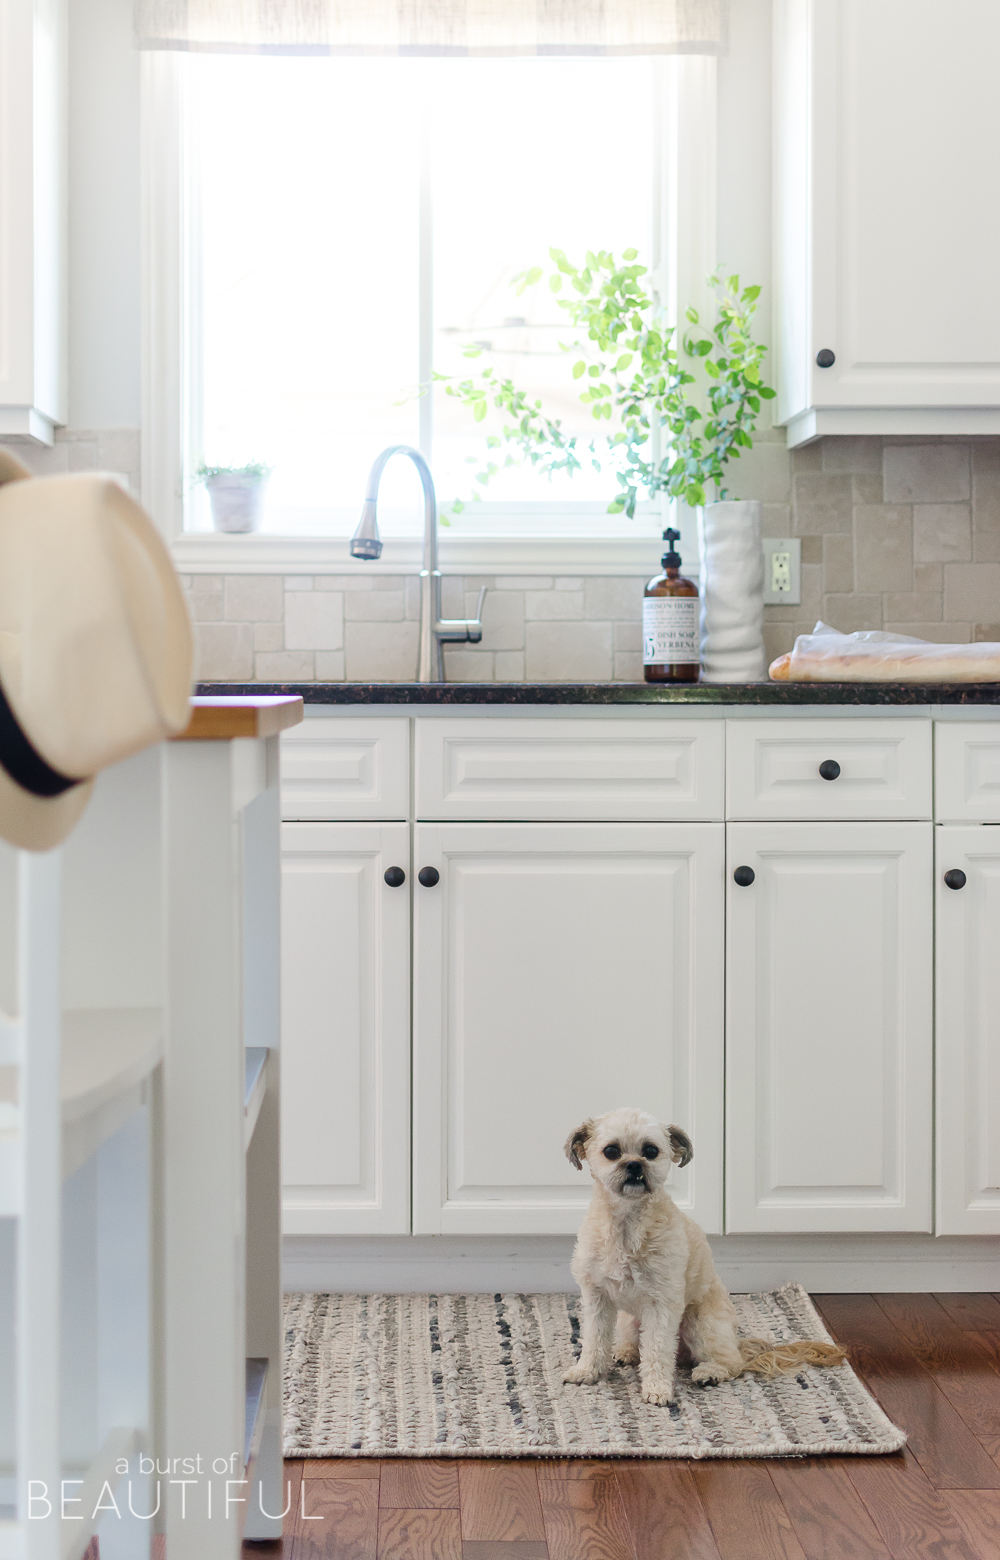
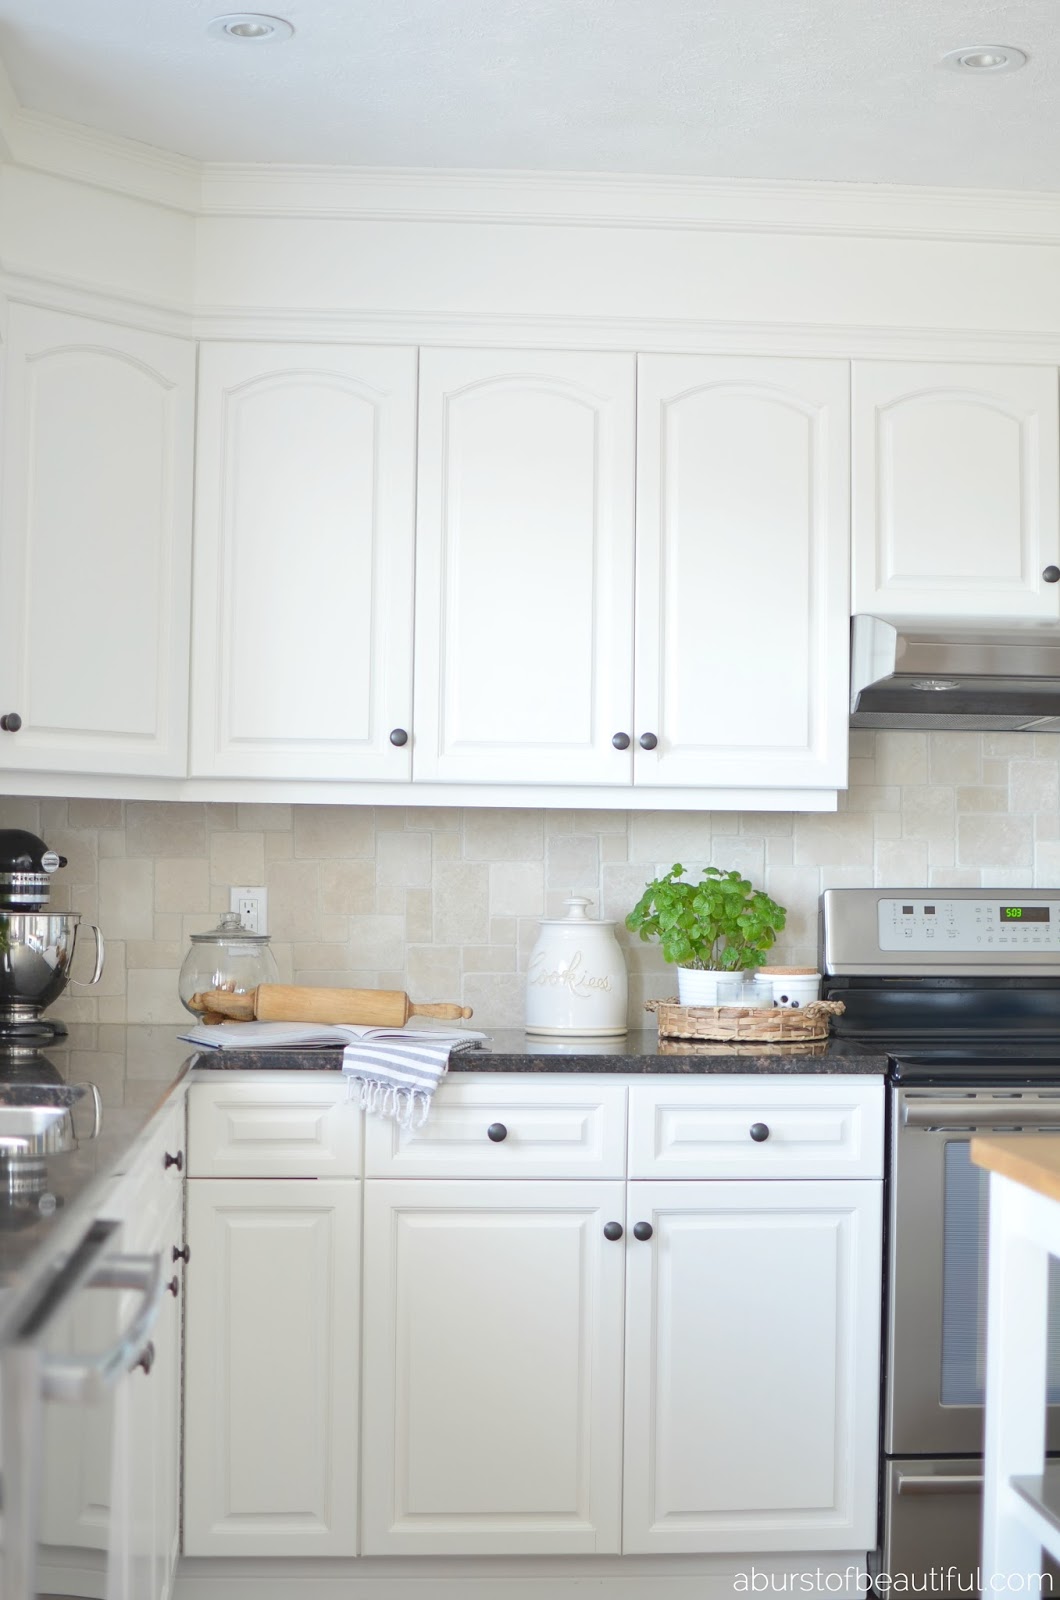
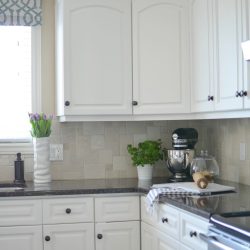
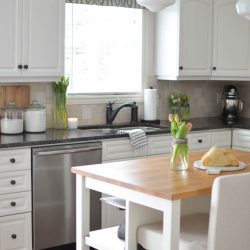
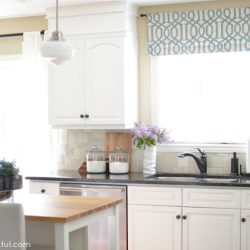
The bones of the kitchen were in great shape. The cabinets had recently been refinished and there were newly installed backsplash and granite countertops. But the overall feel of the kitchen was dark and dull, exactly what we didn’t want. The peachy oak tone of the cabinets didn’t flow well with the dark stained oak floors.
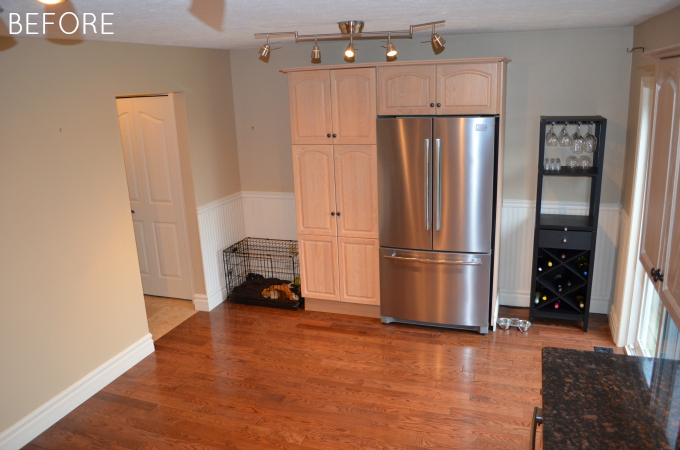
Here are a couple of before pictures.
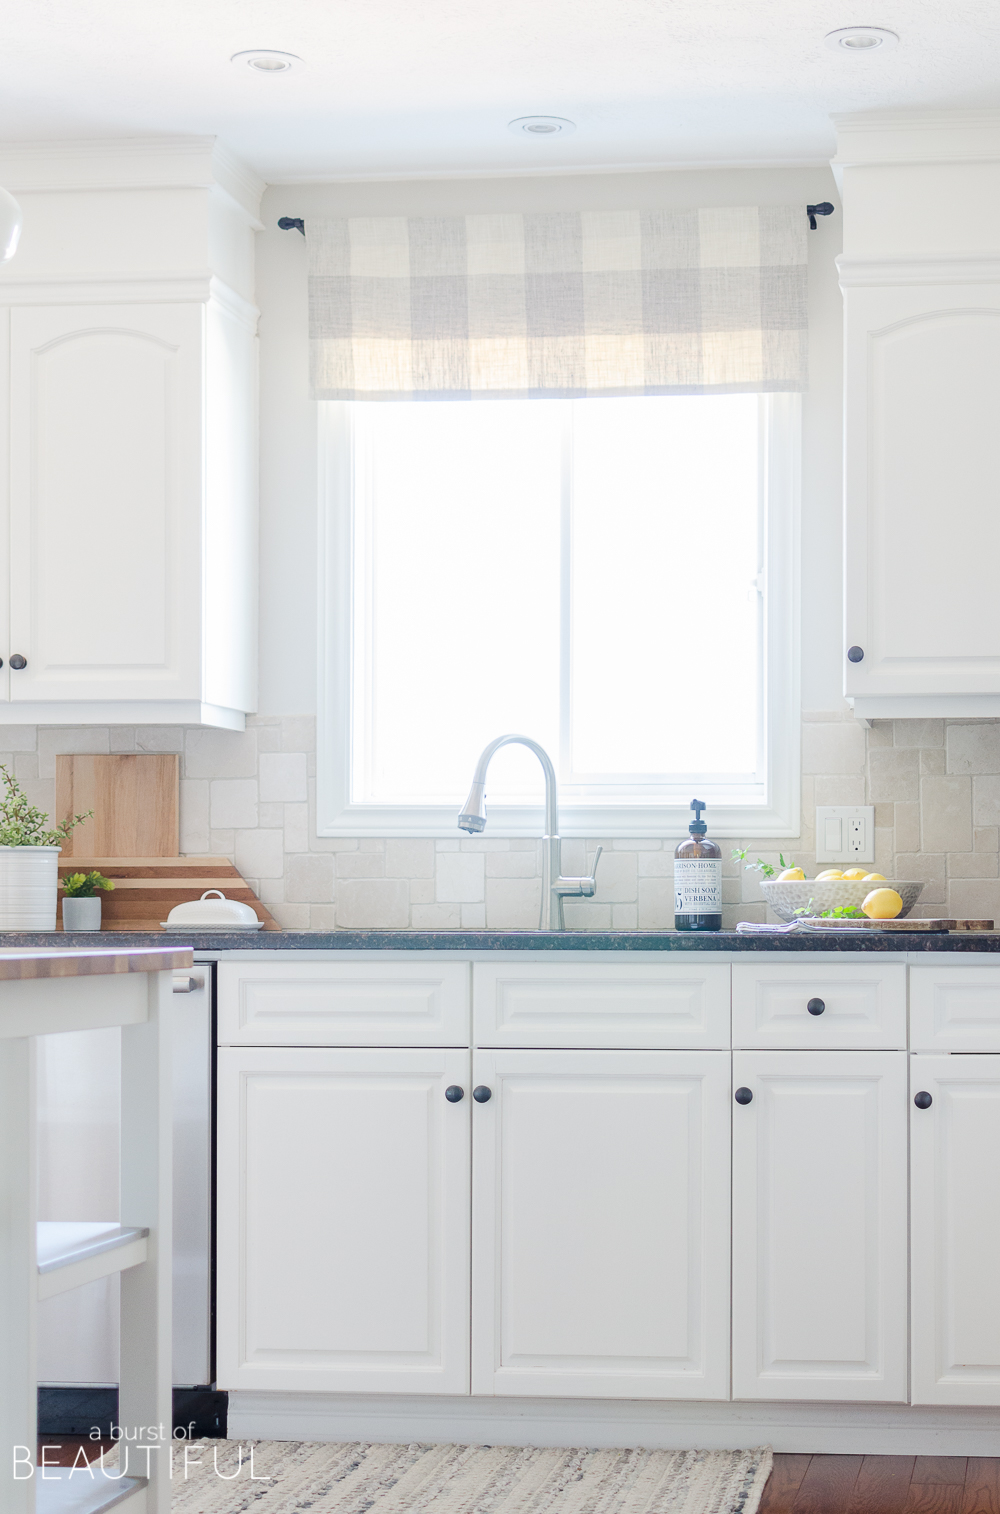
We gravitate towards bright, light and airy spaces and love decorating with neutrals, so we knew for certain our kitchen must encompass that feeling. We also wanted to create a custom look at a fraction of the cost. Everyone knows that a custom kitchen can ‘make’ a house. When cabinetry and furniture are built custom to fit a particular space it creates a more cohesive and luxurious look. Everything feels like it belongs and becomes an integrated part of the home.
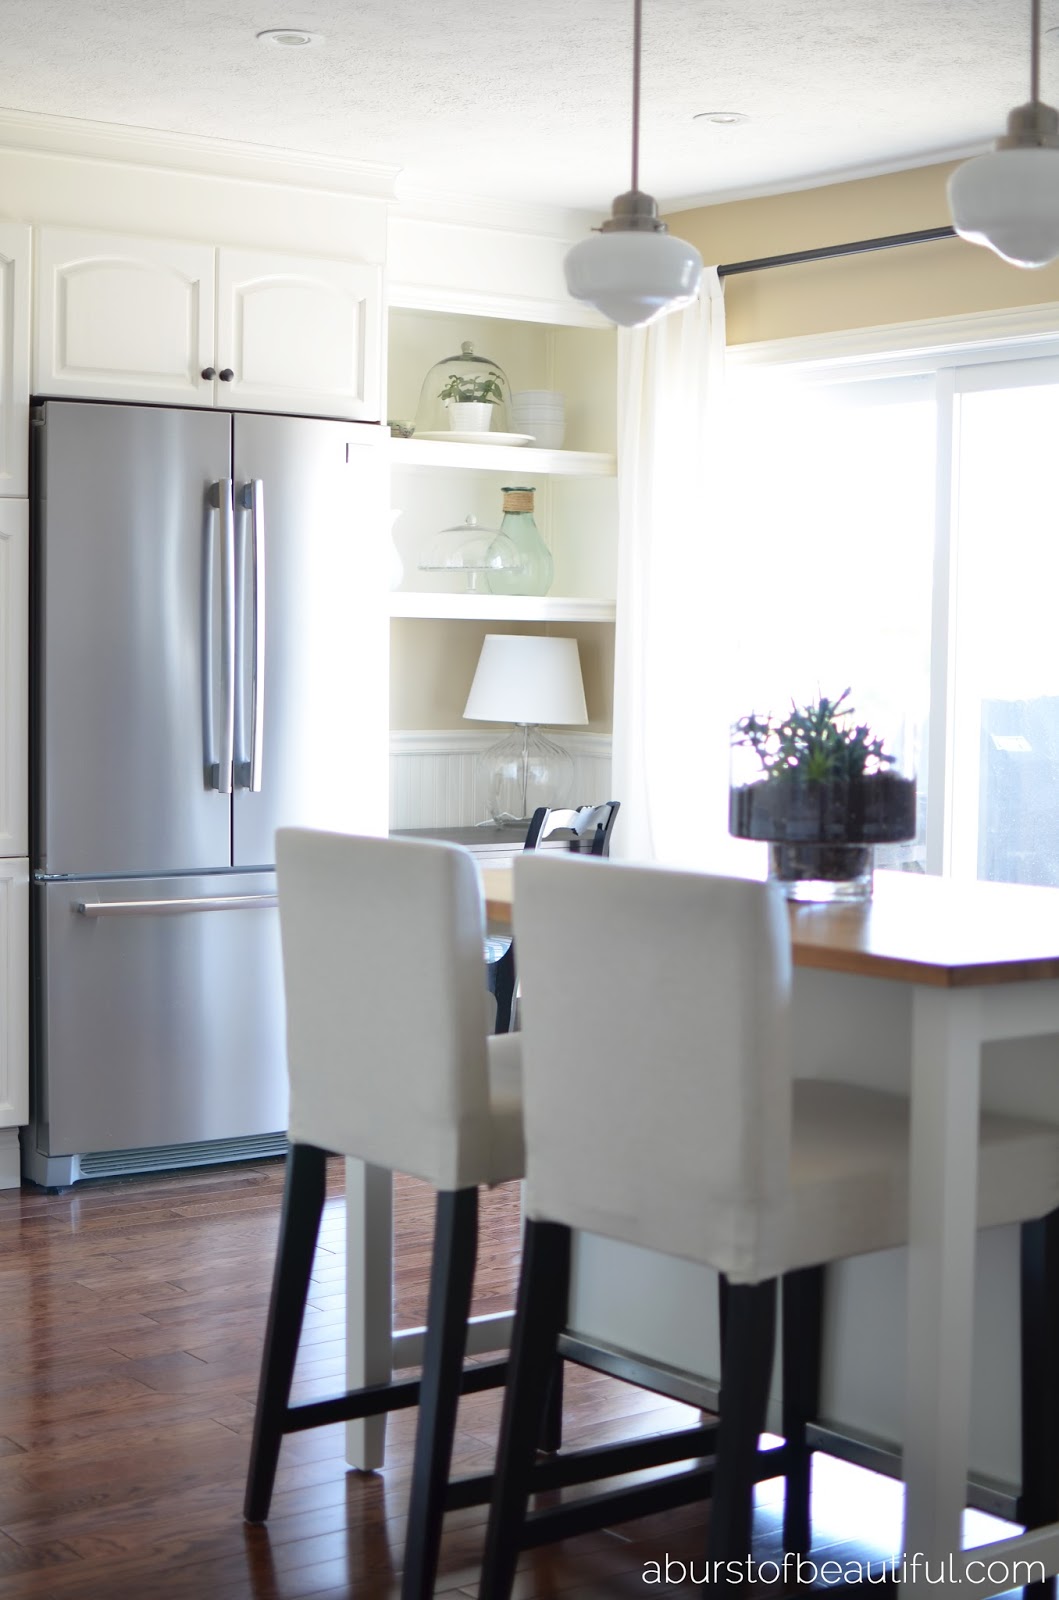
The other issue we faced in the kitchen was an awkward layout. There was a bank of cabinets, along with our fridge on the back wall. It seemed ill-placed and inconvenient, so we knew it had to be moved (the second before picture shows where we moved them to, they were originally along the wall with the door to the garage entry).
With all of this in mind, we got to work. My incredibly talented husband did everything himself and I am so proud of the beautiful kitchen we created.
Let’s face it. Not many of us have the budget to install a brand new kitchen when we buy a new house. I’m going to show you how you can take your existing cabinets and give them a new life. Your kitchen will look like a million bucks after you’re done.
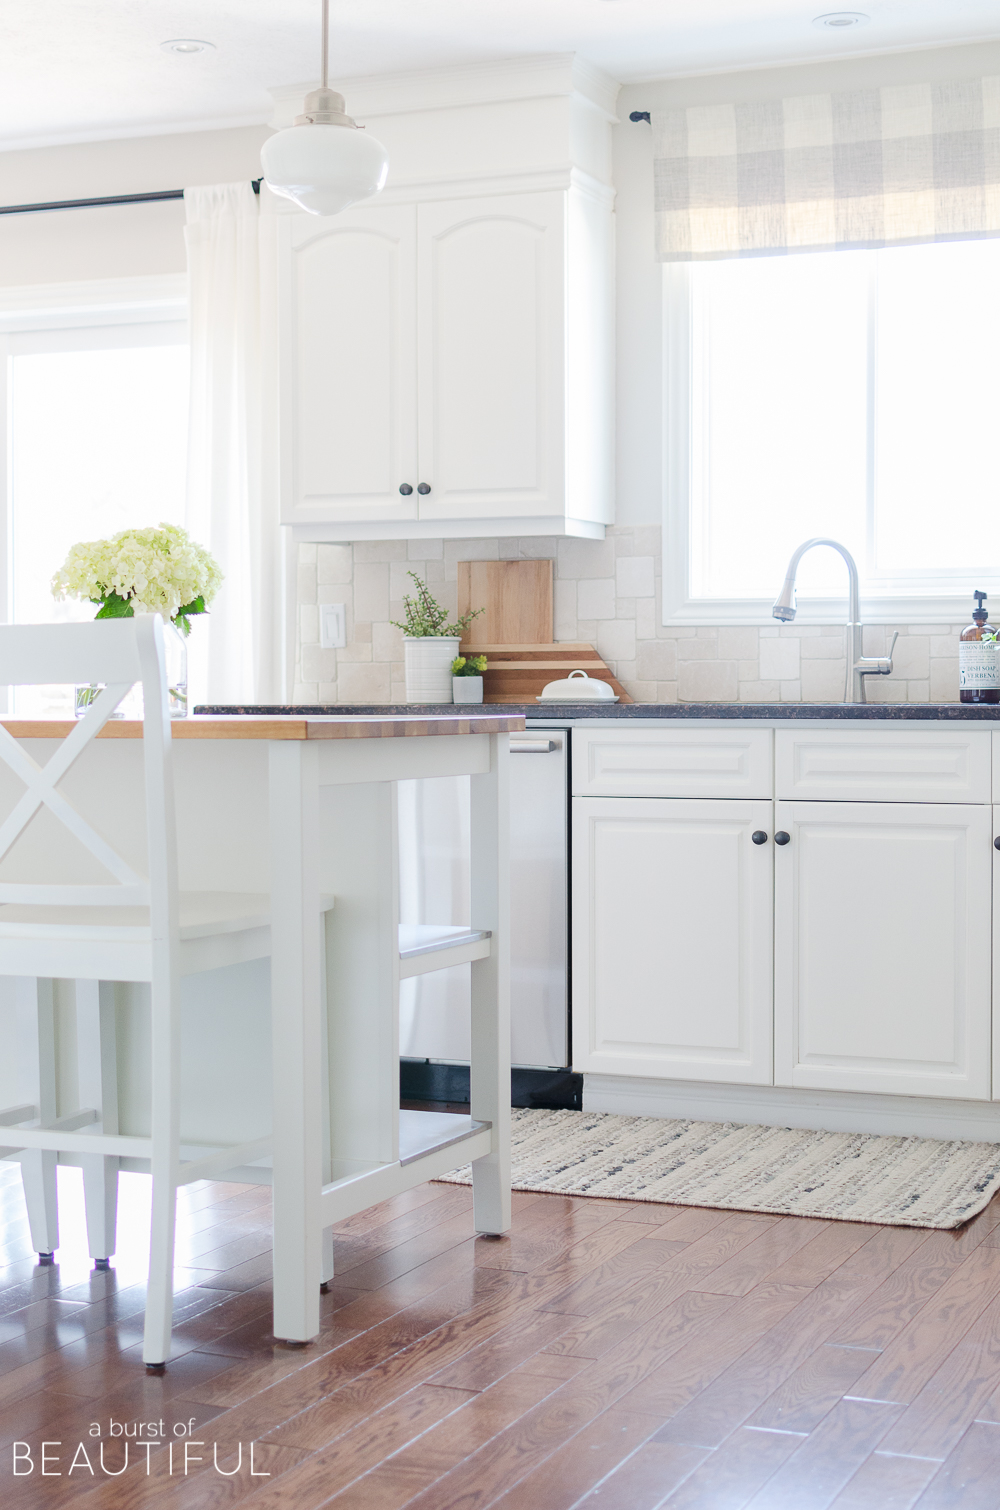
When we moved into our house the kitchen had two separate areas; the main prep area, and a space for a kitchen table. We determined that we didn’t need a sit-down dining area in the kitchen as we had a large dining room that we were going to use. Instead, we decided to add an island that would allow us to have additional counter space as well as a place to sit down for a quick bite to eat. We moved the pantry and fridge to the wall where the seating area was originally located. This provided a more open feel to the entire kitchen, created a better workflow and allowed us to accommodate the island we wanted.
Once we had moved the cabinetry, it was time to prep the kitchen for the rest of the work. Just like any project, this is probably the most tedious. But believe me, if you prep properly it will make the process go much smoother.
How to Paint Kitchen Cabinet Doors
Prep
The first step is to carefully remove your cabinet doors, drawers, and hardware. Give them a good cleaning with a solution of TSP, which can be found at your local hardware or big box stores. It is important to remove the cabinet doors, drawers, and hardware, including the knobs and hinges before you clean to ensure you have proper access to clean all surfaces.
Here is an important tip before you begin removing the doors and drawers! All of your doors, drawers and hinges are going to be slightly different. So to make the re-install much easier, you’ll want to make sure you know which door goes on which cabinet and the mounting hardware that goes along with it.
Mark the inside of each cabinet where there is a door or drawer with a number on painter’s tape.

Once you have done this you can remove your door and hardware. Mark the same number on the door with the marker in the hole the hinge was sitting in (you won’t need to paint this spot so it will allow you to still see the number once you are finished painting and re-installing the cabinetry).
Label the Ziploc bag with the door number and add all hardware. Believe me, this may have been the most important step of the whole job!

You will need a large space that you can spread out all of the doors and drawers, it’s important to remember to keep the temperature consistent, and not too cold or too hot. I did this project in the fall, so I put a heater in the garage for the nights when the temperature would drop. We got creative and used 2×4’s propped on ladders or bins to keep the cabinets off the ground, it’s much easier on your back when painting.
Before you begin painting the cabinets, clean both sides of the doors and drawers with the same TSP solution you used for cleaning the hardware. You want to make sure there is no residual dirt or grease leftover or else the paint will not adhere as well.

Once the doors and drawers are completely dry you can begin to prepare them for paint. Lightly sand them in the direction of the grain using a fine-grit sandpaper. The goal is to remove any gloss and create a texture that will allow the paint to adhere. When you are finished vacuum the dust from them and a wipe them down with damp cloth (you may need to do this twice to really get the dust off).
Priming
I have never liked painting. Maybe I’m just not patient enough. Since the kitchen is the centrepiece of our house I knew I couldn’t rush through it. From my experience, the key to outstanding results are patience and using quality products. I went to our local Benjamin Moore retailer and asked for their advice. They recommended applying a base product called STIX Waterborne BondingPrimer. This product adheres very well to all surfaces, including the laminate ends of the cabinets.
If you notice that any drip marks have made their way to the front, now is the time to sand them off.
Painting
Use small mohair rollers and a good quality brush to paint your cabinets. Use the same method you did while priming to paint the cabinets. I applied very light coats to avoid any drip marks. In total, I applied three coats on the back of each door and drawer and four coats on the front. Apply three of four coats of paint to your cabinet boxes to ensure an even and full coverage.
Allow the painted cabinets to cure for four to five days before re-installing them in your kitchen. This is when you will be grateful you numbered each one!
I want to offer a word of caution to anyone considering painting their kitchen cabinets. This is not a weekend project! Be prepared to work mornings, nights and weekends for a significant period of time.
It took me at least six weeks to complete our kitchen because I also enclosed the empty space above the cabinets to make it look like they go to the ceiling and built in some shelving on either side of the fridge and pantry so Alicia can create display areas.
It is so important to take your time and do it right. Do not rush through it, you will end up with mistakes and you will be unhappy with the end result. I typically don’t have a lot of patience because I like to see results right away, but I knew I had to take my time with this project and the payoff was well worth it.
I encourage you not to feel overwhelmed or daunted by this project. It simply takes patience and a time commitment, but the end results are absolutely beautiful.

Shawnna says
hey girl -Oh I just love your kitchen!! It does look a lot better! so pretty!
Alicia says
Thank you Shawnna! It’s amazing what a bit of paint and a whole lot of work can do!
Douglas Wilson says
Thanks for sharing your experiences. I’m doing some research on painting. I have an old coffee table and I want to paint it. Now I know how to do that.
Beckie Smith says
Love your kitchen! Question do you have info on your blog about how you enclosed the bulkheads? Thanks so much for sharing this process…. Looks great.
Alicia says
Hi Beckie, we never actually wrote a post about it, but I think it’s something we could put together for the future. Keep an eye out for it! Thank you for your interest. xo
sandra says
HI Alicia I came across your blog and was reading up on your kitchen how you painted your cupboards, so beautiful by the way looks great. Our kitchen is similar so down the road I will be doing it. I just wondered with the color you went with did you keep ceiling the same color as the cupboards? It all seems to flow nicely. I also just downloaded your prints which you made available, so excited to get those framed. I love how your bathroom turned out as well!! Thanks so much :))
Alicia says
Hi Sandra,
Thank you so much for taking the time to visit our blog and send us your lovely comment. To answer your question, our ceiling is painted in a standard ceiling paint, just your basic white. Good luck with your kitchen, it’s amazing what a little bit of paint can do! 🙂
Alicia xo
Nicole says
Hey there! You have such a beautiful kitchen! I would love to paint my cabinets as well but am hesitant because of chipping. Has your the paint held up well with this technique? Ps absolutely love your blog.
Alicia says
Hi Nicole,
Thank you for your sweet comment. 🙂 Our painted cabinets have held up extremely well. After four years we have only had one small scratch, which I simply touched up with leftover paint. Be sure to use products specifically for cabinets to ensure the best quality, etc. We highly recommend the products we outline in our post (we were not compensated in any way to promote them, we just truly love them!). And although time consuming, make sure you follow all of the steps required, it will save you time down the road. 🙂
Heidi says
Hello, I just found and love your kitchen. I am looking at whitening mine white like yours and have struggled with countertops. Do you know what color granite yours is? I love it with your white. Thanks!
Alicia says
Hi Heidi, thank you for your comment. 🙂 I’m not sure which granite was used in our kitchen as it was installed by the previous owner. It is black with a brown fleck throughout it. I’m sorry I can’t be more help. xo
Shauna says
Going to try painting the kitchen cupboards at our place with the help from this post and Benjamin Moore!
Alicia says
That is great, Shauna! Let us know if you have any questions! 🙂
GL says
I’ve read numerous “How to Paint Kitchen Cabinets” blogs etc. Your method Outstanding!
I plan to tackle my cabinets within the next month. I shall follow your “How To”.
Thanks and your kitchen looks Great!
Leeanne Holgan says
Our cabinets are very similar in style and color Although mine are not wood. They have the slightest sheen. I chose BMI Simply White for the walls and love how they match the cabinets. I tested eggshell, but it still had too much sheen for me, i like flat and sinces we have no little children’ and are both vegetarian i don’t have to be concerned about cooking. Here’s my question 🙂 I have a white marble top center Island that did not come with our kitchen, but instead purchased after. It’s wood and painted black. I want it to match the cabinets so I’ll also paint it simply white. I just read how y ou love pearl. I sanded, and primed already. My biggest concern is having brush strokes so I’m hesitant to get started. I planned on using a small roller but bought a qt of satin. I think maybe pearl would be better
Alicia says
Hi Leeanne, your kitchen sounds like it’s going to be beautiful once you’re finished! It’s always so much fun refreshing our spaces. 🙂 In regards to brush strokes, that’s a tough one. I think no matter what finish you are using, if you’re painting with a paintbrush you’ll still have (at least some) brush stroke marks). I think the only real way to avoid them would be to use a sprayer to paint. You could give it a test with the satin and see how it goes on, if you’re not liking the result then you could try another finish or invest in a sprayer. We used a small foam roller to paint our cabinets. I hope that helps and happy painting! 🙂