• Blog
  • About
  • Shop Our Instagram
  • Weekly Newsletter
  • Contact
  • HOUSE + HOME
    • All House + Home
    • Mudroom
    • Kitchen
    • Dining Room
    • Living Room
    • Bedroom
    • Kids Bedrooms
    • Family and Playroom
    • Office
    • Outdoor Living
    • Woodworking
  • LIFE + STYLE
    • All Life + Style
    • Entertaining
    • Holidays
  • FOOD + DRINK
    • All Food + Drink
    • Appetizers
    • Drinks
    • Breakfast
    • Dinner
    • Dessert
  • Shop
    • Our Home
    • Window Shades
    • Paint Colors
    • Nick’s Workshop

Nick + Alicia

Lifestyle

January 12, 2016 | by Alicia

Vintage-Inspired Toolbox DIY Tutorial

Vintage-Inspired Toolbox DIY Tutorial

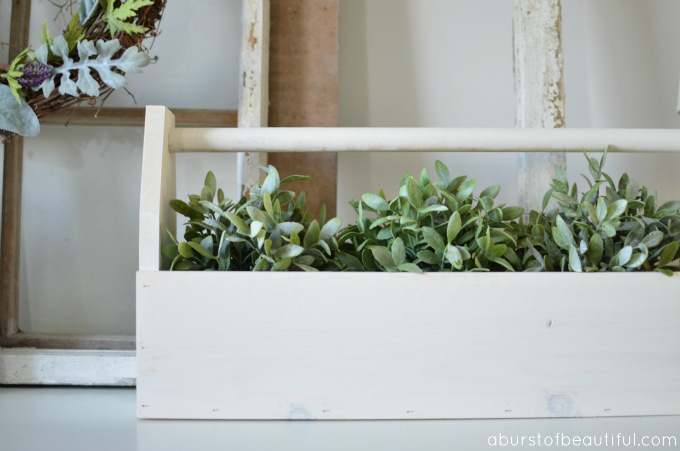
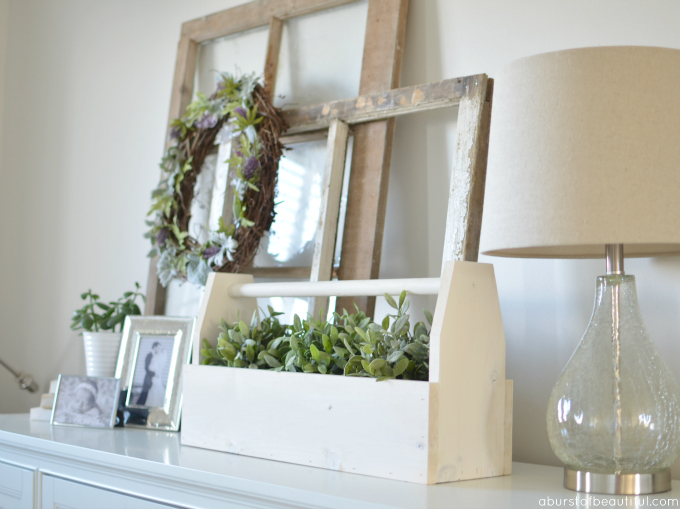
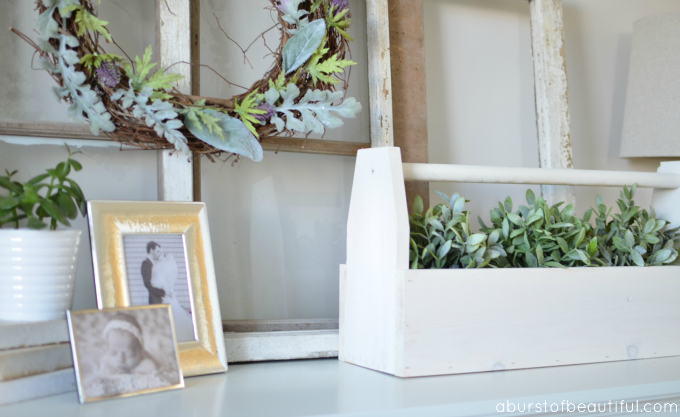
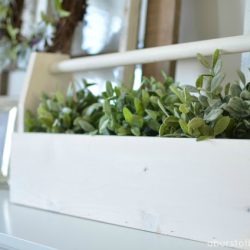
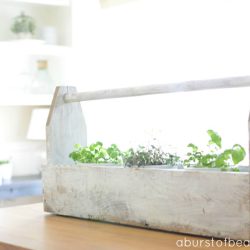
This summer I found a charming wooden toolbox at a local market, complete with the patina of a well-worn piece. I scooped it up knowing I would have so many uses for it. I’ve used it as a herb planter, a garden caddy and it’s the perfect vessel to hold all of your entertaining needs for impromptu company.

A Burst of Beautiful - DIY Vintage-Inspired Toolbox

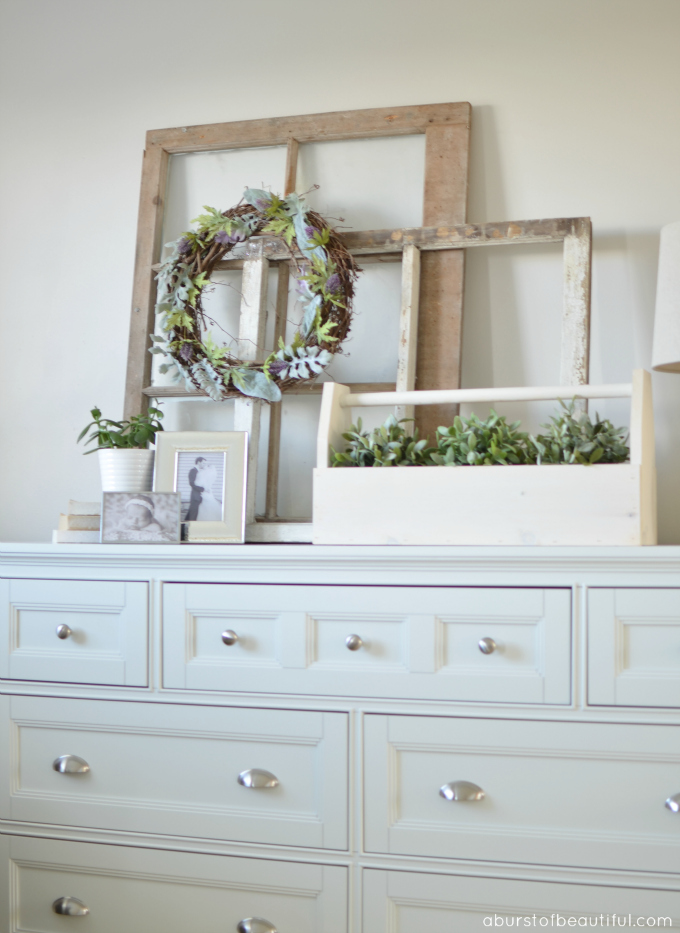
I’ve used it so much and moved it from room to room in our home, it got my husband thinking. He knew he could easily build me a few extra vintage-inspired toolboxes so I wouldn’t have to keep swapping out the one we have. I love this project because it’s so versatile. You can change the size of the toolbox to suit your needs, depending on what you are using it for and where you are displaying it. And you can have so much fun with the way it looks – you can give it a white-wash, stain it or paint it a bright bold color. There are so many possibilities.

A Burst of Beautiful - DIY Vintage-Inspired Toolbox

And because you’ve built it you don’t need to worry about the condition it is in, like so many vintage pieces there is always concern about lead paint or mold. It’s safe to use in your kitchen to store seasonal fruit and veggies or as storage in the playroom for books or arts and craft supplies.

A Burst of Beautiful - DIY Vintage-Inspired Toolbox

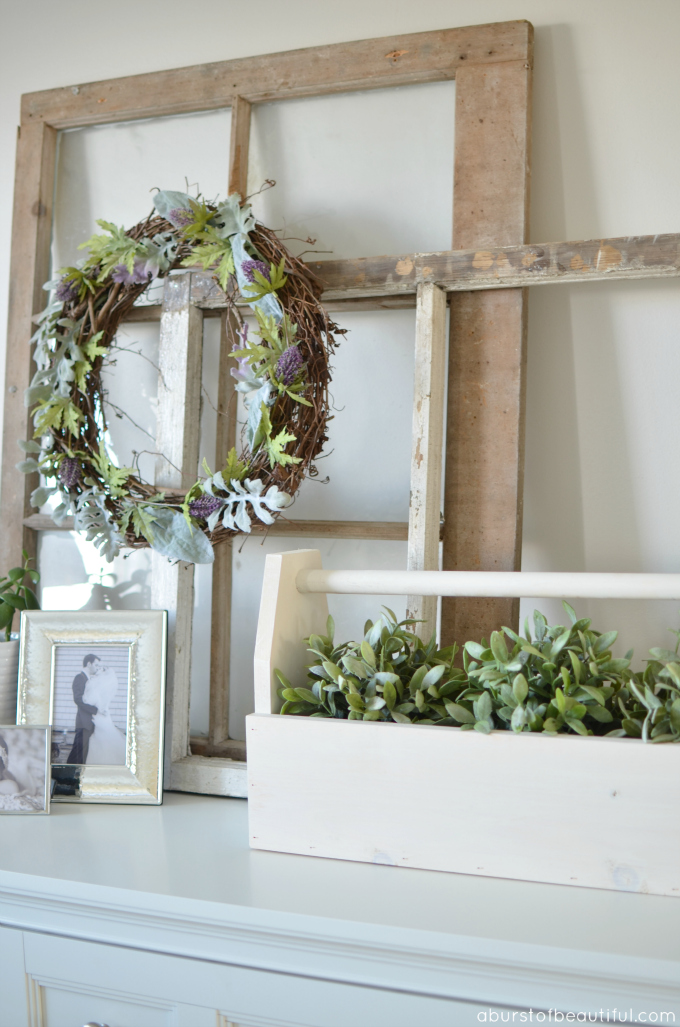
The original vintage toolbox we purchased was fairly big so there are only a few spots in the house we could display it. So Nick set out to make a smaller one. You can adjust these plans to make any size that fits your space simply by adding to the length of the boards and the dowel.

This plan uses only one piece of 1″ x 6″ x 8′ wood and one dowel, which makes it a very efficient project.

A Burst of Beautiful - DIY Vintage-Inspired Toolbox

Vintage-Inspired Toolbox DIY Tutorial

Supplies & Tools:

  • 1″ x 6″ x 8′ piece of wood (we used pine)
  • 24″ dowel (1″ diameter)
  • Mitre saw
  • Nail gun and nails
  • Carpenters glue
  • Drill with 3/32 bit
  • 2 – 8 x 1 3/4 screws
  • Paint or stain

Instructions:

  1. Cut the 8′ piece of wood into the following lengths: 2 x 24″, 1 x 22.5″, 2 x 12.75 (See Figure ‘A’ below).
  2. To create the angles on pieces 4 and 5, mark your wood 1″ in on either side. Adjust your miter saw to a 15-degree angle and cut each side of the plank from the 1″ point at the top down to the side.
  3. Lay the 22.5″ plank on a flat level surface. Apply a small amount of carpenters glue to the end piece and using a compressed nail gun attach your end pieces to the base.
  4. Lay the box on its side and line up one side piece and attach to base and end pieces using carpenters glue and nail gun. Repeat for the other side.
  5. Pre-drill using a 3/32 bit 1.25″ from the top of the end piece and in the center. Also, pre-drill the end of the dowel in the very center, making sure that you keep the drill bit going in straight.
  6. While holding the dowel in place, screw from the outside of the end piece into the dowel on each side.
  7. Paint or stain it any color you wish.
FIGURE ‘A’
I hope you enjoy this DIY project as much as we did. I’d love to hear how you plan to use your own vintage-inspired toolbox around your home.
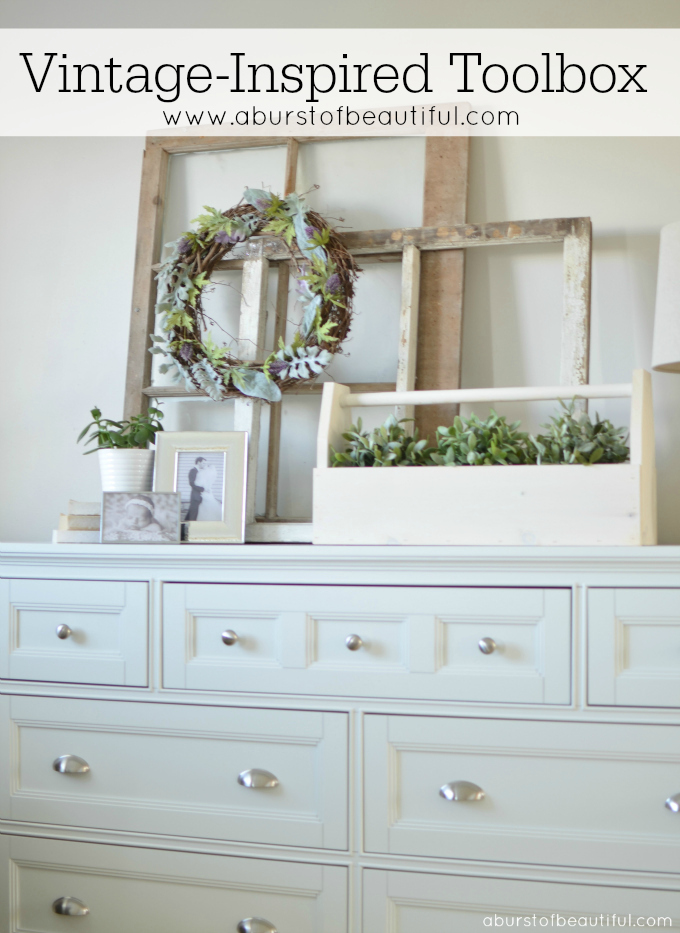
 
A Burst of Beautiful - Vintage-Inspired Toolbox Tutorial

YOU MAY ALSO LIKE...

  • Neutral Vintage-Inspired Area Rugs
  • Vintage Toolbox {3 Ways}
  • DIY Vintage-Inpsired Toolbox

Comments

  1. Shawnna says

    January 13, 2016 at 6:51 am

    hey girl Loved the post! Great idea!

    Reply
    • Alicia says

      January 13, 2016 at 2:34 pm

      Thank you Shawnna! So glad you enjoyed it!

      Reply
  2. Neelam says

    January 25, 2016 at 6:21 pm

    Lovely! I absolutely love how you’ve styled the dresser! Gorgeous.
    xx
    Neelam
    http://patternsandprosecco.com/

    Reply
    • Alicia says

      January 26, 2016 at 9:45 am

      Thank you Neelam!

      Reply

Leave a Reply Cancel reply

Your email address will not be published. Required fields are marked *

A place to find design inspiration, entertaining ideas and simple recipes. Take a few minutes to learn more about us, shop our favourite things and sign up for our weekly newsletter.

JOIN OUR NEWSLETTER

I am so glad we added miniature trees to the girls I am so glad we added miniature trees to the girls' bedrooms this year. They absolutely loved having their very own tree to decorate with their collection of ornaments and handmade treasures.It was a simple and inexpensive way to add an extra dose of holiday magic to their rooms, after all, there is nothing better than witnessing Christmas through the eyes of a child. They truly find such beauty and magic in even the smallest of details. 🎄
This view looks a little bit different this year a This view looks a little bit different this year as we're in the middle of our kitchen renovation. See that little half-wall with the hats, well we've removed it so that we see right into the kitchen now and it's amazing! We've been making great progress, just yesterday our new sink, faucet, and counters were all installed. It's all of these little changes that are making such a big difference. We'll have a few more details to take care of after the holidays, but we're really looking forward to crossing the finish line and sharing it all with you!
I wish our dining looked this tidy at the moment! I wish our dining looked this tidy at the moment! It’s currently under a pile of toys and kitchen essentials. If you’ve been following along with our behind the scenes account, @nick.and.alicia.bts, you’ll know we’re making some big progress on the kitchen. Early next week our window and countertop will be installed, so Nick’s been busy removing our existing counters and sink. It’s so exciting to see it all come together and I’ll be happy to have running water again next week!
Most of our snow has melted, but I'm hopeful we wi Most of our snow has melted, but I'm hopeful we will have a white Christmas this year! I just think everything is a bit more magical when covered in a blanket of fresh snow. ❄⁣ ⁣ Are you team snow or no?
Earlier this week we shared our holiday home tour, Earlier this week we shared our holiday home tour, and now we’re giving you a closer look at the girls’ bedrooms, along with a few helpful tips for decorating kids’ spaces for the holiday season.Do you decorate your little ones’ bedrooms for Christmas?
This year I took my time while decorating our home This year I took my time while decorating our home for the holidays and focused on incorporating simple touches that bring us joy and evoke the spirit of Christmas. Our home feels cozy and inviting, and the girls are loving every minute of the holiday season. 🎅🏼Stop by our blog, nickandalicia.com, to see our holiday home tour, along with new tours added every day this week! Tap to see who joined us yesterday.
Sometimes all it takes is a bow to add a festive t Sometimes all it takes is a bow to add a festive touch for the holiday season! 💙

Join our Newsletter

Copyright ©2021 Nick + Alicia
  • Contact
  • POLICIES + DISCLOSURE