• Blog
  • About
  • Shop Our Instagram
  • Weekly Newsletter
  • Contact
  • HOUSE + HOME
    • All House + Home
    • Mudroom
    • Kitchen
    • Dining Room
    • Living Room
    • Bedroom
    • Kids Bedrooms
    • Family and Playroom
    • Office
    • Outdoor Living
    • Woodworking
  • LIFE + STYLE
    • All Life + Style
    • Entertaining
      • Tablescapes
      • Birthday Parties
    • Seasons
      • Spring
      • Summer
      • Fall
      • Winter
    • Holidays
      • Valentine’s Day
      • Easter
      • Thanksgiving
      • Halloween
      • Christmas
  • FOOD + DRINK
    • All Food + Drink
    • Appetizers
    • Drinks
    • Breakfast
    • Dinner
    • Dessert
    • Seasonal
      • Easter Recipes
      • Fall Recipes
      • Halloween Recipes
      • Christmas Recipes
  • Shop
    • Our Home
      • Kitchen
      • Living and Dining Room
      • Powder Room
      • Zoe’s Bedroom
      • Ella’s Nursery
      • Family Room and Playroom
      • Outdoor Living
    • Window Shades
    • Paint Colors
    • Nick’s Workshop

Nick + Alicia

Lifestyle

March 2, 2016 | by Alicia

Ombré Rosette Cake Tutorial

A beautiful pink ombre rosette cake takes centre-stage at a whimsical first birthday party | A Burst of Beautiful

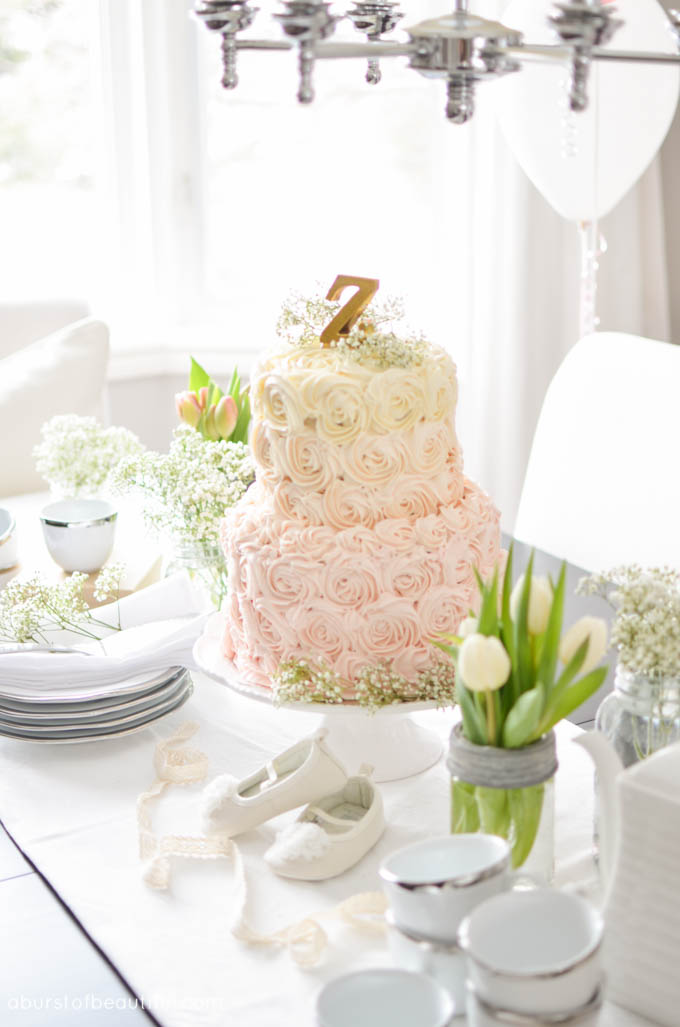
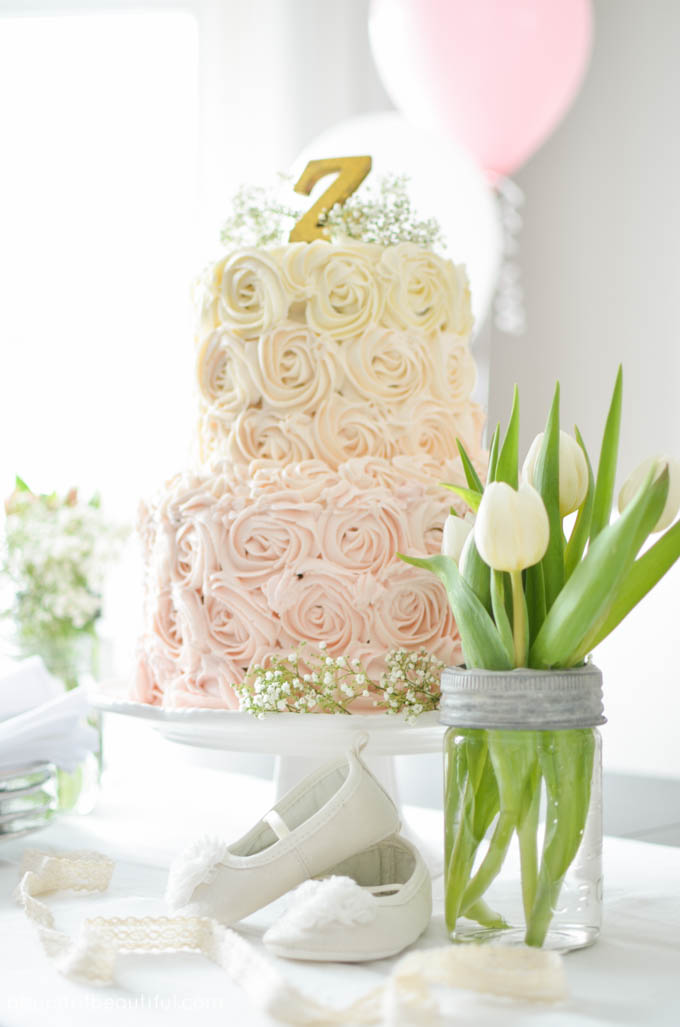
When planning our daughter’s first birthday (you can read all about her party here), the pièce de résistance was going to be her cake. In fact, this wasn’t the first cake that we tried to make. It was the third.  We wanted it to be just right and contemplated what style would work best.

A beautiful pink ombre rosette cake takes centre-stage at a whimsical first birthday party | A Burst of Beautiful

The first cake we tried making was similar to the final product but was made with a fondant coating and alternating layers of pink and white cake inside. It was nice, but it just didn’t convey the whimsical theme we were trying to achieve. It was flat and too “wedding-ish” but still delicious.  The second cake was covered with rosettes in a single pale pink color, and it worked but was still a bit lackluster.

A beautiful pink ombre rosette cake takes centre-stage at a whimsical first birthday party | A Burst of Beautiful

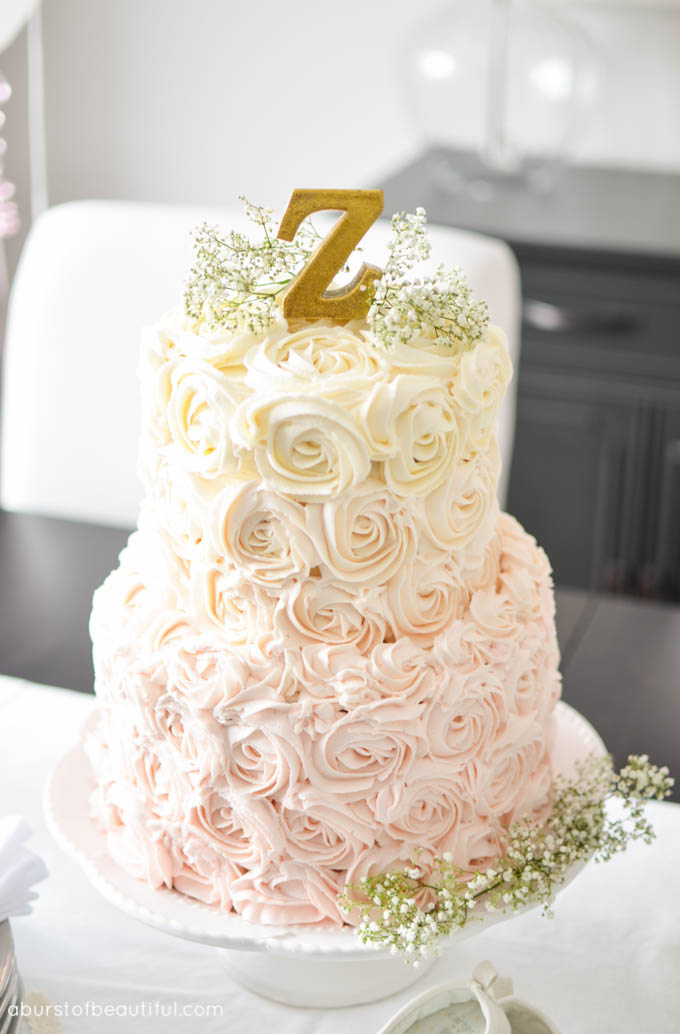
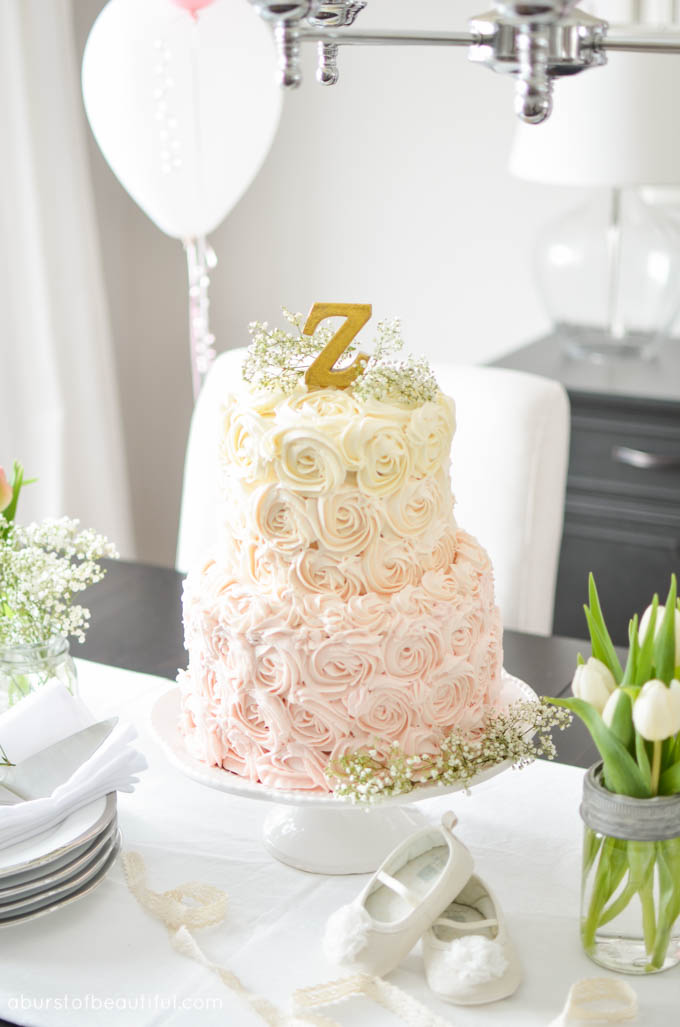
We knew that we were going to use a soft color palette and it was going to be a range of light pink and blush, so I got it in my head that we were going to try and do an ombré rosette cake.  The only problem was, we had never done a cake like this before and it seemed a little intimidating.

A beautiful pink ombre rosette cake takes centre-stage at a whimsical first birthday party | A Burst of Beautiful

We didn’t have a cake at our wedding but had we known it was this easy, we may have made one ourselves!

It didn’t turn out perfect, but somehow that made it fit even more with the vintage party theme.  And let’s face it, no one is going to judge how a cake looks as long as it tastes delicious and comes with a side of ice cream!

A beautiful pink ombre rosette cake takes centre-stage at a whimsical first birthday party | A Burst of Beautiful

This cake is huge and will feed a lot of people. Instead of cutting it up into pie-shaped pieces, we cut it into squares and then cut each of those in half between layers two and three. That will give you approximately 30 decent size pieces on the bottom layer.

The Cakes

A beautiful pink ombre rosette cake takes centre-stage at a whimsical first birthday party | A Burst of Beautiful

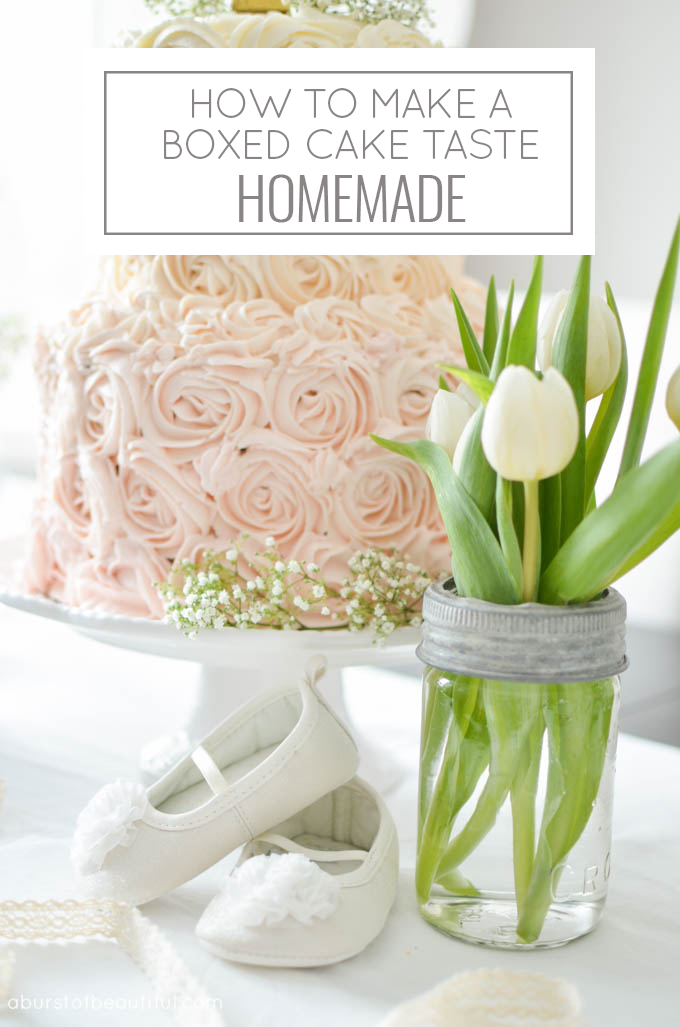
You can use any cake recipe you’d like, including boxed cake mixes (you can check out our tips on how to make a boxed cake taste homemade here). If you want to make the cake the same size as the one pictured (it’s big), you’ll want to triple the recipe you use because you will need four 9″ cakes and three 5″ cakes to replicate the one shown. If you’re using a boxed cake mix, you will need three boxes. A favorite recipe of ours is The Best White Cake Recipe by Robyn at Add a Pinch. Sometimes all you need is a simple white cake!

A beautiful pink ombre rosette cake takes centre-stage at a whimsical first birthday party | A Burst of Beautiful

I baked the cakes, wrapped them in Saran Wrap and froze them a couple of days before I was going to assemble it. I did this for a few reasons. First, it would save time on the day I was going to prepare the cake. I thought about preparing the entire cake, frosting and all, and freezing it, but it’s just not as good when you thaw it out after it’s been frosted. Second, the cake is easier to put together when they are frozen. If you need to level the top of the cakes so that they stack together well, you can shave off the top with a bread knife very easily. Third, the cake is easier to frost and decorate because it is firmer as you spread the icing around.

The Frosting

A beautiful pink ombre rosette cake takes centre-stage at a whimsical first birthday party | A Burst of Beautiful

We came across an easy to follow recipe for Quick Buttercream Frosting Recipe by the Frugal Living Mom that we tripled to make sure we had enough frosting. It is perfect for any cake, but you can use your own or any other buttercream frosting recipe you may find. Just be sure to make enough! Having a lot of frosting helped us control the color as we added more drops of food coloring.  The more frosting, the less impact each drop of color had so there was more leeway to adjust as we continued.

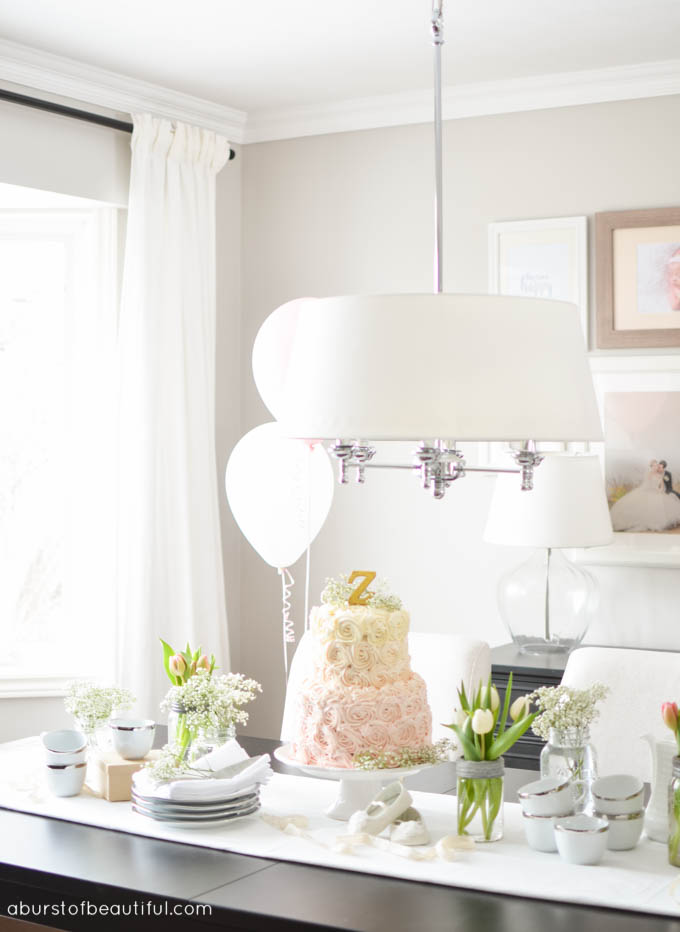
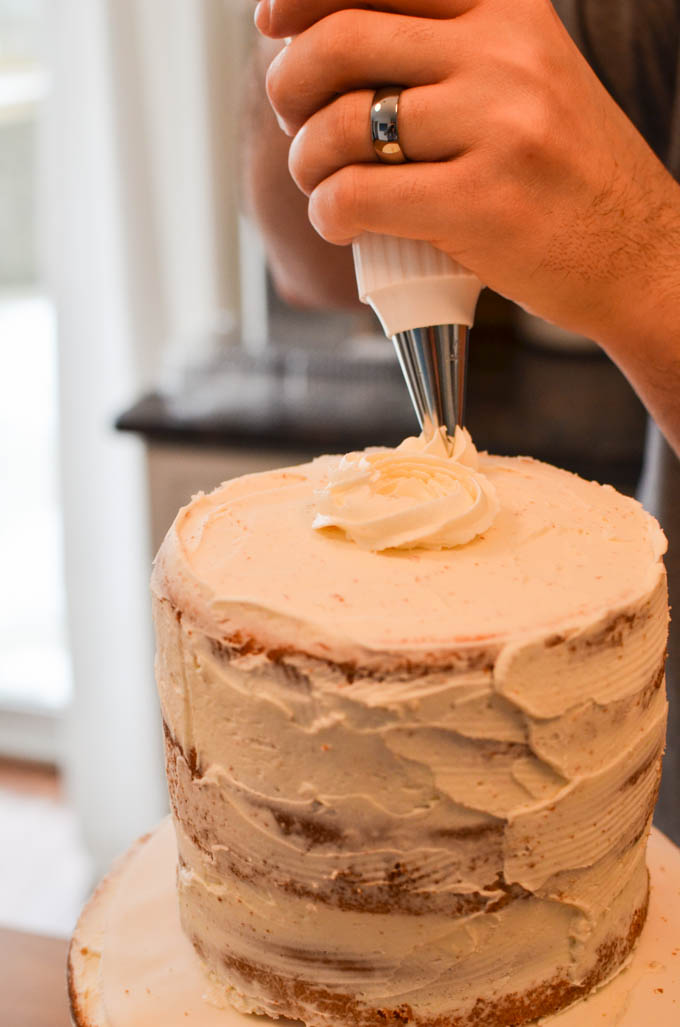
Once you’ve made sure that your cakes will stack evenly, put a dollop of frosting on the surface you will be serving the cake on to ensure that it won’t slide off. Depending on what kind of cake you have chosen, you may decide to add an additional flavor between the layers as we did.  We added a thin layer of seedless raspberry jam followed by 1/4″ layer of icing. We repeated this until we had all of the layers assembled.

A beautiful pink ombre rosette cake takes centre-stage at a whimsical first birthday party | A Burst of Beautiful

Next, base coat the cake with a thick layer of frosting and smooth as best as you can. Here’s a good tip – If your rosettes are going to be a strong color (ie. blue), you will want to tint your base coat the lightest ombré shade of rosettes you are going to use. So if white is your lightest color, I would recommend doing your base white as well. If the rosettes are going to be baby blue, I would also do your base coat in baby blue. Sometimes there are small spaces that show through between rosettes so you don’t want to be able to see the naked cake. We made the mistake of not putting a thick enough base coat on, so we encountered this problem.

Once your cake is fully coated and smoothed out, place it in the fridge for an hour or two and let the frosting harden a bit.

The Ombré Rosettes

A beautiful pink ombre rosette cake takes centre-stage at a whimsical first birthday party | A Burst of Beautiful

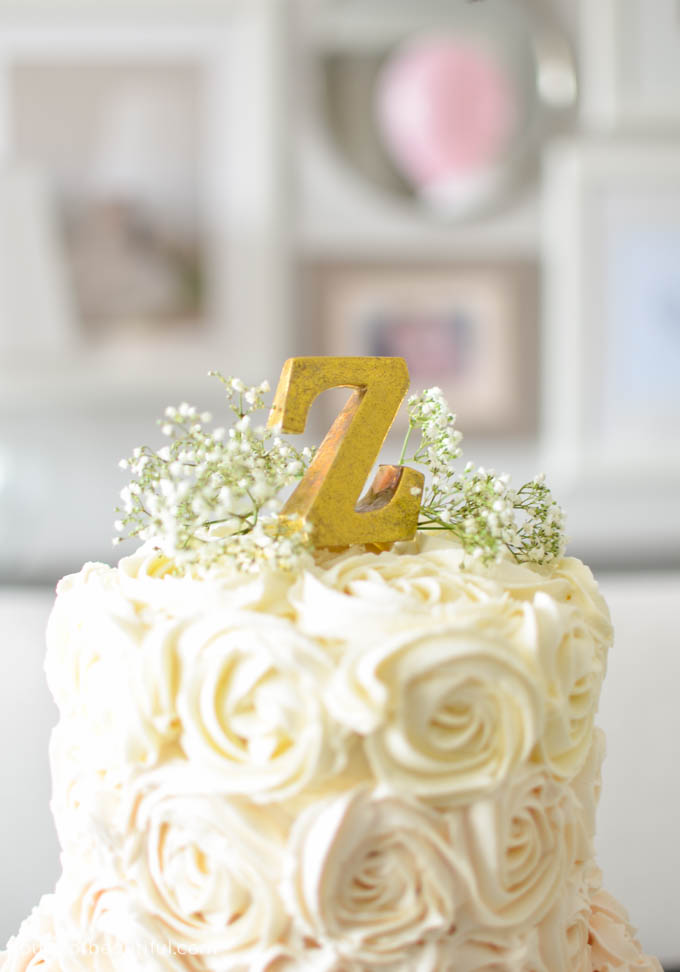
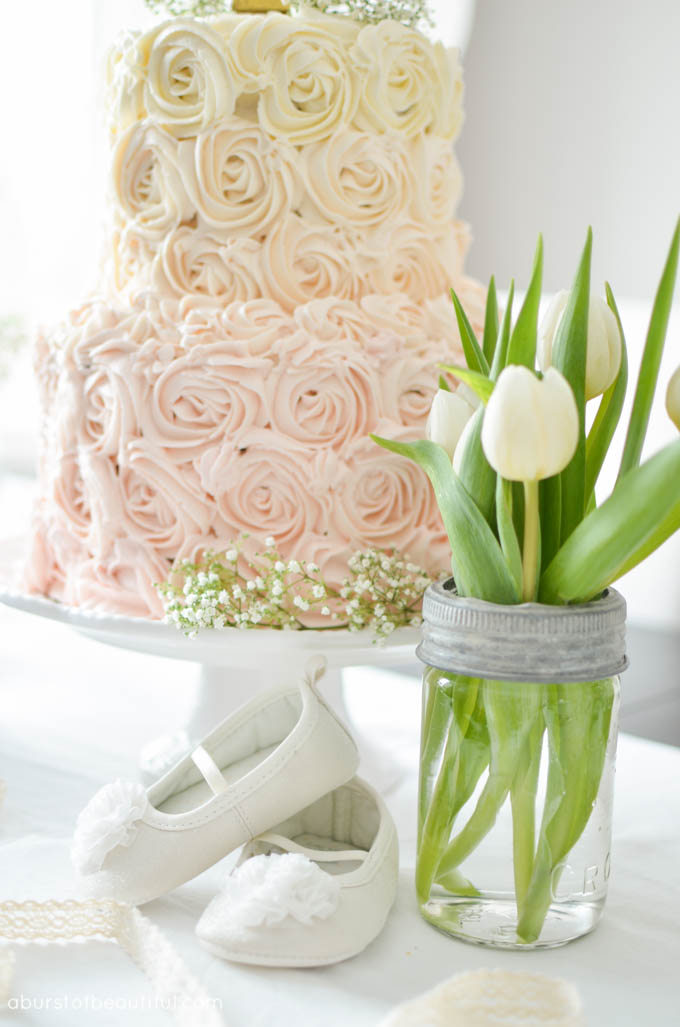
Attach a number 3 tip to your piping bag and fill it with frosting. Unlike decorating a cupcake, a rosette starts from the inside-out. Here’s a great video tutorial by Simply Sweets by Honeybee.

Pink Ombre Rosette Cake Tutorial_4

You’ll want to practice your rosette making skills. It’s actually easier than it looks. On a piece of waxed paper you can try your hand at it before actually decorating the cake. This way you won’t waste any frosting because you can just scrape it back into your mixing bowl.

When you want to create an ombré effect that goes from the top-down we have an easy way to do this without mixing several shades of frosting separately.

Pink Ombre Rosette Cake Tutorial_6

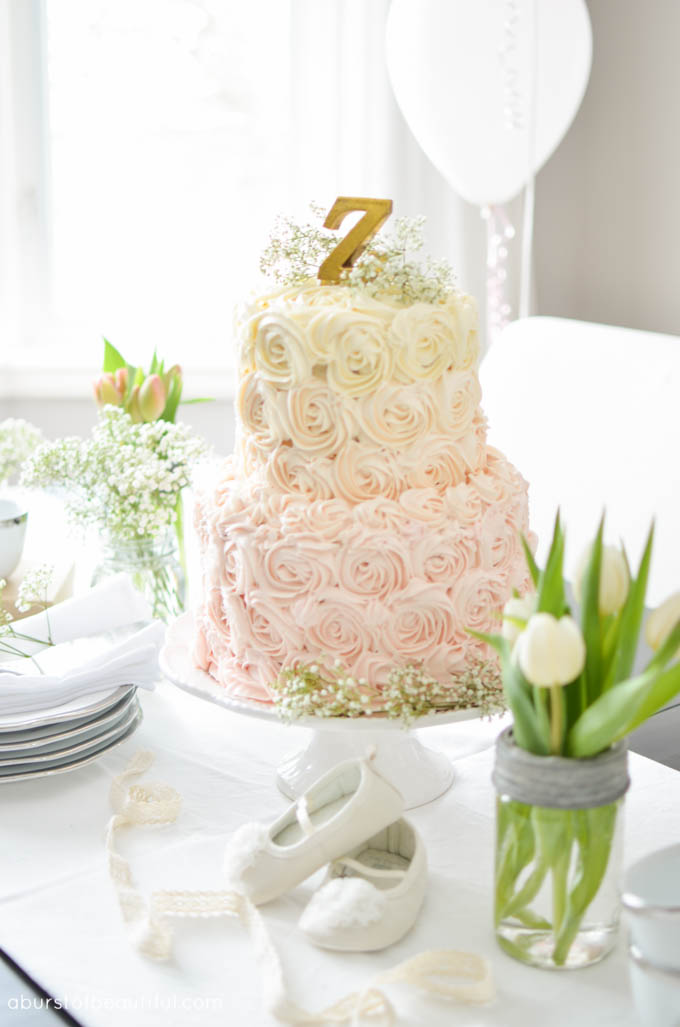
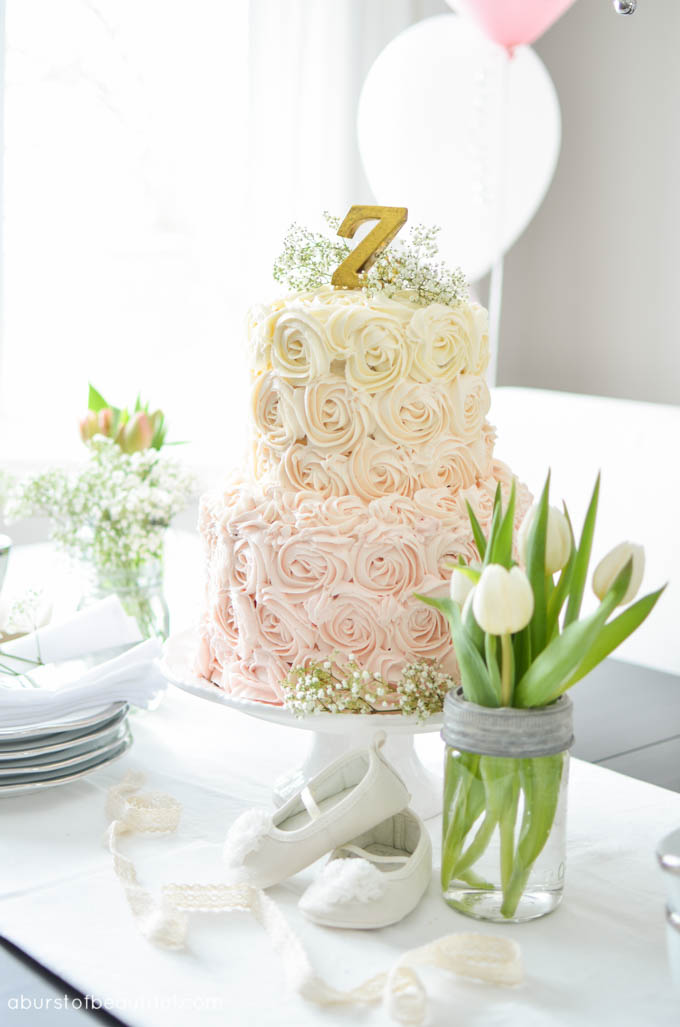
The first step is to plan how many rows of rosettes you will have on each of the tiers. We planned on three per tier with this size of cake, but you’ll want to determine how many based on the size of your cake. While practicing your skills on the waxed paper, make several different sizes of rosettes and determine what size would look best.

A beautiful pink ombre rosette cake takes centre-stage at a whimsical first birthday party | A Burst of Beautiful

Start at the top of the cake with your lightest color and cover the top of the cake with rosettes. Then move on to the first layer on the side of your cake and do a layer all the way around in the same color as the top. Squeeze the remaining frosting in the piping bag back into your mixing bowl. Then add a drop or two of food coloring, mix thoroughly and fill your piping bag back up. Complete another row of rosettes. Repeat this process until you reach the bottom of your cake and you will have a beautiful ombré rosette cake that is sure to be the centerpiece of any special occasion.

Pink Ombre Rosette Cake Tutorial_5

YOU MAY ALSO LIKE...

  • Mini Spring Naked Cakes | Almond Orange Cake Recipe are a sweet and simple addition to any spring tablescape or celebration. Find the recipe at www.aburstofbeautiful.com
    Mini Spring Naked Cakes | Almond Orange Cake Recipe
  • Fall Naked Cake
  • How to Make a Boxed Cake Taste Homemade
    How to Make a Boxed Cake Taste Homemade

Comments

  1. Shawnna says

    March 3, 2016 at 6:25 am

    hey girl love the post! That cake is so pretty!

    Reply
  2. Kim says

    March 3, 2016 at 2:54 pm

    Your cake came out awesome for someone who doesn’t normally make them! Im a professional decorator so I’m going to give A couple tips to pass on to you and you can share,.iWhen you are making a tiered cake, always make a support to hold the tier up. This can be done with wooden dowels or the bobba tea straws or you can use the plastic dowels in the cake decorating department. Stick them in the cake so that their flush with the top of the cake. Usually four is enough. Also using a cake circle or plate for the next tier to set on. If you don’t put your cake together like this you risk it sinking and making your filling on the bottom tier ooze out and the cake could collapse and fall apart. Also use a level on the bottom tier because if your cake isn’t level, it also can topple over!

    Reply
    • Alicia says

      March 3, 2016 at 8:28 pm

      Hi Kim,

      Thank you so much for sharing your tips, they are very helpful! xo

      Reply
  3. Kristin says

    March 11, 2016 at 10:20 pm

    I am so impressed. The cake is beautiful and so is the whole table scape! So sweet!

    Reply
    • Alicia says

      March 14, 2016 at 9:42 pm

      Thank you Kristin, it was such a special day! xo

      Reply
    • Alicia says

      March 14, 2016 at 9:42 pm

      Thank you Kristin, it was such a special day! xo

      Reply

Leave a Reply Cancel reply

Your email address will not be published. Required fields are marked *

A place to find design inspiration, entertaining ideas and simple recipes. Take a few minutes to learn more about us, shop our favourite things and sign up for our weekly newsletter.

JOIN OUR NEWSLETTER

We're welcoming February with a round-up of our fa We're welcoming February with a round-up of our favourite pieces to refresh your home for spring (swipe to see what made the top of our list). We know it's still quite a few weeks away, but that doesn't mean you can't embrace the shifting of seasons a little early. 😉Follow our shop @nick.and.alicia on the @shop.LTK app to shop this post and get our exclusive app-only content! https://liketk.it/3xbcz
Decorating our girls' bedrooms for Christmas is on Decorating our girls' bedrooms for Christmas is one of our favourite holiday traditions. It's always exciting to bring out all of their holiday decor and look through the pieces they may have forgotten about over the year.They look forward to decorating their own miniature trees with the special ornaments they've collected and adding a few festive touches, like this DIY wooden house and bottle brush trees. Swipe through to see all of the details...Follow our shop @nick.and.alicia on the @shop.LTK app to shop this post and get our exclusive app-only content! https://liketk.it/3tYAr
This week we're sharing a glimpse into our home al This week we're sharing a glimpse into our home all dressed up for the season. It feels cozy, inviting, and classic, and we can't wait to share it with you! ⁣ ⁣ Follow our shop @nick.and.alicia on the @shop.LTK app to shop this post and get my exclusive app-only content!⁣ https://liketk.it/3tVpl
We're sharing our favourite holiday wrapping essen We're sharing our favourite holiday wrapping essentials on the blog today. And while I've got everything I need to create beautiful gifts for under the tree, I still need to finish our Christmas shopping. 😳⁣ ⁣ Have you started your holiday shopping yet? ⁣ ⁣ Follow our shop @nick.and.alicia on the @shop.LTK app to shop this post and get our exclusive app-only content!⁣ http://liketk.it/3sWRM⁣ ⁣ #
We decorated our front porch this week just before We decorated our front porch this week just before the first snow of the season. ❄ Cedar and pine garland, a fresh pine wreath, and a prelit faux tree create a simple and festive look to welcome guests into our home this season. ⁣ ⁣ Yesterday we shared our favourite ways to decorate with holiday greenery on our blog, nickandalicia.com. Visit the link in our profile to read the post and follow our shop @nick.and.alicia on the @shop.LTK app to shop this post and get my exclusive app-only content!⁣ ⁣ http://liketk.it/3sFs4
Alright, I know it's early, but it's true...the go Alright, I know it's early, but it's true...the good stuff always sells out so quickly! So today we are sharing the holiday decor essentials we're stocking up on!Tip: Order your greenery now because it's usually the first to go! 🌲Follow our shop @nick.and.alicia on the @shop.LTK app to shop this post and get our exclusive app-only content! #liketkit #LTKGiftGuide #LTKHoliday #LTKhome@shop.ltk http://liketk.it/3pMcr
Am I the only one that feels like our home is neve Am I the only one that feels like our home is never really finished, even after a big renovation? 🙋🏻‍♀️We shared our finished renovation a few months ago but we knew there would still be additions to make in the weeks and months ahead. I've added a few new pieces of decor and we installed a custom roman shade, but the biggest change we made was replacing our kitchen appliances. It's a big investment, but one that is worth it.We partnered with our friends at @frigidairecanada to update our existing appliances and today we are sharing all about it, from why we chose @frigidairecanada appliances again to the favourite features we're swooning over.

Join our Newsletter

Copyright ©2022 Nick + Alicia
  • Contact
  • POLICIES + DISCLOSURE