
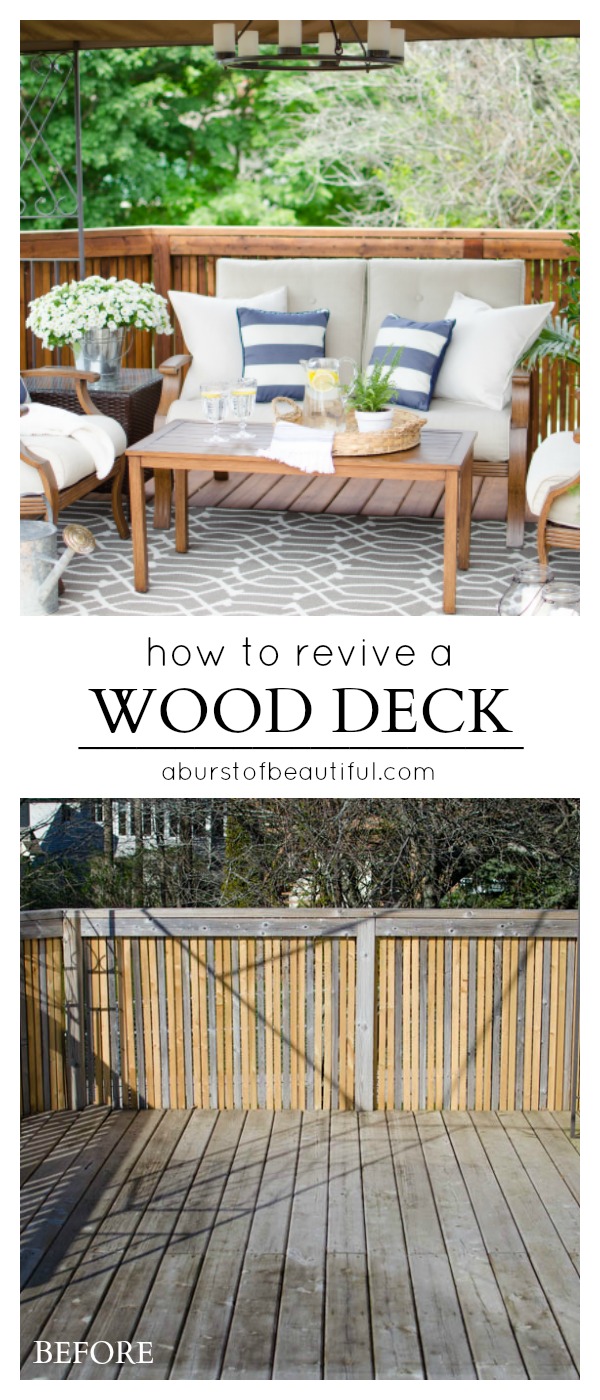
You know those stunning outdoor living spaces you see in home and garden magazines? The ones that are newly built or freshly stained? You look out your window and think “I wish mine looked like that”. All you see is a gray, weathered, lackluster deck, showing years of wear and tear from the elements. That’s what we thought when we looked at ours this spring.

It is one of the last remaining areas of our house that needed an upgrade! It was finally time to make our outdoor living space just as beautiful as our indoor space now that the summer weather is here.
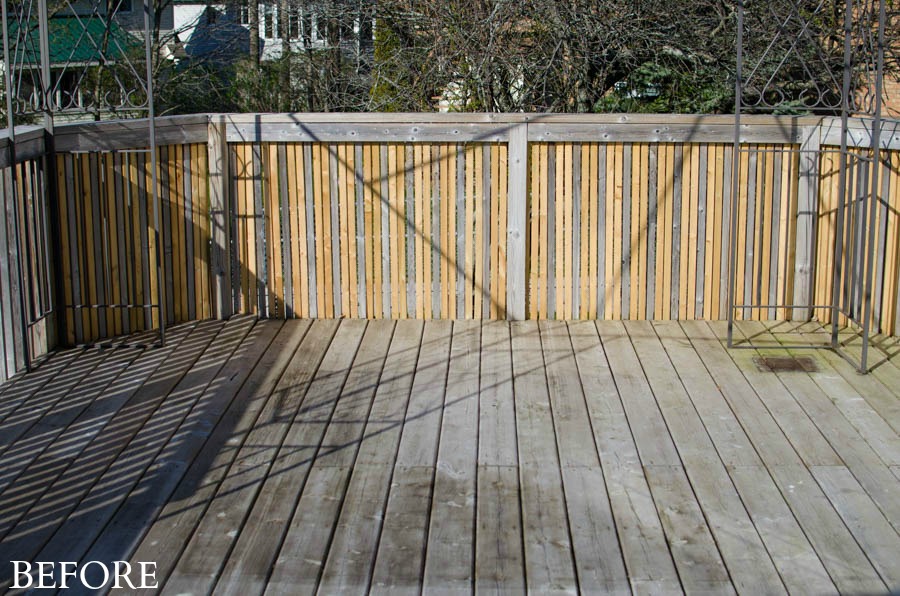
Over the past few years, the harsh weather in our area has taken a toll on our deck. We had used a pressure washer to clean off any mold and mildew that had taken up residence on the surface, but we neglected to apply any kind of protection to the wood. This year we considered tearing out our deck and building a new one but our budget didn’t allow for it. We always wanted a finished look instead of just raw pressure treated wood.

So we looked for a more economical solution that would extend the life of our deck and give it some much-needed style. The interior of our home is painted exclusively using Benjamin Moore paint, so we opted to try their prep products and deck stain.

We were a little hesitant to start this project because we knew it was a lot of steps to do the job right. Our deck has wood railings with a lot of ballasts for privacy and each one of them needed to be prepped and stained as well. Preparation is 80% of this job, and staining is only about 20%. You will find that the better the preparation, the better the result. Benjamin Moore’s CLEAN, RESTORE and BRIGHTEN products will help you achieve outstanding results.
Preparing the surface is the most important step in the entire process. Benjamin Moore’s CLEAN product is ideal to remove mold and mildew from wood surfaces. (If you have weathered stain or paint on the deck, you’ll want to begin with their REMOVE product to remove it and then you can skip the CLEAN product).

The second step uses their RESTORE product. It restores old, severely weathered wood using a non-bleach formula that is gentle on the wood and surrounding environment.

The third step is to use their BRIGHTEN product. It will remove the tannin and rust stains in the wood. It also breaks the “mill glaze” on newer wood so that it will accept the oil stain. It counteracts the darkening caused by the previous step.
We didn’t want to paint or use a surface stain on the deck since we experience a lot of variable weather in our area throughout the year. Our goal was to apply something that would protect the wood and not flake off the surface after a year.

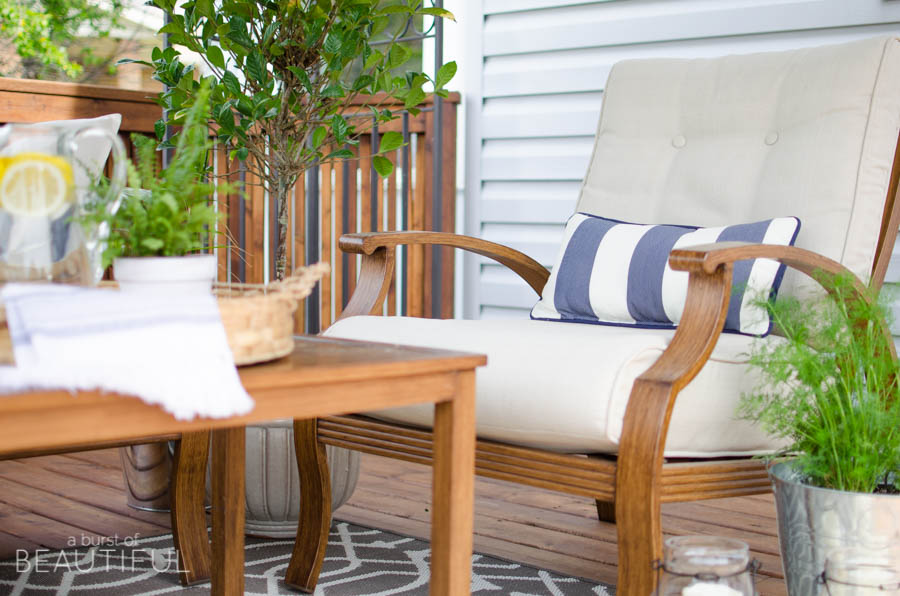
We decided to use Benjamin Moore Arborcoat Premium Oil Stain Translucent in Teak color. This stain colors and protects the wood while still allowing the beauty of the wood texture and grain to show through and absorbs deeper into the wood, making it a longer-lasting option. It also provides protection from water and sun damage. There are six great colors to choose from; Natural, Redwood, Teak, Cedar, Mahogany and Silver Gray.
It’s great that they also offer transparent, semi-transparent, semi-solid, and solid stain products. Semi-transparent and semi-solid stains are available in seventy-five different colors, and solid stains can be customized to any BM color, which gives you endless options to suit your design!
So stop dreaming of that outdoor living space, and make it happen!
BENJAMIN MOORE PRODUCTS REQUIRED
- Benjamin Moore Clean – 3.79L
- Benjamin Moore Restore – 3.79L
- Benjamin Moore Brighten – 3.79L
- Benjamin Moore ARBORCOAT Premium Oil Stain Translucent – 3.79L*
*We used almost three cans of stain to complete a 500 square foot deck and wooden railings.
OTHER SUPPLIES REQUIRED
[one_half]
- Neoprene gloves
- Plastic Sheeting
- Masking tape
- Garden sprayer
- Garden hose
- Pressure washer
[/one_half][one_half_last]
- Heavy-duty deck brush
- 5″ orbital sander
- 5″ 80 grit sanding discs
- Wet/dry vacuum or leaf blower
- 2.5″ paintbrush
- 5″ deck brush
[/one_half_last]
SAFETY FIRST
Before using each of these, make sure you follow the safety directions on each product which includes proper eye and skin protection.
STEP ONE – Clean
Mix the CLEAN solution with water at a 6.5:1 ratio in a garden sprayer. Cover with plastic or saturate surrounding vegetation with water before spraying the deck.
Apply in sections, beginning with the railings. The surface can be wet, damp or dry when completing this step, although we had better results when the wood was slightly wet. Allow the solution to penetrate the surface for 10 – 15 minutes. Use a stiff poly brush to work the solution into the top of the wood to remove as much mold and mildew as possible, then rinse well with a pressure washer or hose fitted with a nozzle.
STEP TWO – Restore
This step can be completed immediately after the cleaning step.
Mask off any metals, plastics, or siding with plastic drop sheets and masking tape. You can skip this step if you are very careful with your application. Mix with water at an 8:1 ratio in a garden sprayer.
Apply in sections, beginning with the railings. Allow the solution to penetrate the surface for 10 – 15 minutes. Use a stiff poly brush to work the solution into the top of the wood to remove as much mold and mildew as possible. Rinse well with a pressure washer or hose fitted with a nozzle.
STEP THREE – Brighten
Protect any vulnerable areas like siding, furniture, and delicate plants with a plastic drop sheet and masking tape. Mix BRIGHTEN with water at a ratio of 7:1 in a garden sprayer. Apply in sections and allow to penetrate for 10-15 minutes. Then agitate with a stiff poly brush and rinse well with a pressure washer or hose fitted with a nozzle.
STEP FOUR – Sand
Once the deck is thoroughly dry after 36-48 hours, you can begin sanding all areas. You can simply use a pole sander with 80 grit sandpaper to remove all of the loose wood fibers lifted by the pressure washing. We recommend using a Dewalt 5-inch Variable Speed Random Orbit Sander like we did with 80 grit sanding discs which allowed us to really smooth out the surface. Replace any screws that may be rusted, loose or broken, and make any repairs that may be necessary to the deck.
Do not use sandpaper finer than 80 grit or you risk closing the pores of the wood, making it difficult for the stain to be absorbed.
When you are finished sanding the entire deck, use a leaf blower or the blowing outlet of a wet/dry vacuum to remove dust from the surface and between any cracks.
STEP FIVE – Stain
Finally, you’ve made it to the last step. Again, the wood should be left to dry for 36-48 hours before you begin staining and you should look ahead in the forecast to make sure it will not rain within the next 24-48 hours after you are finished.
A lot of online tutorials direct you to use a deck pad or roller, however, we found that using a 5″ deck stain brush works fantastic for applying the stain to the deck floor. It allows you to get right into the spaces between boards on the deck floor. It sounds like it would take a long time when using a brush, but it actually went very quickly and really allows you to get into spaces you would otherwise miss. We used the 2.5-inch angled brush for the railings and other tight spaces.
It’s best to do this on a cloudy day, or during a time of day when the sun will not be directly on the deck. Surface and air temperatures should be between 50-90°F (10-32°C) for best results. Any cooler and the stain will not cure properly, and if it’s any warmer, it will dry too quickly. The 68°F (20°C) mark would be perfect.
Start with the railings and apply the stain from the bottom up, finishing with the top rail. Try to avoid any drips and it may help to have someone on the other side staining as well so that they can catch any drips you may not see.
Then begin the deck floor. It’s important to plan your exit strategy from the beginning so that you don’t trap yourself on the deck. Start with a 4-foot section of three or four boards and work your way across the entire deck while maintaining a wet leading edge. Do not recoat or touch up any stained surface after 10 minutes or the sheen and color will dry unevenly in that area.
Allow the stain to cure for 24-48 hours before placing furniture or allowing water to make contact with the surface.
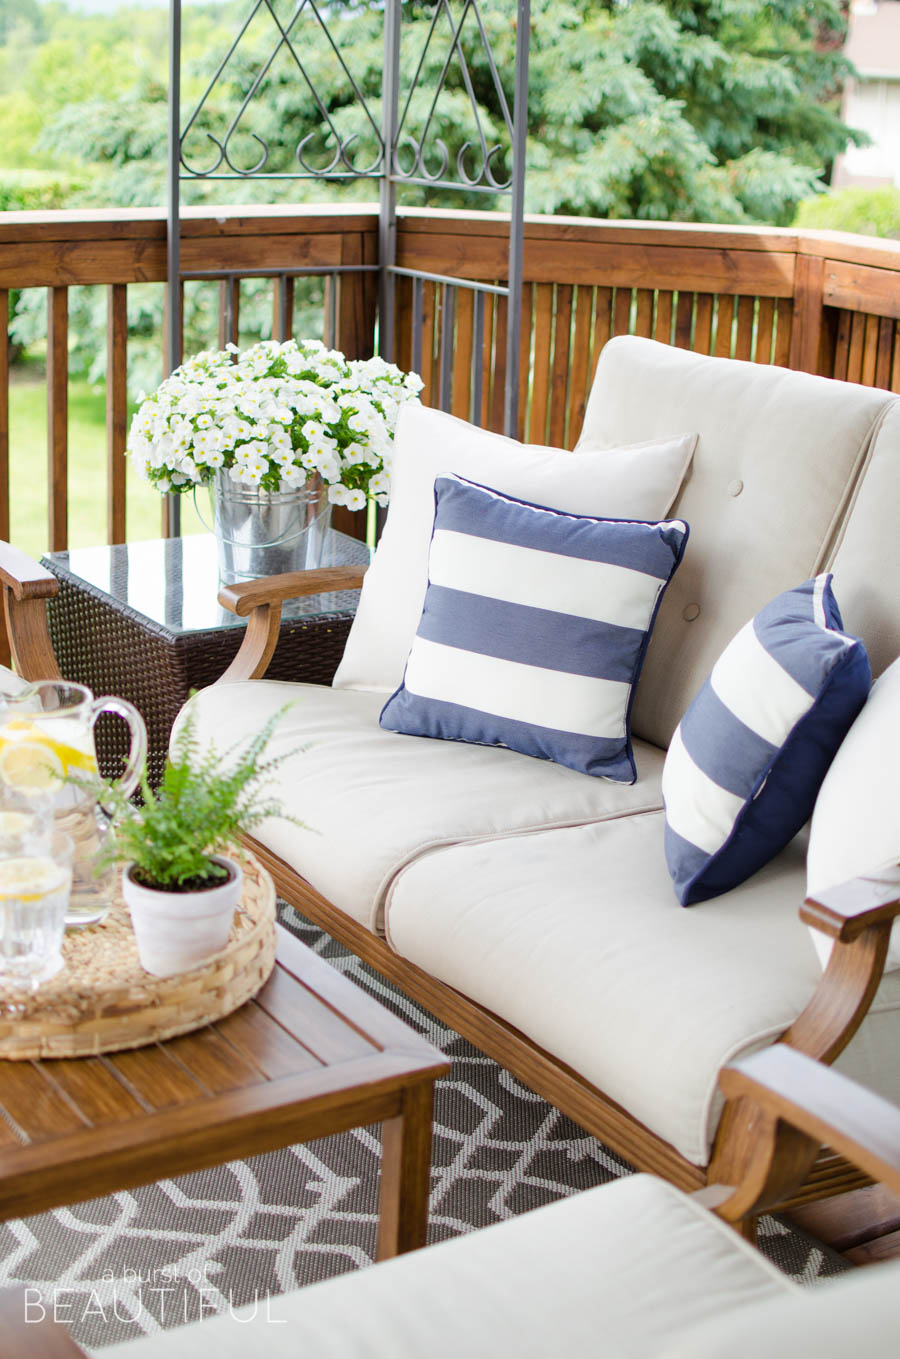
STEP SIX – Enjoy
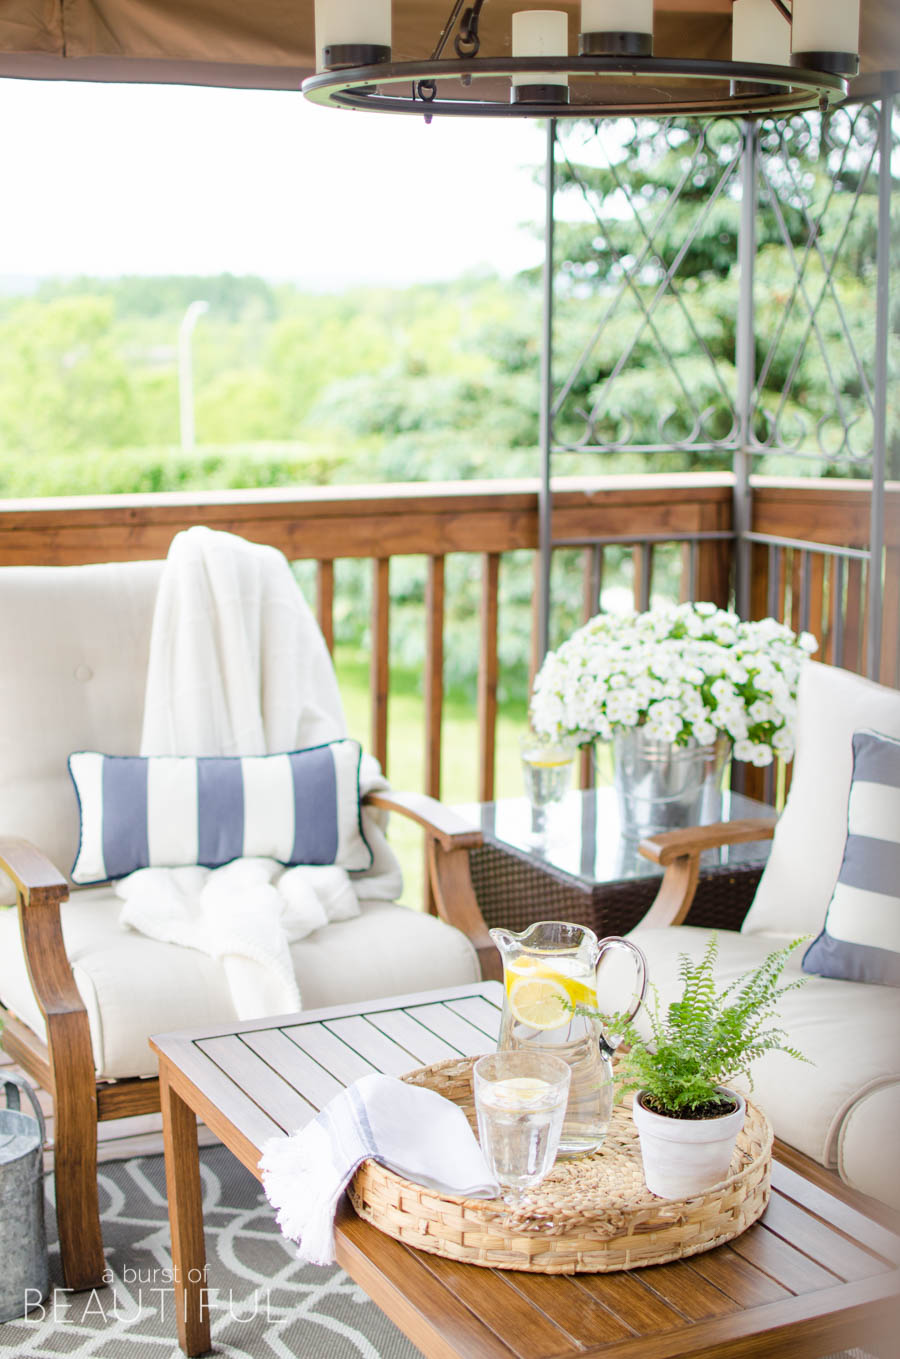
It’s a lot of effort, but it is worth it to rejuvenate an old weathered deck that you can continue to enjoy for years to come! Grab a drink, invite your friends and enjoy the summer!
Please note this post may contain affiliate links, which allow us to make a small commission from your purchase, but your purchase price stays the same (see our full disclosure policy here).
SHOP THE POST


Barbara Hanilton says
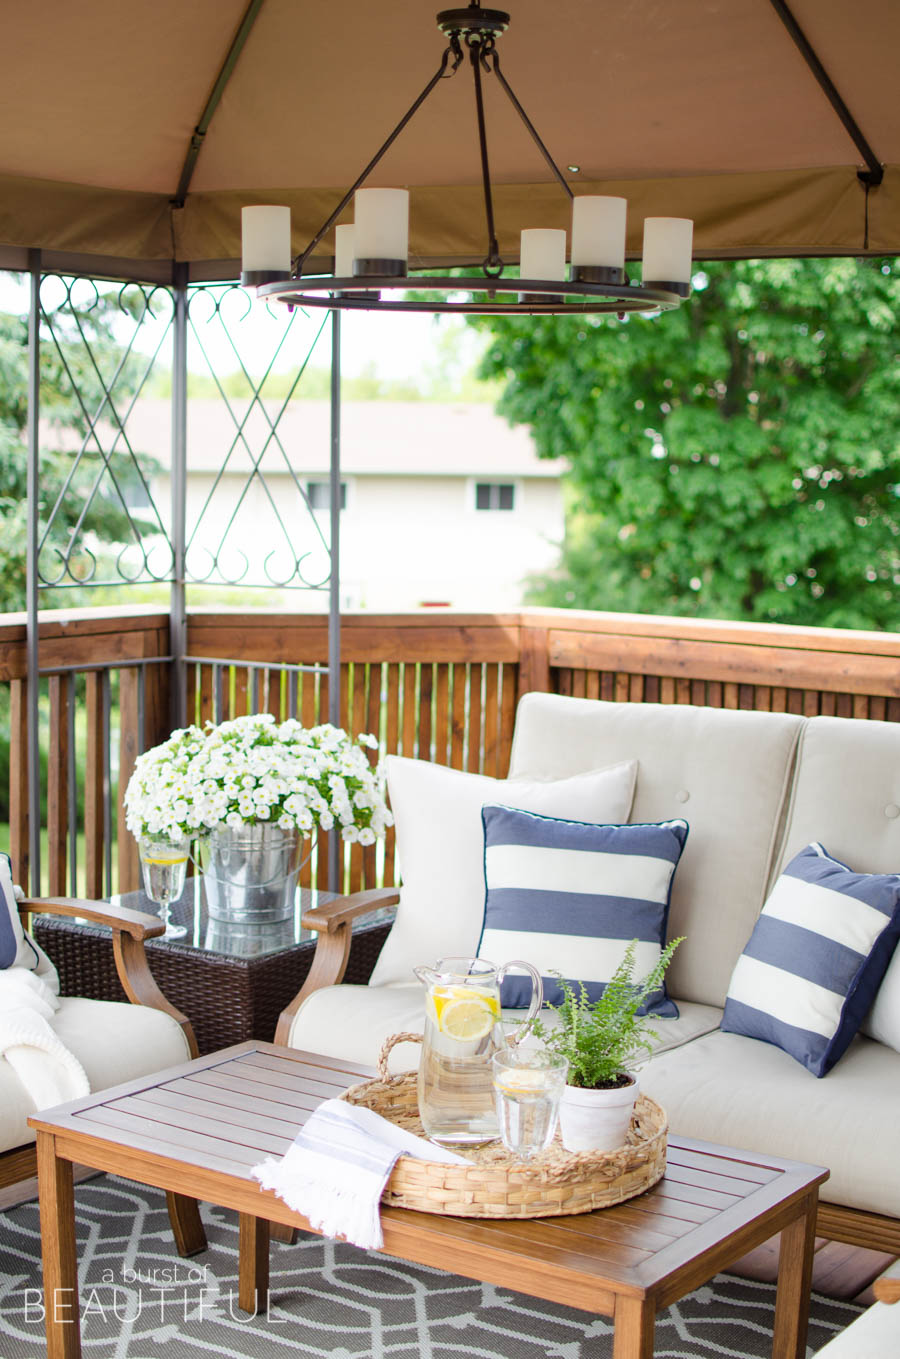
What are you using for the cover over your deck? It looks as if it would be something we could add to our deck. We desperately need a cover of some sort.
Nick says
Hi Barbara!
We found this gazebo a few years ago at a very good price and it has held up great! It’s still available at Overstock (Parlay Gazebo) for a really good price. It is 12′ x 10′ in size. I wouldn’t recommend going any smaller than that, as it will probably not provide you as much coverage from the sun. It accommodates our four piece patio set very well.
Hope this helps you!
Shawnna says
Great tips! Love the video! The porch looks so good!