
Have you ever wanted to make your own furniture? Nick developed the plans and built this Modern Shaker Sideboard, and it’s easy enough that even the novice woodworker can do it!
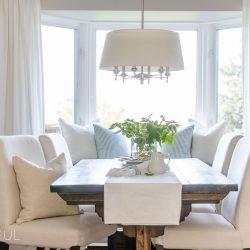
Over the past few months, we have been working towards creating a dining room that fits within our home’s modern farmhouse style. The first change in this most recent makeover came in the form of a beautiful new DIY farmhouse dining table and window bench with storage. Next came the addition of board and batten wainscoting, which added so much detail and character to our walls. But the space was still missing something. In most of these posts, you’ll notice that I excluded photos of the far wall. I simply hadn’t found the perfect piece of furniture for it yet.
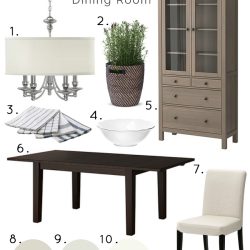
Get the Look

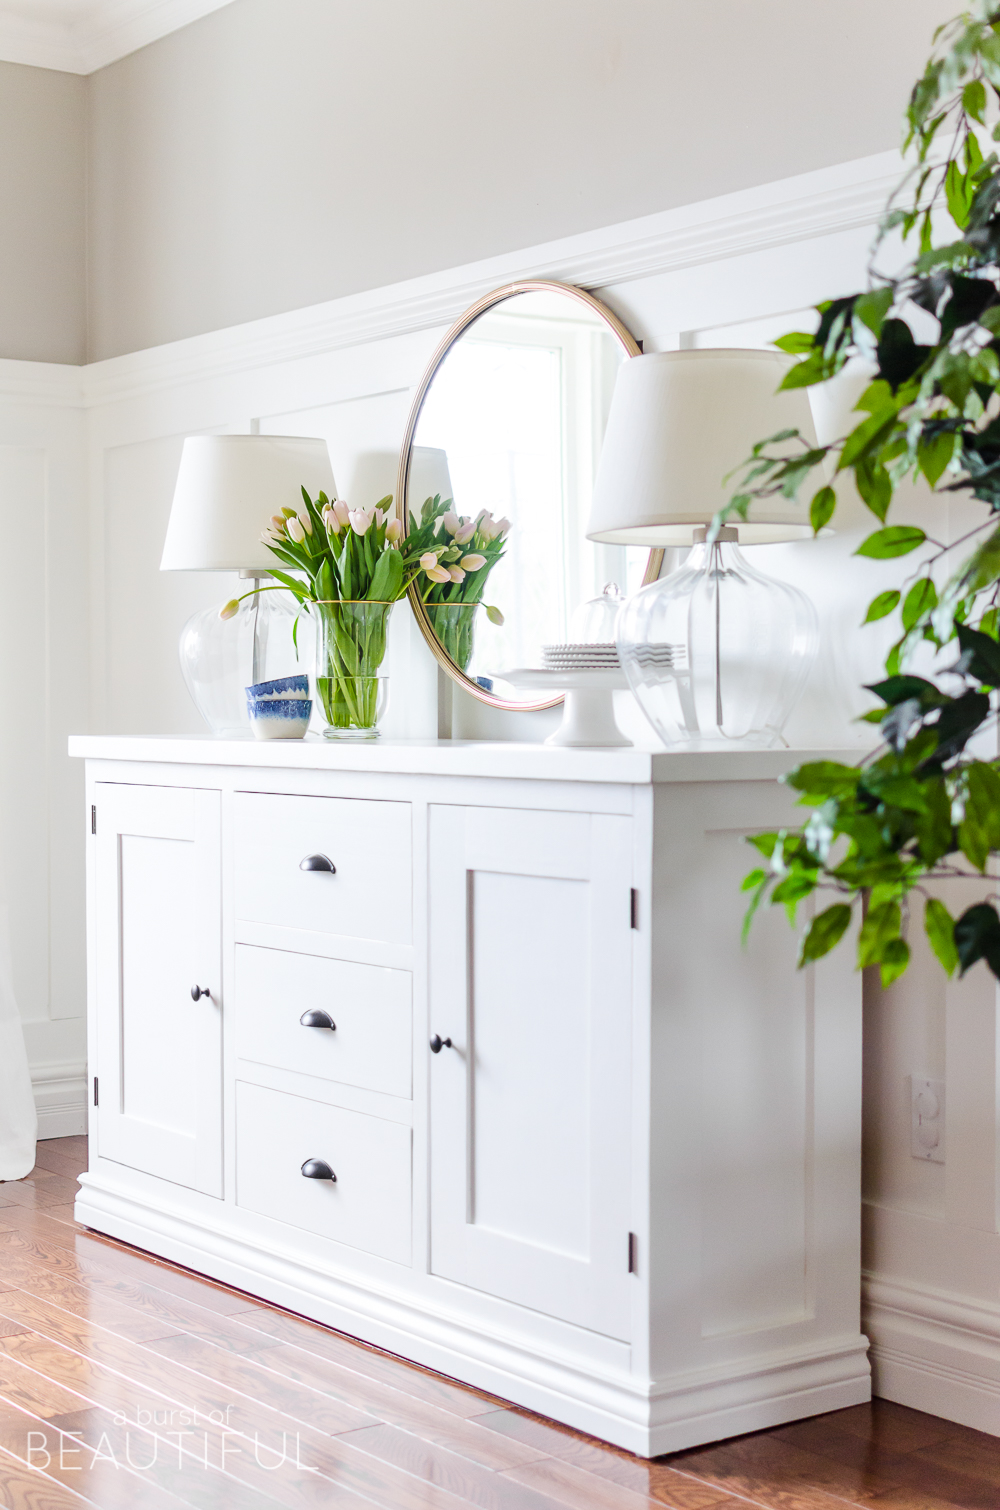
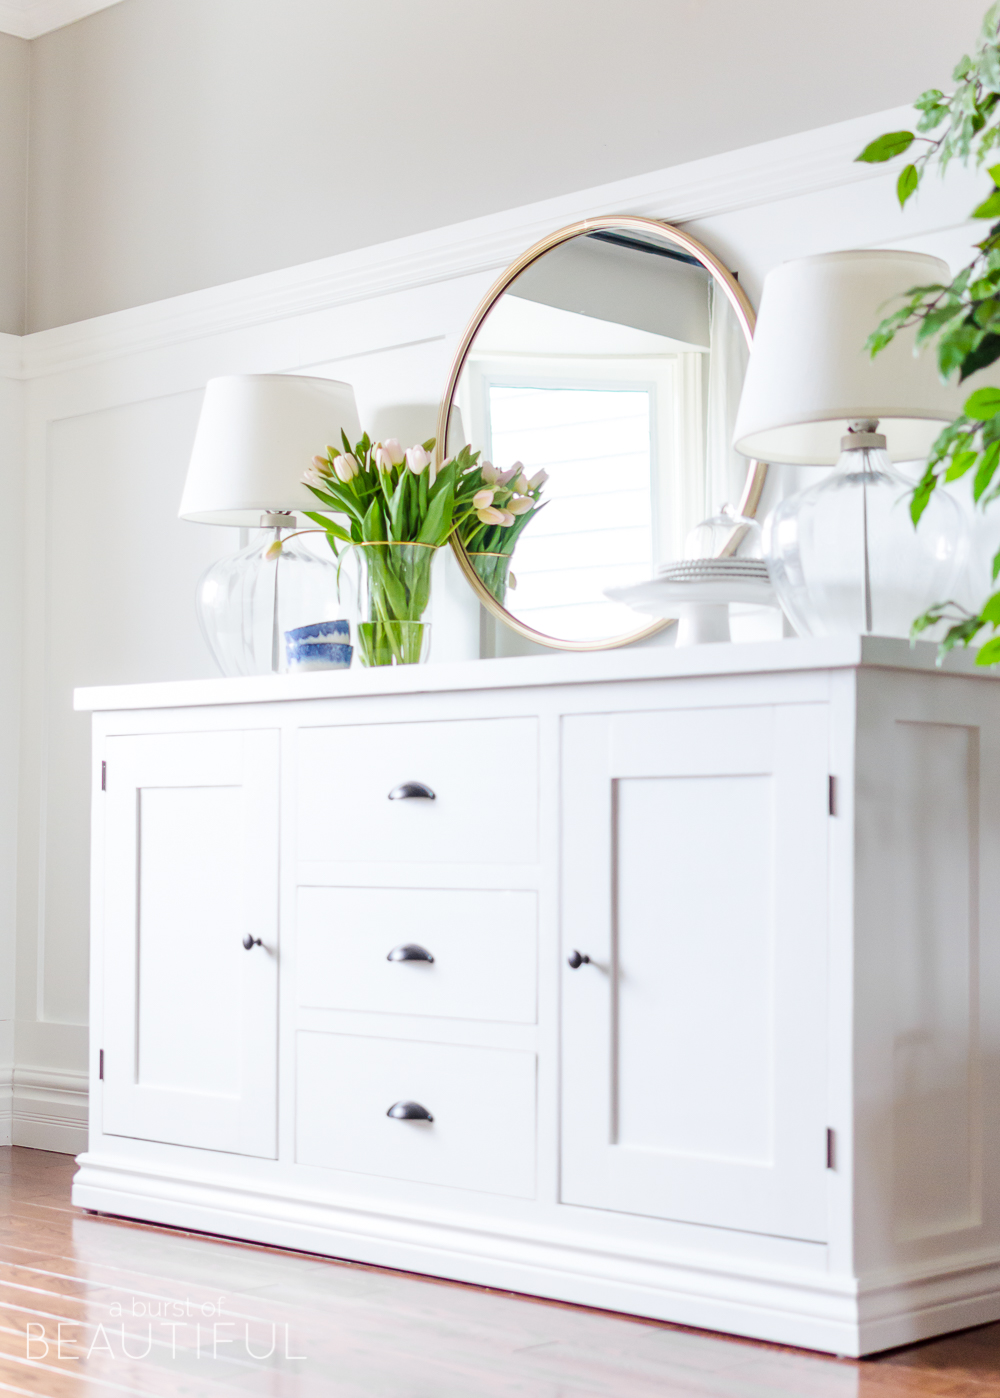
Because that particular wall in our dining room is a blank canvas – it has nothing to distinguish it or create a visual break from the rest of the space – I knew I wanted a large piece. Something that would help fill in that emptiness. I also knew I wanted a piece of furniture that provided additional storage – we are always for maximizing storage space in our home!
So I started searching high and low for just the right piece. I looked at thrift stores and online classified sites. I browsed my favorite shops, both online and local. But anything that caught my eye was much too expensive and out of our price range, and none of them seemed to fit exactly what we had in mind!
That’s when Nick jumped in with the offer to build just what I was hoping for. He was a little hesitant at first, as he’s still honing his carpentry skills, but I was more than happy to take him up on his offer. I knew whatever he built would be beautiful.
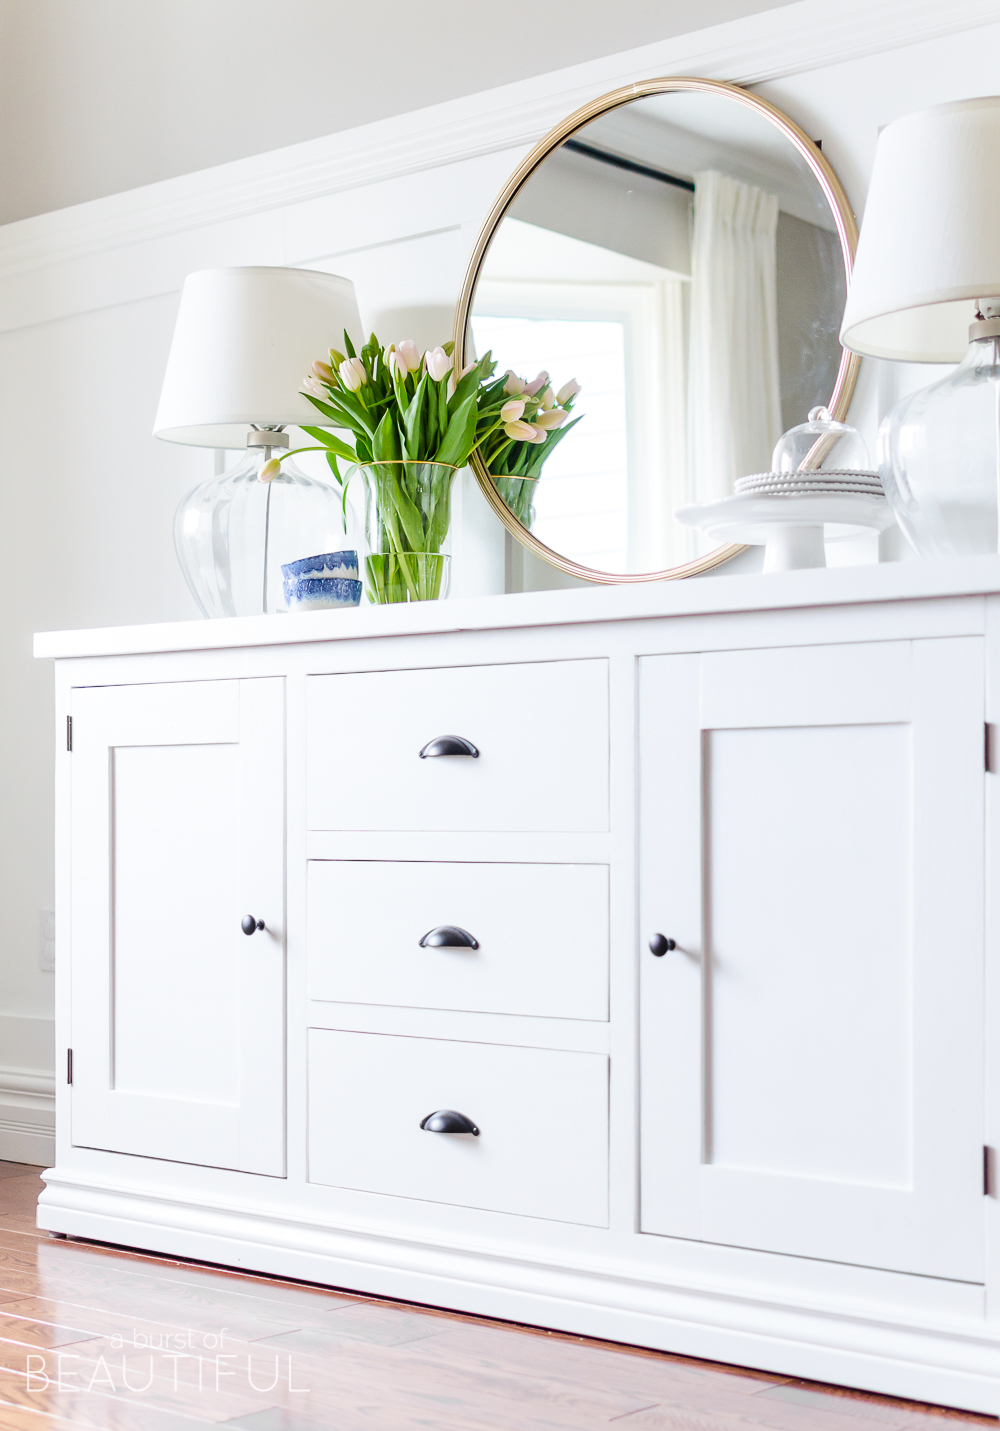
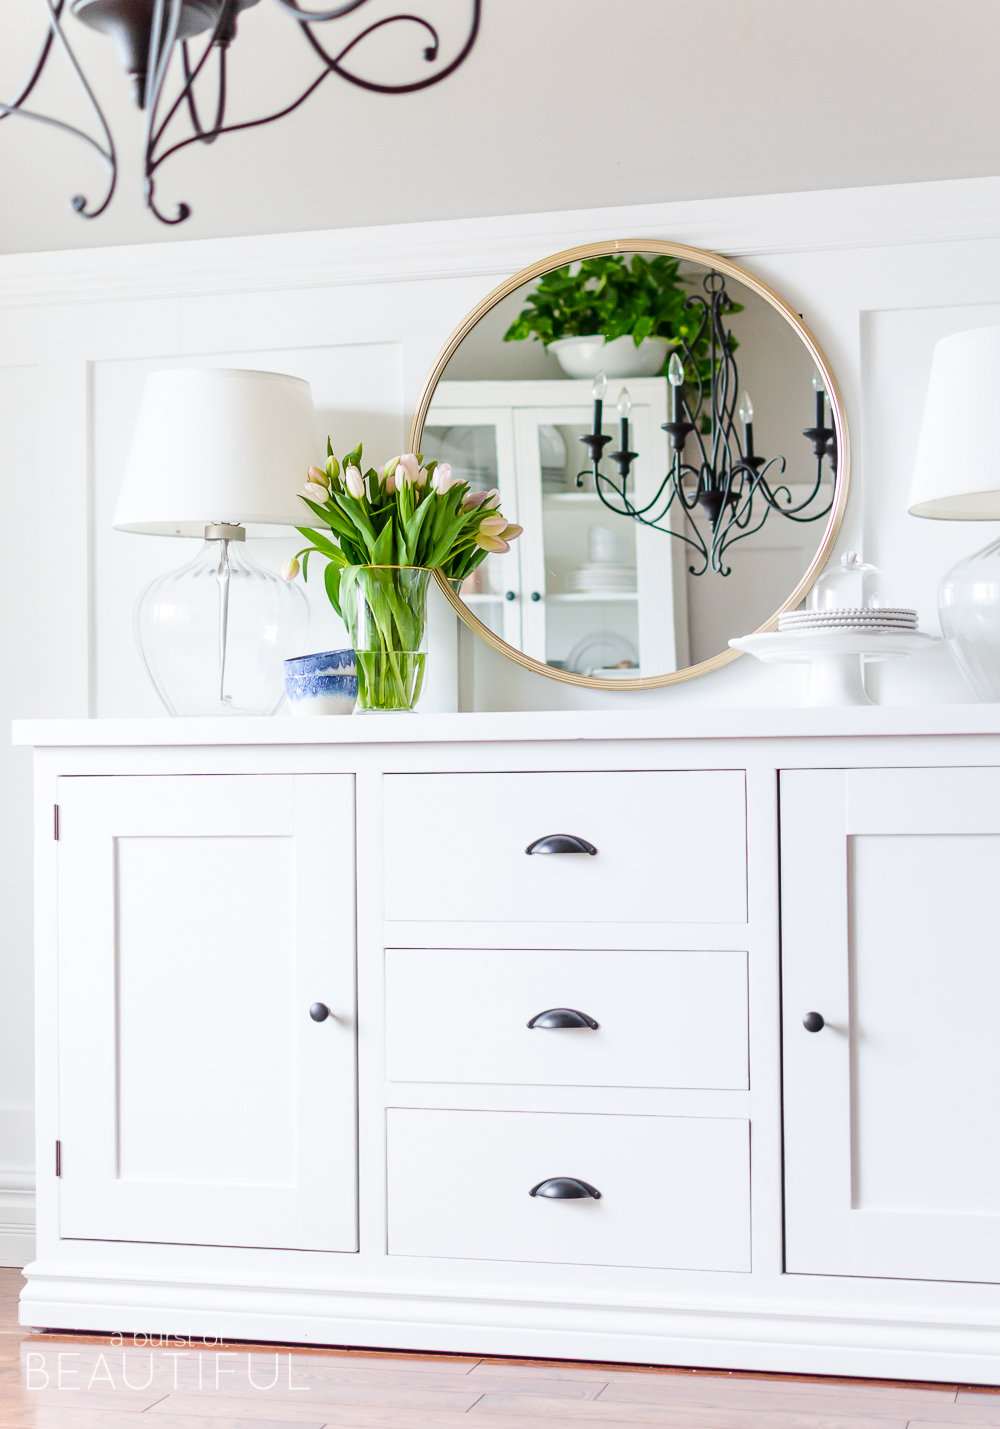
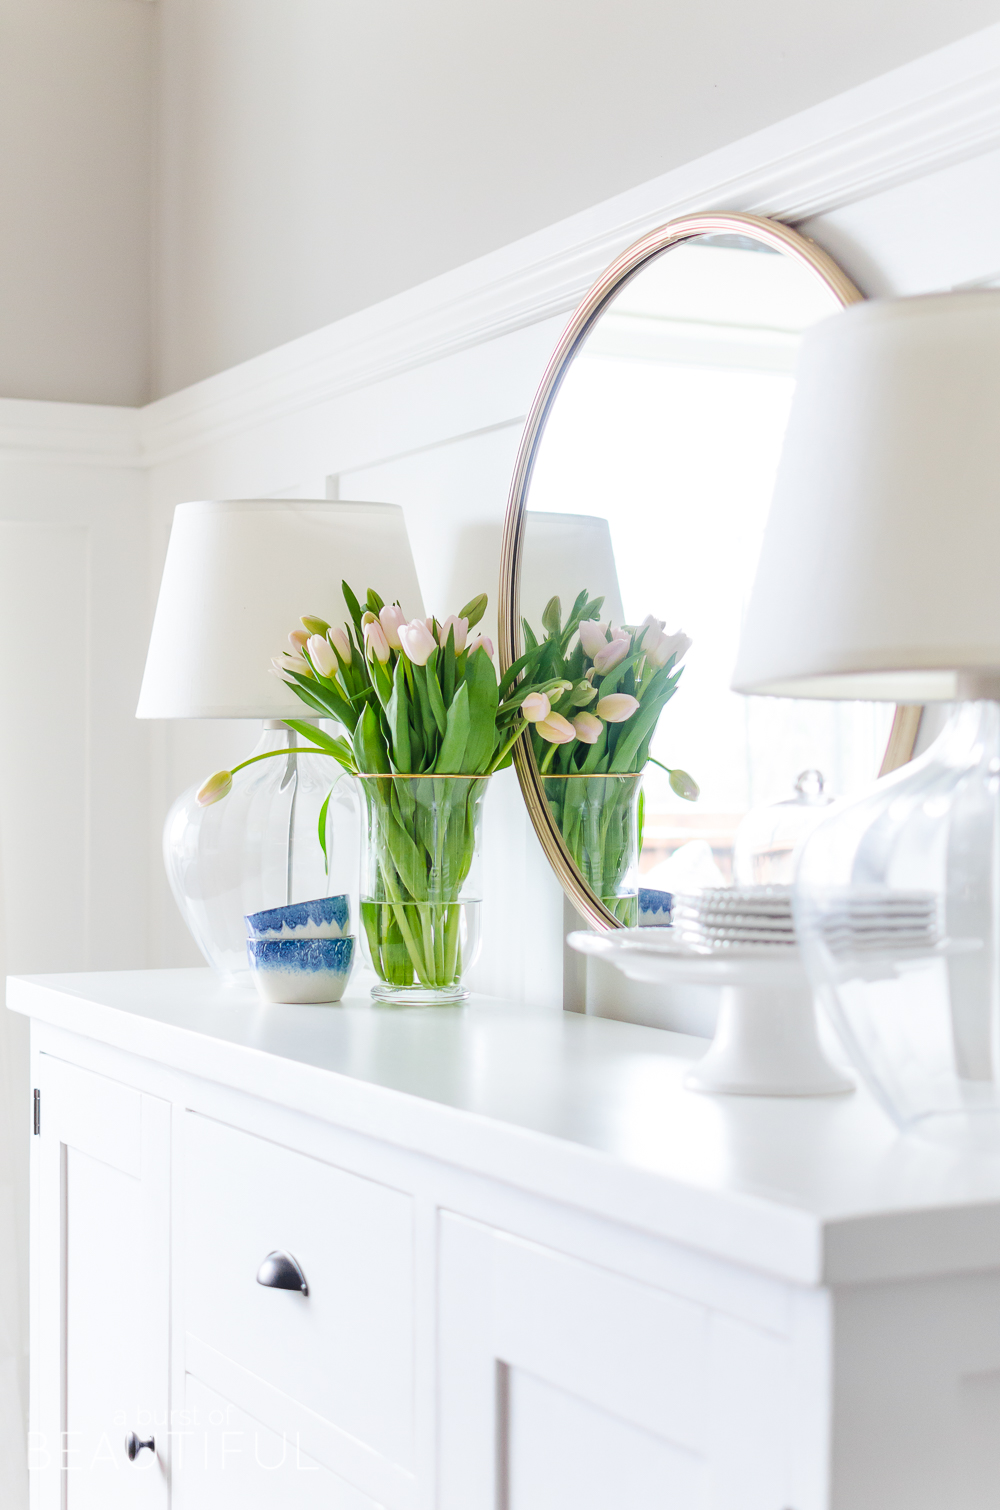
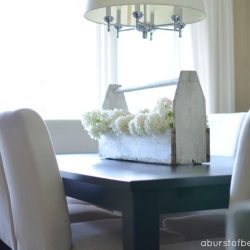
He began sketching out plans to meet my needs – both aesthetically and practically – and once we had a design we were happy with, he set to work. The end result is this absolutely gorgeous modern farmhouse sideboard buffet.
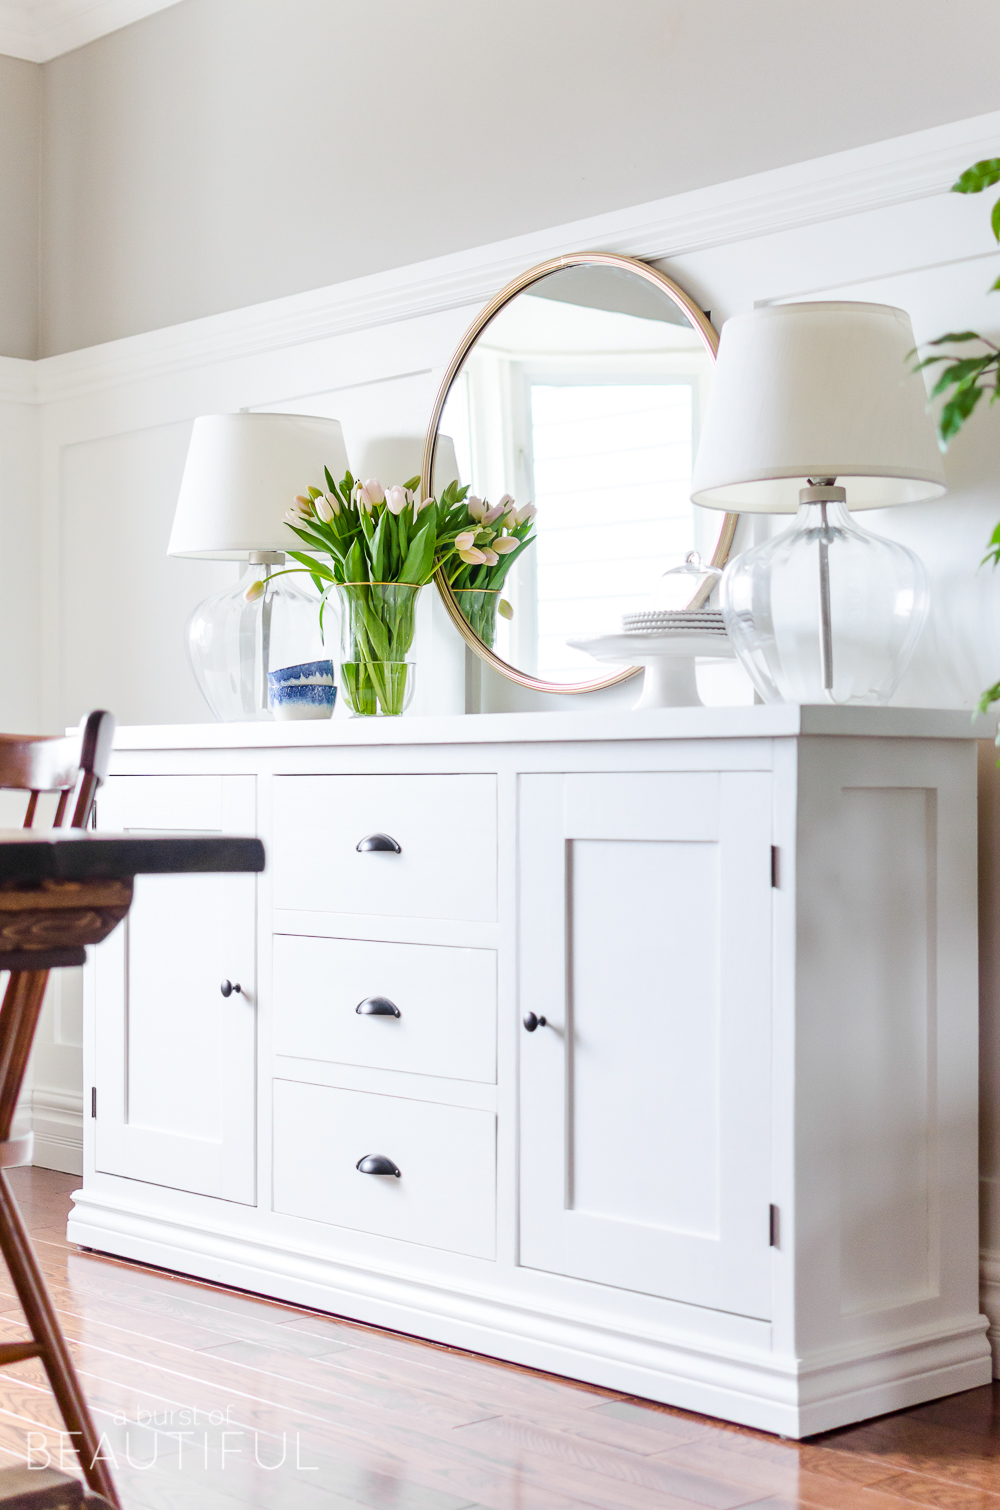
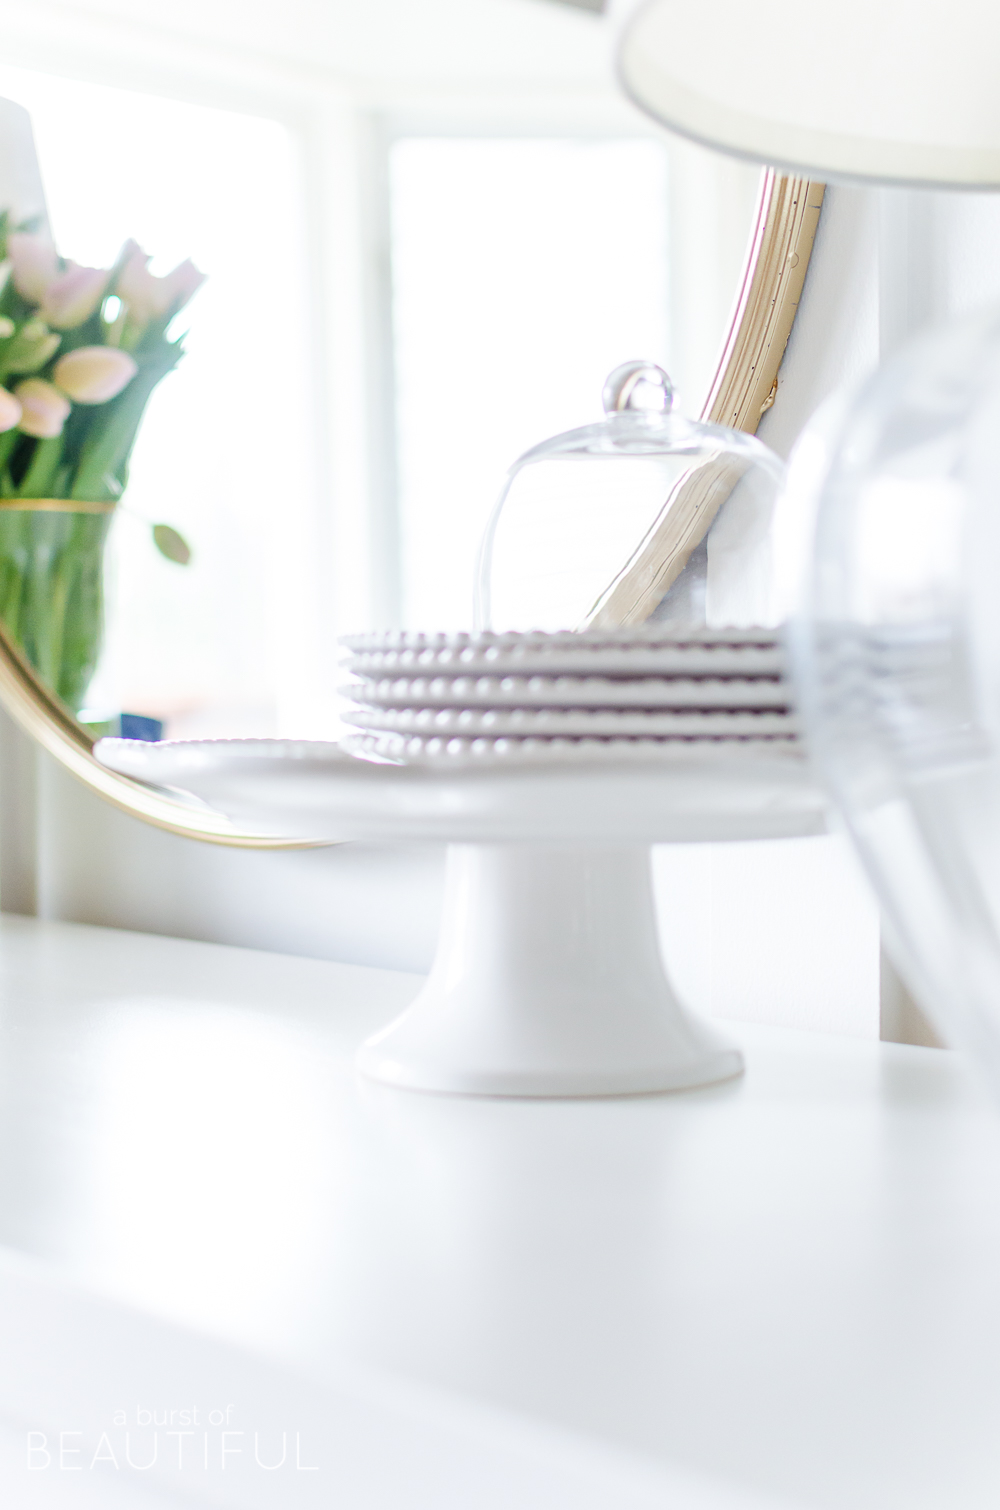
Even though I had complete faith in Nick’s ability to build us a beautiful piece of furniture (he has after all done a lot of DIY projects around our home), I was still awestruck by how amazing the sideboard turned out. He had never built a large piece of furniture like this before complete with shaker doors. We chose to paint it white and add simple matte black hardware, so it has a crisp clean look.
Now I have even more storage for extra dinnerware and our little one’s craft supplies. I find that storage space has become more and more important to us since having kids. It just makes it so much easier to hide things away and keep them out of little hands!
CLICK BELOW TO DOWNLOAD THE PLANS FOR OUR MODERN SHAKER SIDEBOARD

And if you don’t feel up to building your own, here are a few of our favorites…
Get the Look
We’ve had a lot of questions about this piece in our dining room, so we are glad to finally be able to share the plans with all of you. We hope you enjoyed it, and if you try these plans out for yourself, we would love to hear about it!
Alicia xo

Dianne says
Just gorgeous!
Alicia says
Thank you, Dianne!
Holly says
You have such a handy hubby! He did an awesome job! It fits right into your space with you white and airy look. I may even attempt to give this project a go!
Alicia says
Didn’t he do so great, Holly! I just love how it turned out. Let us know if you give it a go! 🙂
Susan says
Wow, I’m impressed, such a wonderful job! Looks beautiful in your room too.
Alicia says
Thank you, Susan! Nick did a really great job, I think! 🙂
Eva says
Love the style! When we downsized, I had to give up my china cabinet and have been “casually looking” ever since. This could be the one! Thank you ?
Alicia says
Let us know if you build it, we would love to see how it turns out! 🙂
Ebony says
This is beautiful! I would love the plans, however when I click on the link, nothing downloads.
Alicia says
Hi Ebony,
I am sorry you’re having issues with our download. I just tested the link and it is working for me. Do you perhaps have a pop-up blocker enabled? That might prevent the download from opening. Please let us know if you are still having problems and we can email the plans to you directly. 🙂
Brenna says
We are going to try to build this with the plans provided. Missing a few things……What hardware did you use and what paint, or how did you finish it? I am going for the same look so I wanted to use the same process.
Nick says
Hi Brenna,
We used the hardware listed on page 3 of the downloadable plans. You can actually click to see what drawer slides and hinges we used. If you’re looking for the exact same pull hardware, we got them from our local Home Depot and you should be able to track down similar, if not exactly the same, hardware.
As for the paint, we primed with BIN primer to seal in any knots that may come through, and then painted using Benjamin Moore Advance paint in the color “simply white”. It gives the piece a nice even finish!
If you need anything else, please don’t hesitate to contact us! And we’d love to see pics of your final product!
Nick
Aminah says
I love the design of this, your husband did a great job it turned out beautiful!
Just a quick question, how much is the estimated cost for the lumber and paint?
Nick says
Hello Aminah,
The estimated cost to build this piece was about $250 included everything except the hardware. The hardware from Home Depot was another $15 or so.
We’d love to see pics of your final product if you decide to build one of these for yourself!
Nick
TeriG says
Beautiful, what are the dimensions of the final piece? Thank you!
Alicia says
Hi Teri,
The final dimensions are 65.5 x 16 x 35
Melanie Steed says
What was the cost for materials to make this?
Nick says
Hi Melanie,
If I remember correctly, it finished off around the $200-250 mark with all of the hardware.
Nick
Katherine says
Where is the link for the plans? I’d love to build this.
Nick says
Hi Katherine, you can access the printable version of these plans by following this link! If you decide to build this, we’d love for you to send us a photo of the final build!
Whitney says
How long did it take your husband to build this? And how did he make it look so seamless? It is so beautiful!
Nick says
Hey Whitney,
This was one of my first ever builds! I think it took about 16 hours total (building time) because I was taking so long to figure it all out! I remember the most difficult part was the inset shaker doors. I had never made these before and only had limited tools at the time to work with.
Brad says
Nick,
On page 13 of the plans, there is a gap in the back at the top (no wood) where the drawers go. It is open to the outside as the 1/4 inch plywood doesn’t cover it. The 2 adjacent compartments have 1×4 wood at the top, to secure the top. Is this because the top drawer wouldn’t fit otherwise?
Also I have had trouble with wood splitting when screwing pocket screws on the top 1×3 to the outside 2x4s. The screws go from the inside of the cabinite to the outside. I ended up putting a metal L-brackets on the inside at the 2 ends. Did you have trouble with this area?
I tried what Kreg has on this subject, but was unsuccessful. https://sawsonskates.com/pocket-screws-splitting-wood/
Thanks,
Brad
Nick says
Hi Brad,
The reason I left this part open at the time was in case I wanted to put any kind of electronic charging cords through the back and into the top drawer. You can always cut the 1/4″ to go right up to the top. I had actually forgotten I had left that open until you mentioned it now because we never ended up putting any kind of charging station in there!
As for the splitting of the wood, I didn’t run into any specific problems with this build, but I have run into it in the past. Usually it was because I had my drill torque set too high and it would crack or go further into the adjoining piece (or even through them) if I overtightened them.
Sorry I couldn’t be more help on that issue!
Nick
Brad Whitney says
Thanks Nick. I think it was the drill set too high. This is the first time I have used Pocket Screws. Ended up using L-brackets on the inside of the 1×3 for that one board. It is coming along nicely Had to go to my friends house for tools (table saw blades and a nicer table saw) to do the front panel doors the “nice” way. Didn’t help that the plywood I bought was 1/32 less than 1/4 (so a 1/4″ blade is too wide for cutting the slots!)
Where can I send pictures of mine too?
Brad
Nick says
You can send photos to us via our facebook or instagram accounts!