
Board and batten wainscoting is a simple and inexpensive way to add character and detail to any space. Find our easy tutorial here.
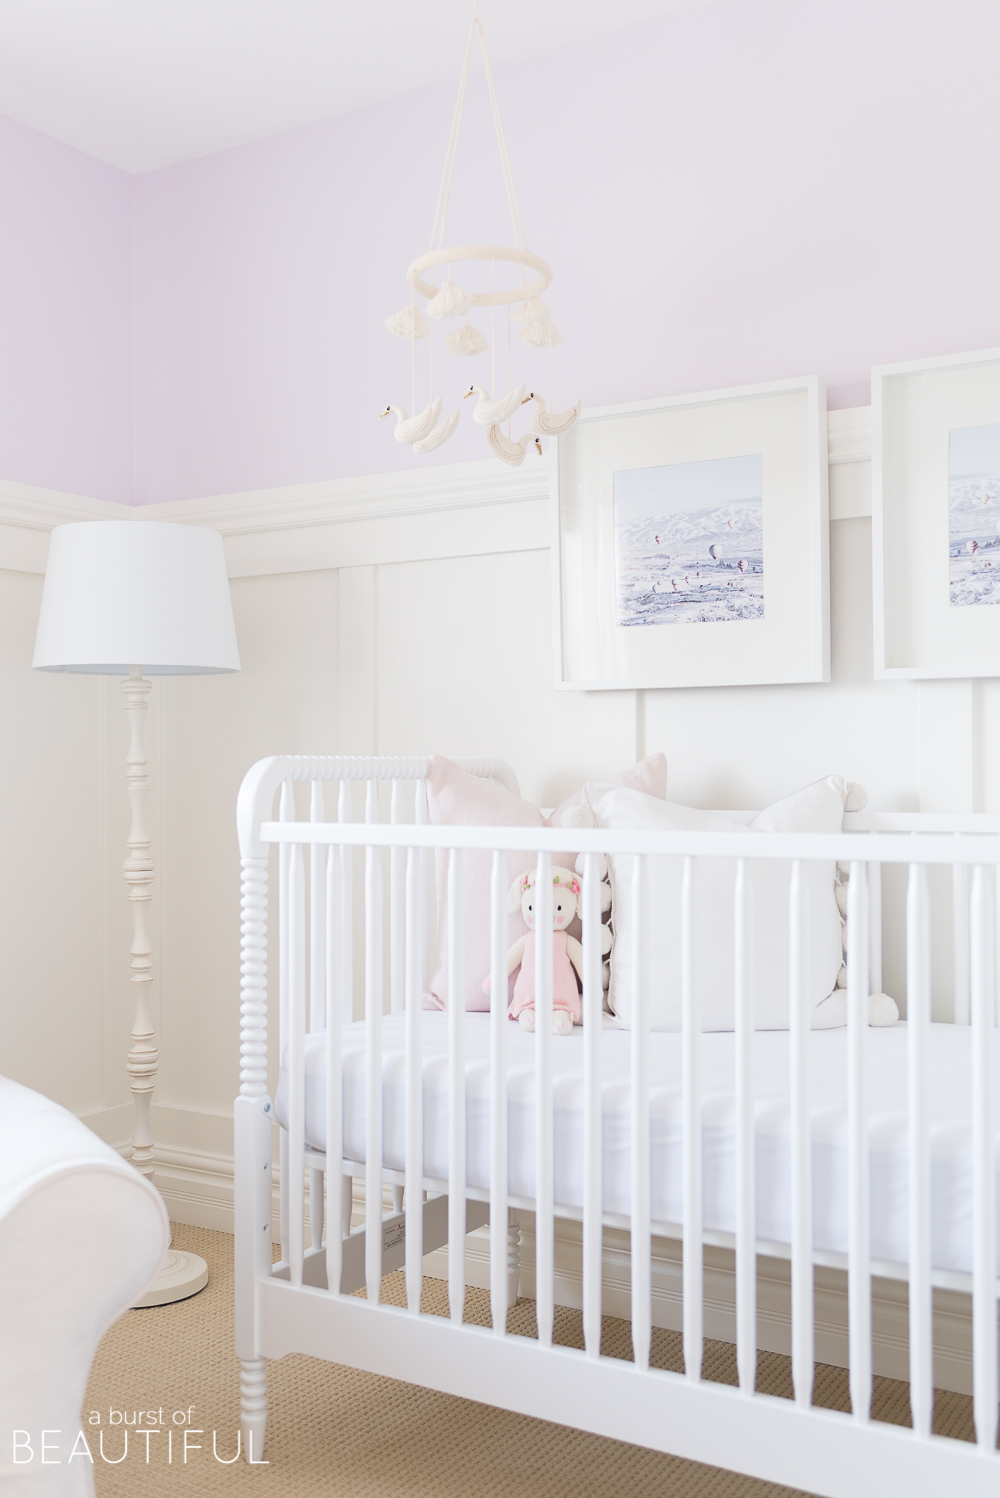
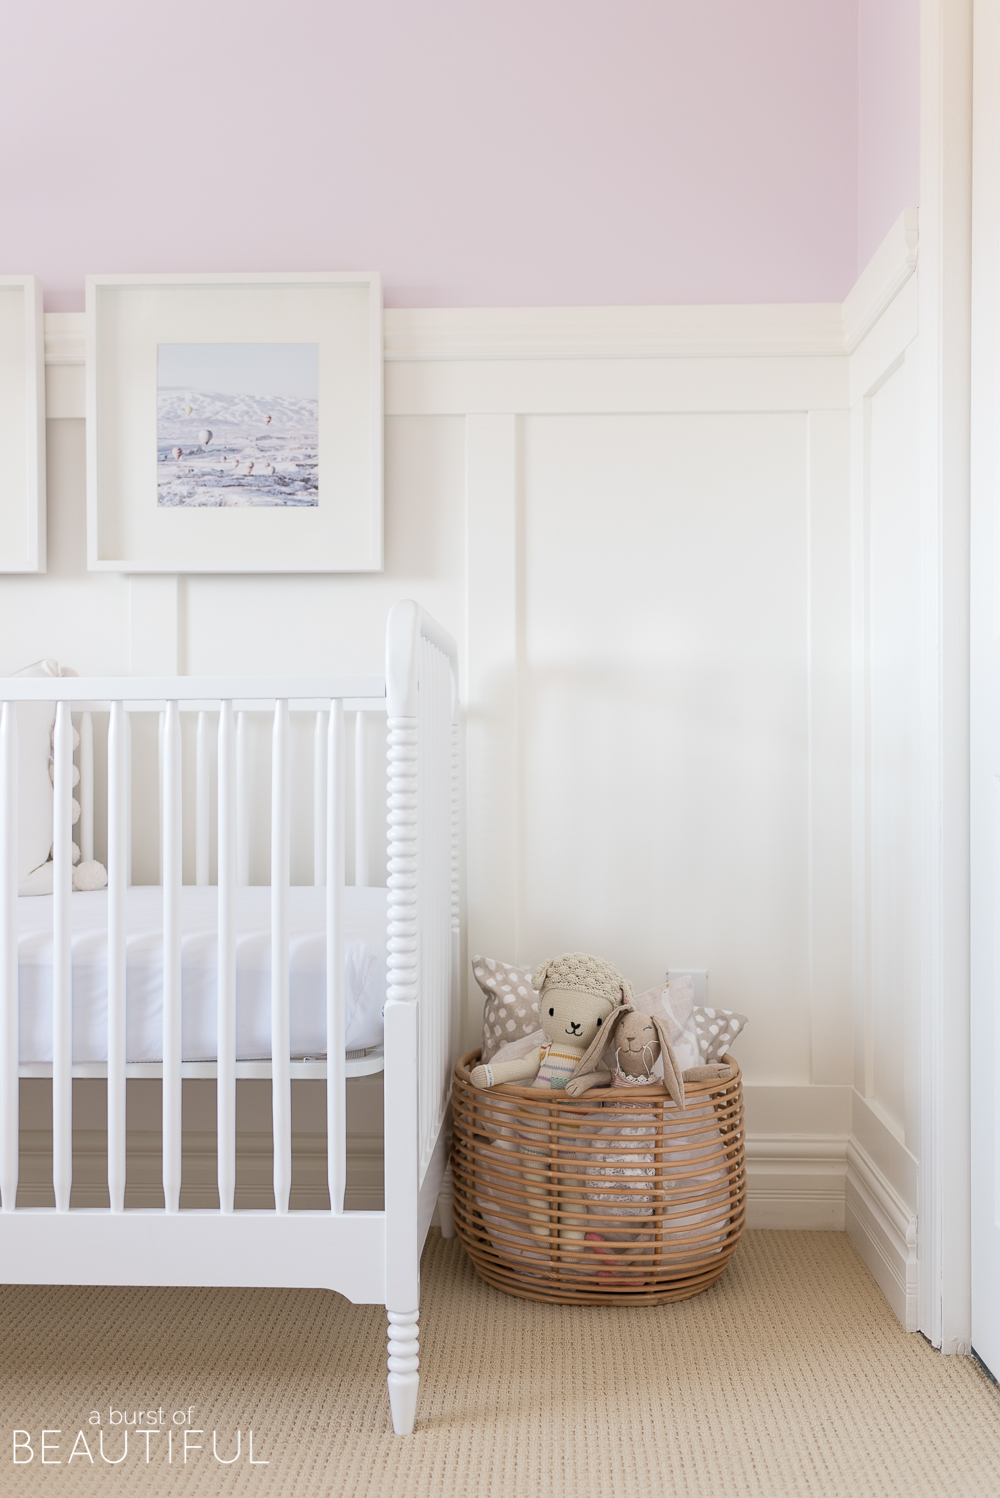
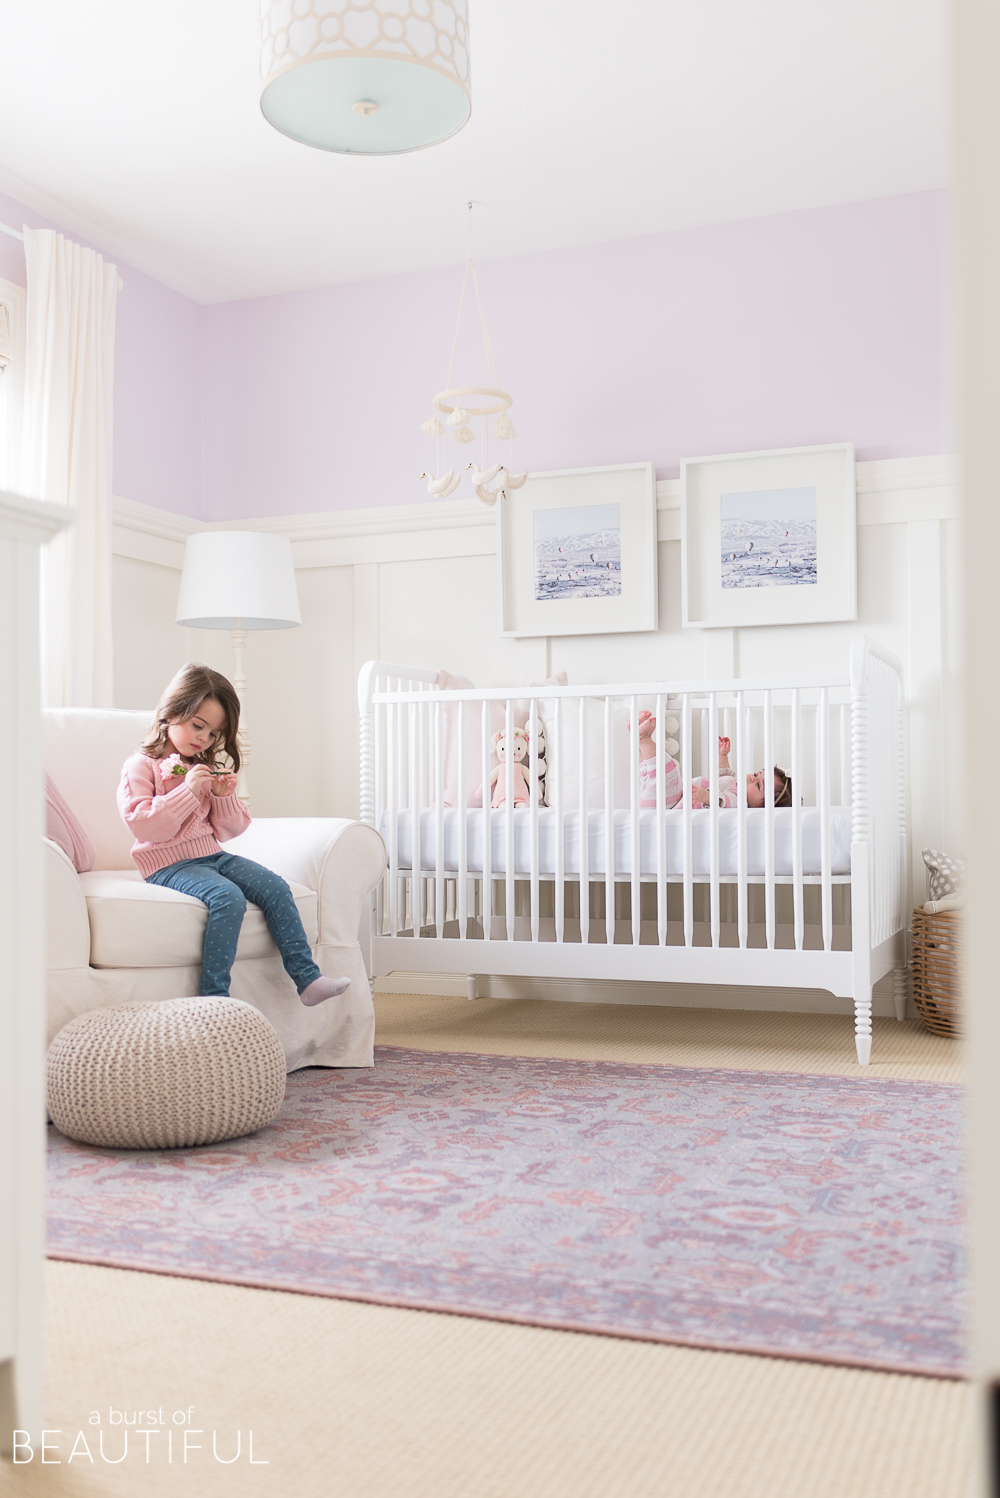
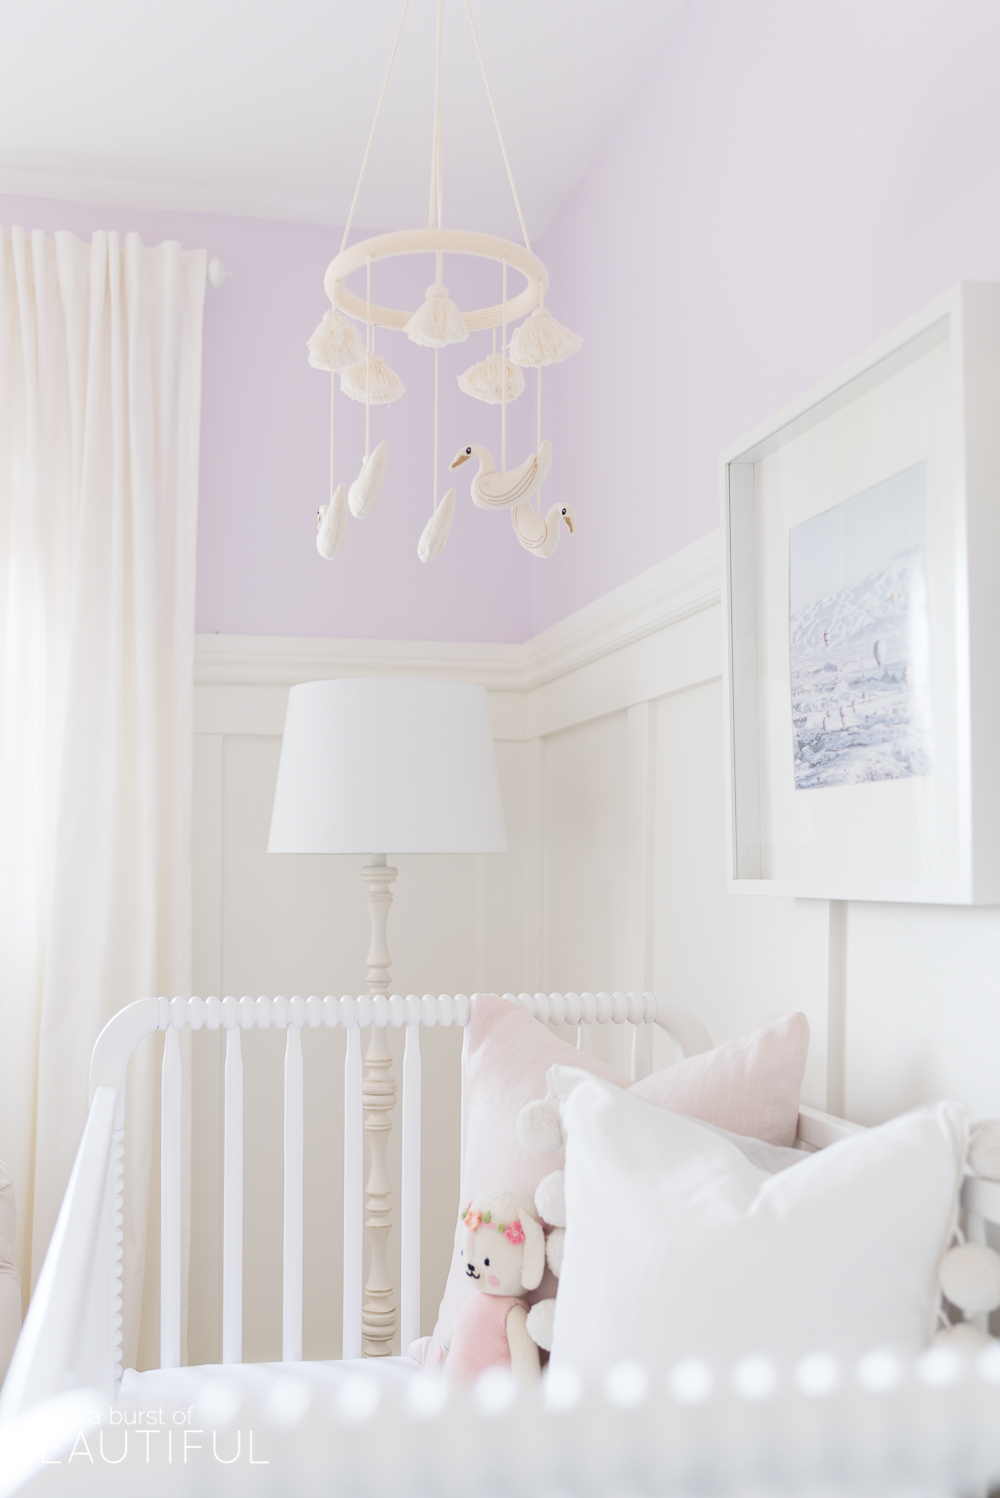
We initially designed our daughter’s nursery as a soothing and peaceful space, decorated in a soft color palette of white and cream. We chose neutral tones because we did not find out if I was carrying a boy or a girl, yet we wanted to have a completed space to welcome our baby home to. Because we were decorating the nursery in very neutral colors, I planned to incorporate a lot of design elements to help soften the space and add detail. I brought in soft textiles and woven textures, but my favorite addition to the space was the board and batten wainscoting. You can take a tour of the entire gender-neutral nursery and learn about all of the details here.
Fast-forward a few months and we’ve gone ahead and given our little one’s nursery a big dose of color and personality (you can see the full reveal here)! It was always the plan to incorporate a bit of pattern and color into this space once our baby arrived and I couldn’t be happier with the way everything came together. Her room feels sweet and youthful and has quickly become the place we spend much of our family time together.
Ella’s nursery is not the first place we’ve incorporated wall trim or paneling, it’s a design detail I love and have used throughout much of our home. We started with wainscoting in our hallway (here), then added paneling to our bedroom (here) and finally incorporated board and batten wainscoting to our dining room (here) and our oldest daughter’s bedroom (here). It is such an easy way to add character and interest and it gives our home a traditional feel while still conveying a very fresh and modern aesthetic.
While installing the board and batten in Ella’s nursery we partnered with our friends at Metrie and couldn’t be happier with their products. They have a wide range of mouldings to choose from, and their Option {M} shows so many fantastic combinations. There’s even a quiz to help determine your style if you’re not sure what direction you want to take.
Their MDF boards are very easy to work with and come in a variety of lengths which helped us complete the room with minimal splicing. And the best part? The products we used come pre-primed, which makes painting much less time-consuming. So amazing!
This is a fairly easy and straightforward tutorial you can tackle with minimal tools. The only power tools required for this project are a miter saw and a brad nail gun. If you don’t own these tools, ask your family or friends, I’m sure someone will have one you can borrow for a weekend. As for non-power tools, you will need white caulking, some 2″ brad nails, nail putty, sandpaper, and paint. It’s a very low-cost project if you can do it yourself, and the results will undeniably transform your space.
We are breaking down the product and steps to show how you exactly how we installed the board and batten throughout our home, and we’ve even created a calculator (see it at the bottom of this post) to help you lay out your own board and batten wainscoting.
METRIE MOULDINGS
| DESCRIPTION | METRIE PRODUCT |
| Baseboard | 6 1/2″ MDF Baseboard |
| Top Decorative Trim | 3 1/2″ MDF Casing |
| Vertical Pieces | 3 1/2″ MDF Flat Stock [MDF S4S E2E 1 x 4″] |
| Horizontal Top Piece | 7 1/4″ MDF Flat Stock [MDF S4S E2E 1 x 8″] |
| Horizontal Bottom Piece | 5 1/2″ MDF Flat Stock [MDF S4S E2E 1 x 6″] |
| Horizontal Mounting Piece | 1 1/2″ MDF Flat Stock [MDF S4S E2E 1 x 2″] |
(Click to view full-size image)
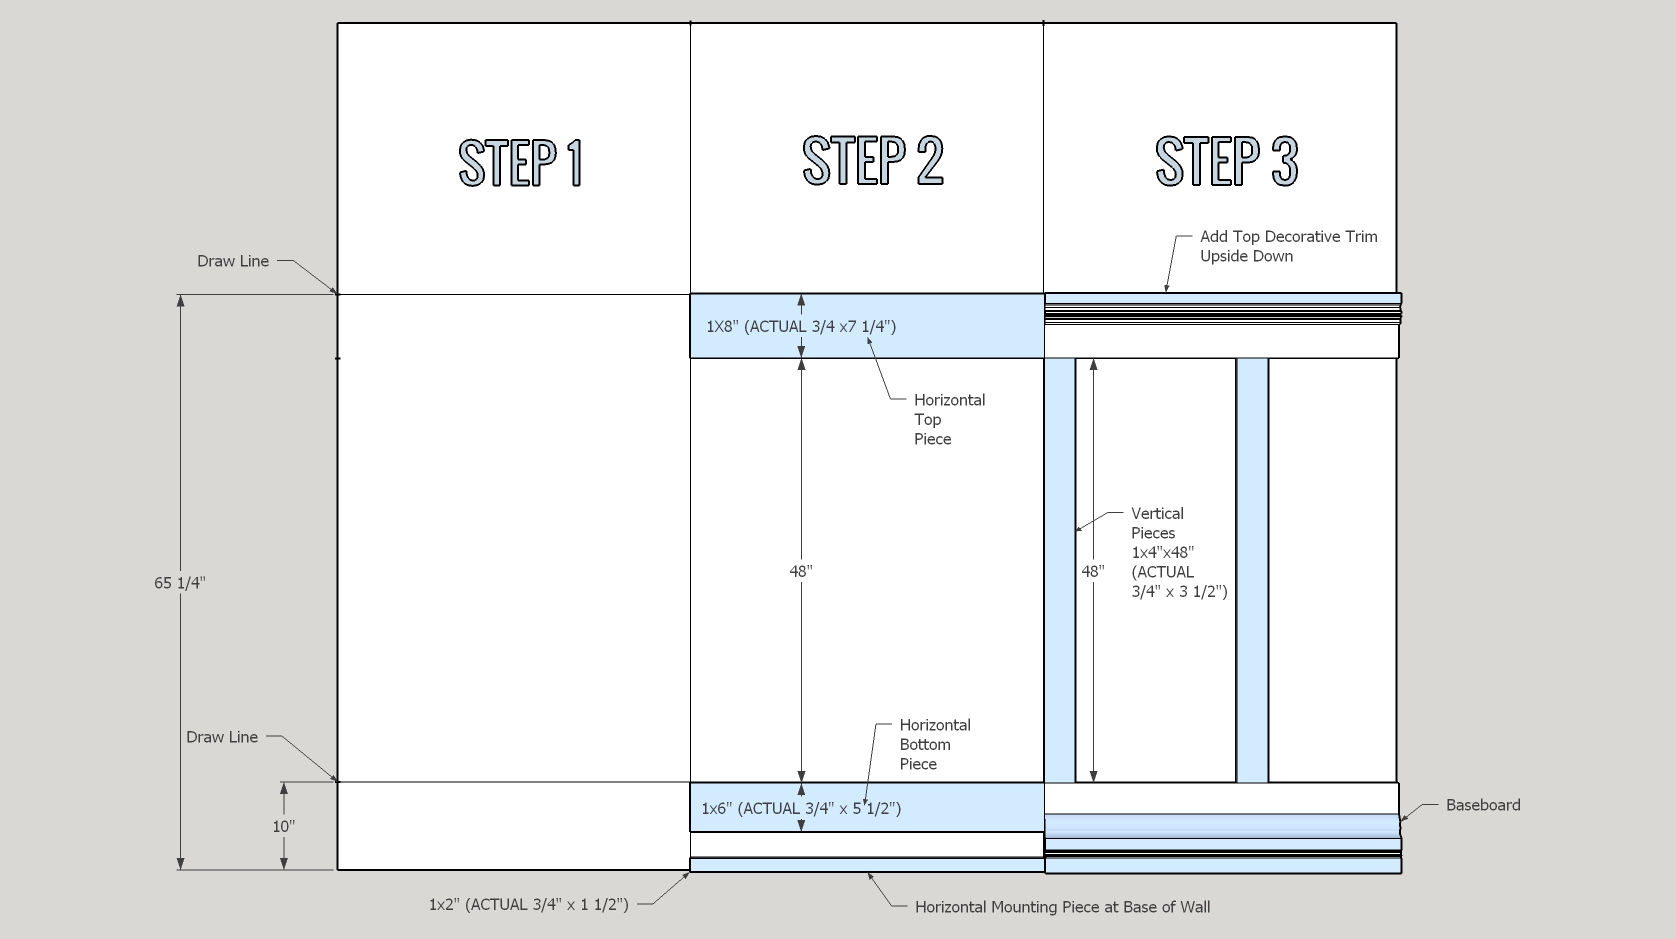
STEP 1
- Start by removing your existing baseboard.
- Mark a line at 65 1/4″ from the floor.
- Paint up to 1″ from that line the chosen color for your board and batten wainscoting. This will save time cutting in later.
- After the paint has dried, mark a line 10″ from the floor.
- Helpful tip: Go around the room and mark all the stud locations with a stud finder (prepare for your husband to place the stud finder on himself and exclaim “I found it!”) This is where you will drive the brad nails into.
STEP 2
- Mount the 1×6″ horizontal bottom pieces around the room along the line you’ve drawn, with wood glue and brad nails.
- Mount the 1 x 2″ horizontal mounting piece along the base of the wall.
- Mount the 1 x 8″ horizontal top piece, placing the top of the board against the line you drew at 65 1/4″. Use wood glue and brad nails. Your walls will likely not be entirely flat along the entire length of the wall, but you will use caulking when you are finished to complete the project.
STEP 3
- Mount the 6 1/2″ baseboard to the horizontal bottom and mounting pieces.
- Mount the 3 1/2″ top decorative trim upside down and flush with the top of the 1×8″ board underneath.
- Measure the width of the first wall you would like to start on. Use our calculator below to enter the wall width, the width of the vertical piece (a 1 x 4″ is actually 3.5″ wide), and the number of panels you would like on the wall. You can try out different numbers of panels on the calculator to reach the desired distance between the vertical boards. The ideal distance is between each board is 18-22″.
- Start by putting one vertical piece on each end of the wall and use the calculated distance between the vertical boards to install the rest on each wall.
FINISHING
- Finish by filling all nail holes and caulking the inside of each panel and between each board to make it all look seamless.
- Paint the boards and areas where you caulked the same color as you painted the wall behind it.
CALCULATOR
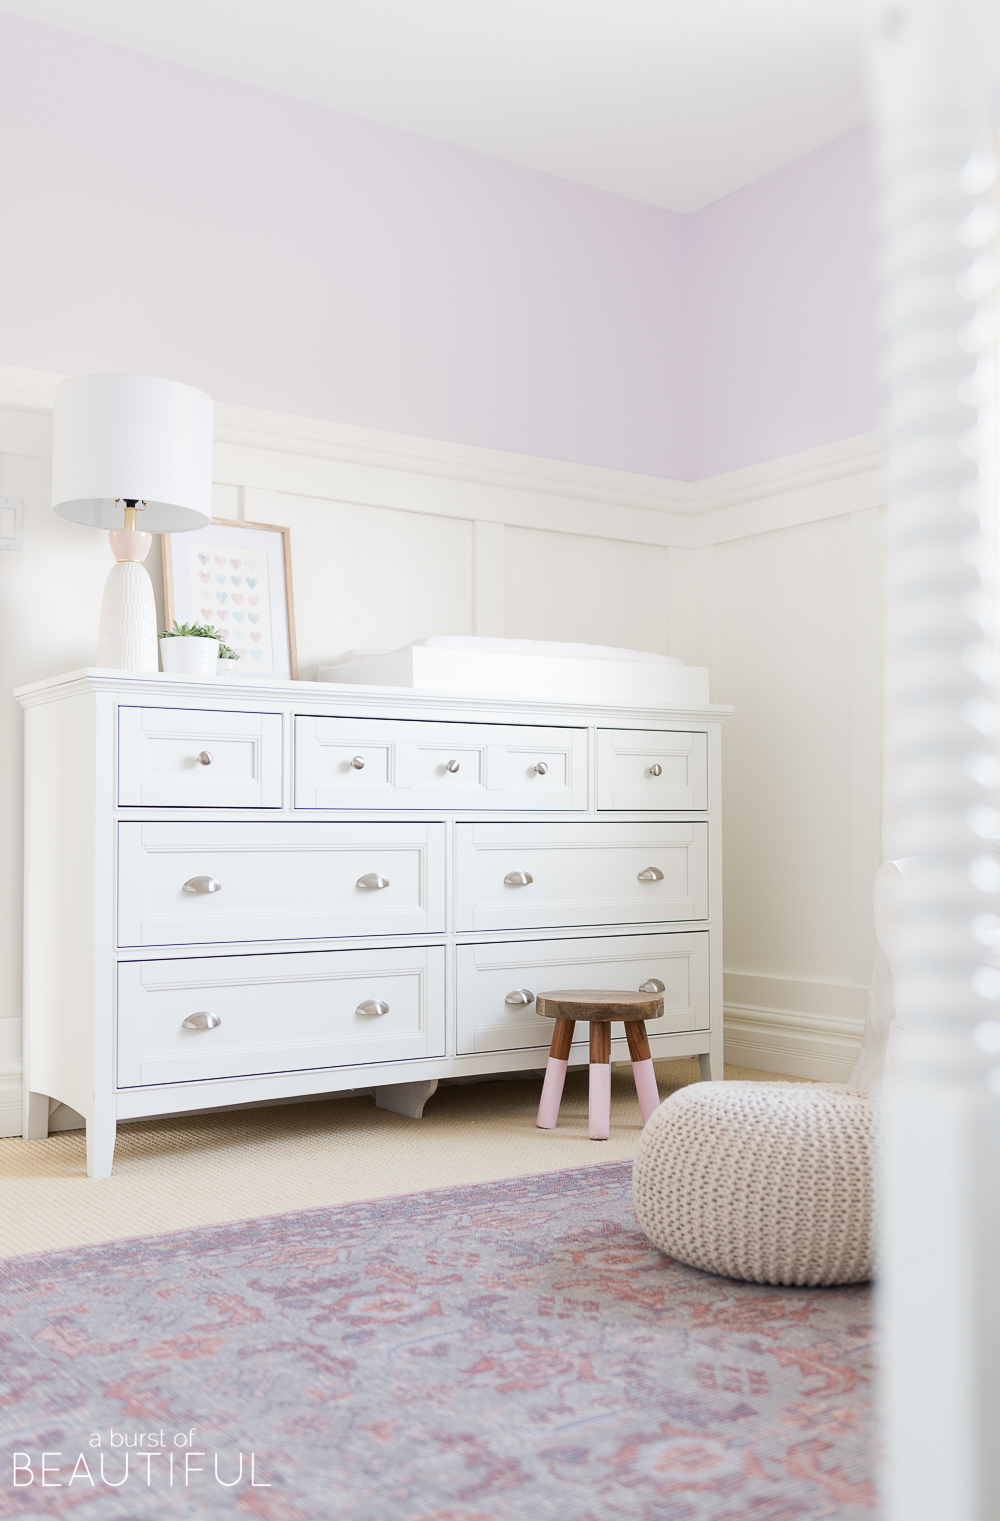
Now, if I’m being honest, painting Ella’s nursery in such a bold hue was a little daunting for me. I love the color white so choosing this shade of purple was definitely out of my comfort zone, but I wanted her to have a bright and happy space of her own. I love that with the board and batten the majority of her room is still white, while giving me the freedom to play with color if I want.
We’d love to hear from you if you add board and batten to your home, send us photos and let us know how you made out. We always love to hear from you!


Alison says
Looks so nice! What did you use to hang the pictures over the moulding? Just a regular nail?
Alicia says
Hi Alison, yes we used regular nails but used two just for extra security as they are over her crib. I’m going to write a post in the next few weeks to share how we hang art with wainscoting since we get a lot of questions about it. I’ll be sure to include photos which will help! 🙂
Rebecca Koch-Butterworth says
Hi there! The tutorial is really great but I do have one quick question….what does the finishing look like around the windows? Do you happen to have a close up picture of the board and batten meeting a window?
Thank you so much!
Nick says
Hi Rebecca, we just but it right up against the window and did a 45 degree return on the end. Here’s a link to a Youtube video of the process we used on each of the ends of the boards as they met up with any windows or door jams. VIDEO
Lindsay says
Dying to know what color purple this is!
Nick says
Raspberry Ice by Benjamin Moore 🙂