
Follow these three easy ways to hang art on board and batten or wainscoting to help add character and personality to your home.
I think art is such an easy way to add personality and interest to your home. There are so many different options, styles and price points to choose from, there’s no reason every home can’t be full of beautiful art. In our home we have everything from vintage paintings passed down from family friends to inexpensive prints that we’ve ordered online. And I think that’s what makes it so interesting, you don’t have to have a huge budget to buy one-of-a-kind pieces of art. Thrift stores and flea markets are great places to pick up vintage pieces or do a little online shopping for inexpensive and unique prints.
Now, I love art and I could talk all day about the different places to source great artwork and the different ways to add it to your home, but that’s not what this post is about. Instead, I want to spend some time talking about how to hang your art. In particular, how to hang art on board and batten. This is a question we are often asked so we thought we’d put together a blog post outlining just how we do this in our home.
Let’s start with the basics, in general, art should be hung at eye level. That’s typically around 57 to 60 inches from the floor to the middle of the artwork. If you’re adding art above a piece of furniture, like a sofa, bed or console table, it should be hung anywhere from 4 to 8 inches above the furniture. And in terms of scale, artwork should be around 2/3 the width of the piece of furniture it’s being hung above. Keep in mind these are just general rules of thumb, there are many things you should take into consideration, like the height of your ceilings and the dimensions of your art piece.
Even with all of these rules to follow hanging art can be tricky. Add in millwork like board and batten or wainscoting and trying to hang artwork becomes even harder. We have board and batten throughout our home so we have a lot of experience navigating around those awkward moldings and panels to hang our art. These are the three different methods that have worked best for us.
Hanging Art on Board and Batten Ledge
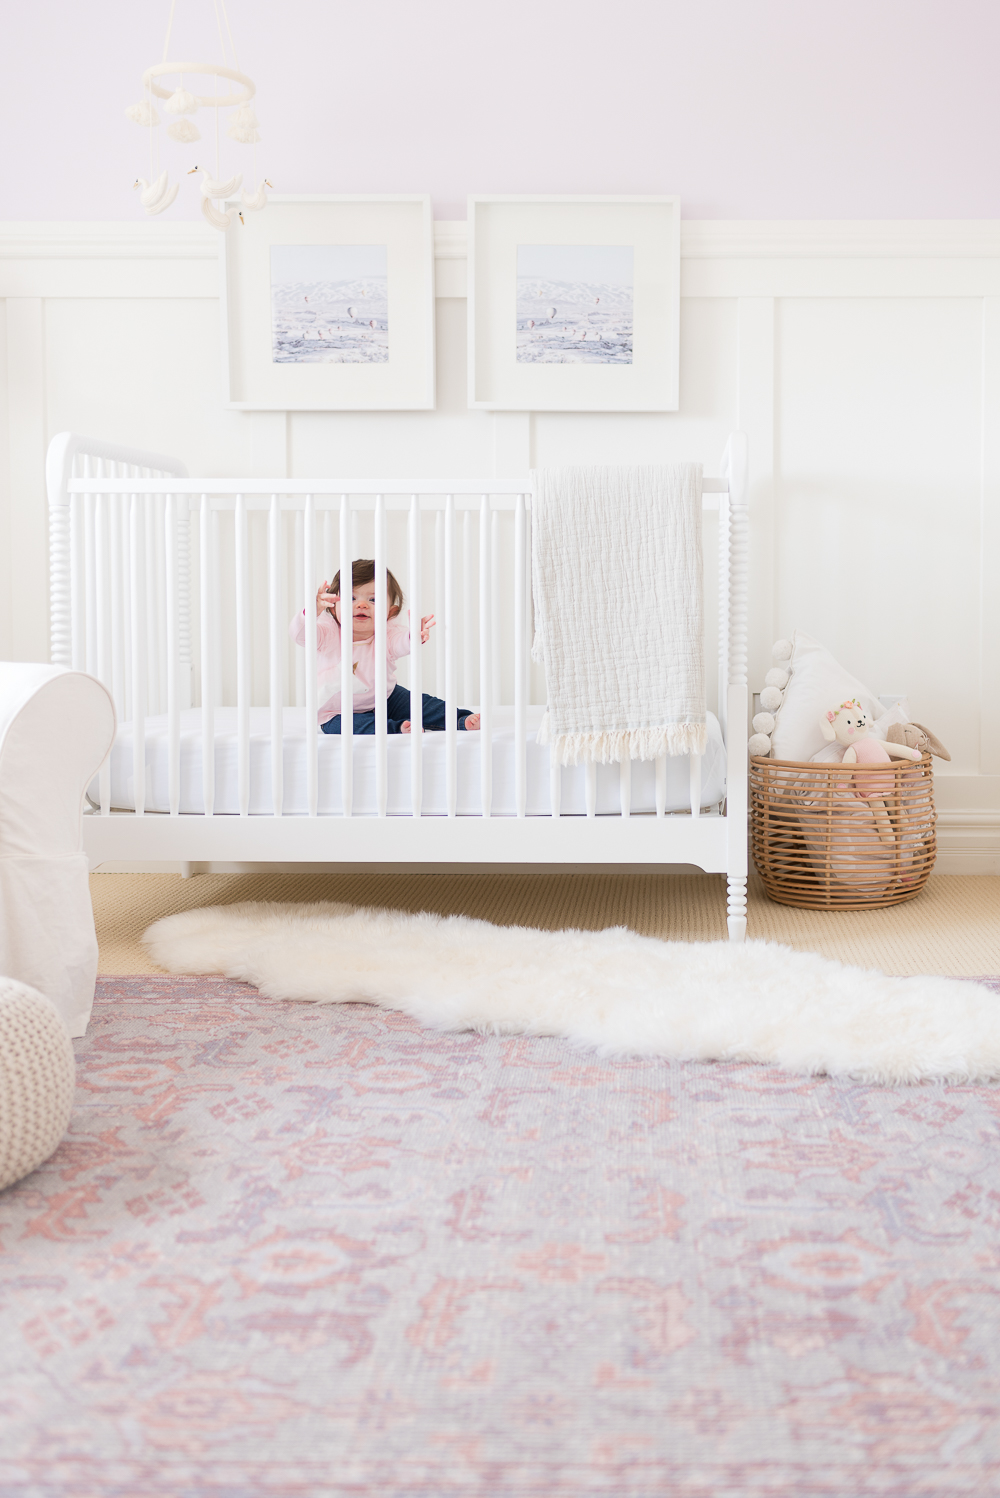
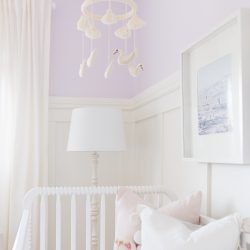
Adding art to kid’s spaces is so fun, I love choosing pieces that are playful and whimsical to really help set the tone of the room. So when we took Ella’s nursery from neutral to colourful, I knew art was a must. I had no problem picking these sweet prints for her nursery, but we struggled with placement. We obviously couldn’t hang the prints above the board and batten because it would be much too high. We followed our eye-level rule of 57 – 60 inches, but that meant our frames would be overlapping the wall and the board and batten, so we had to get creative.
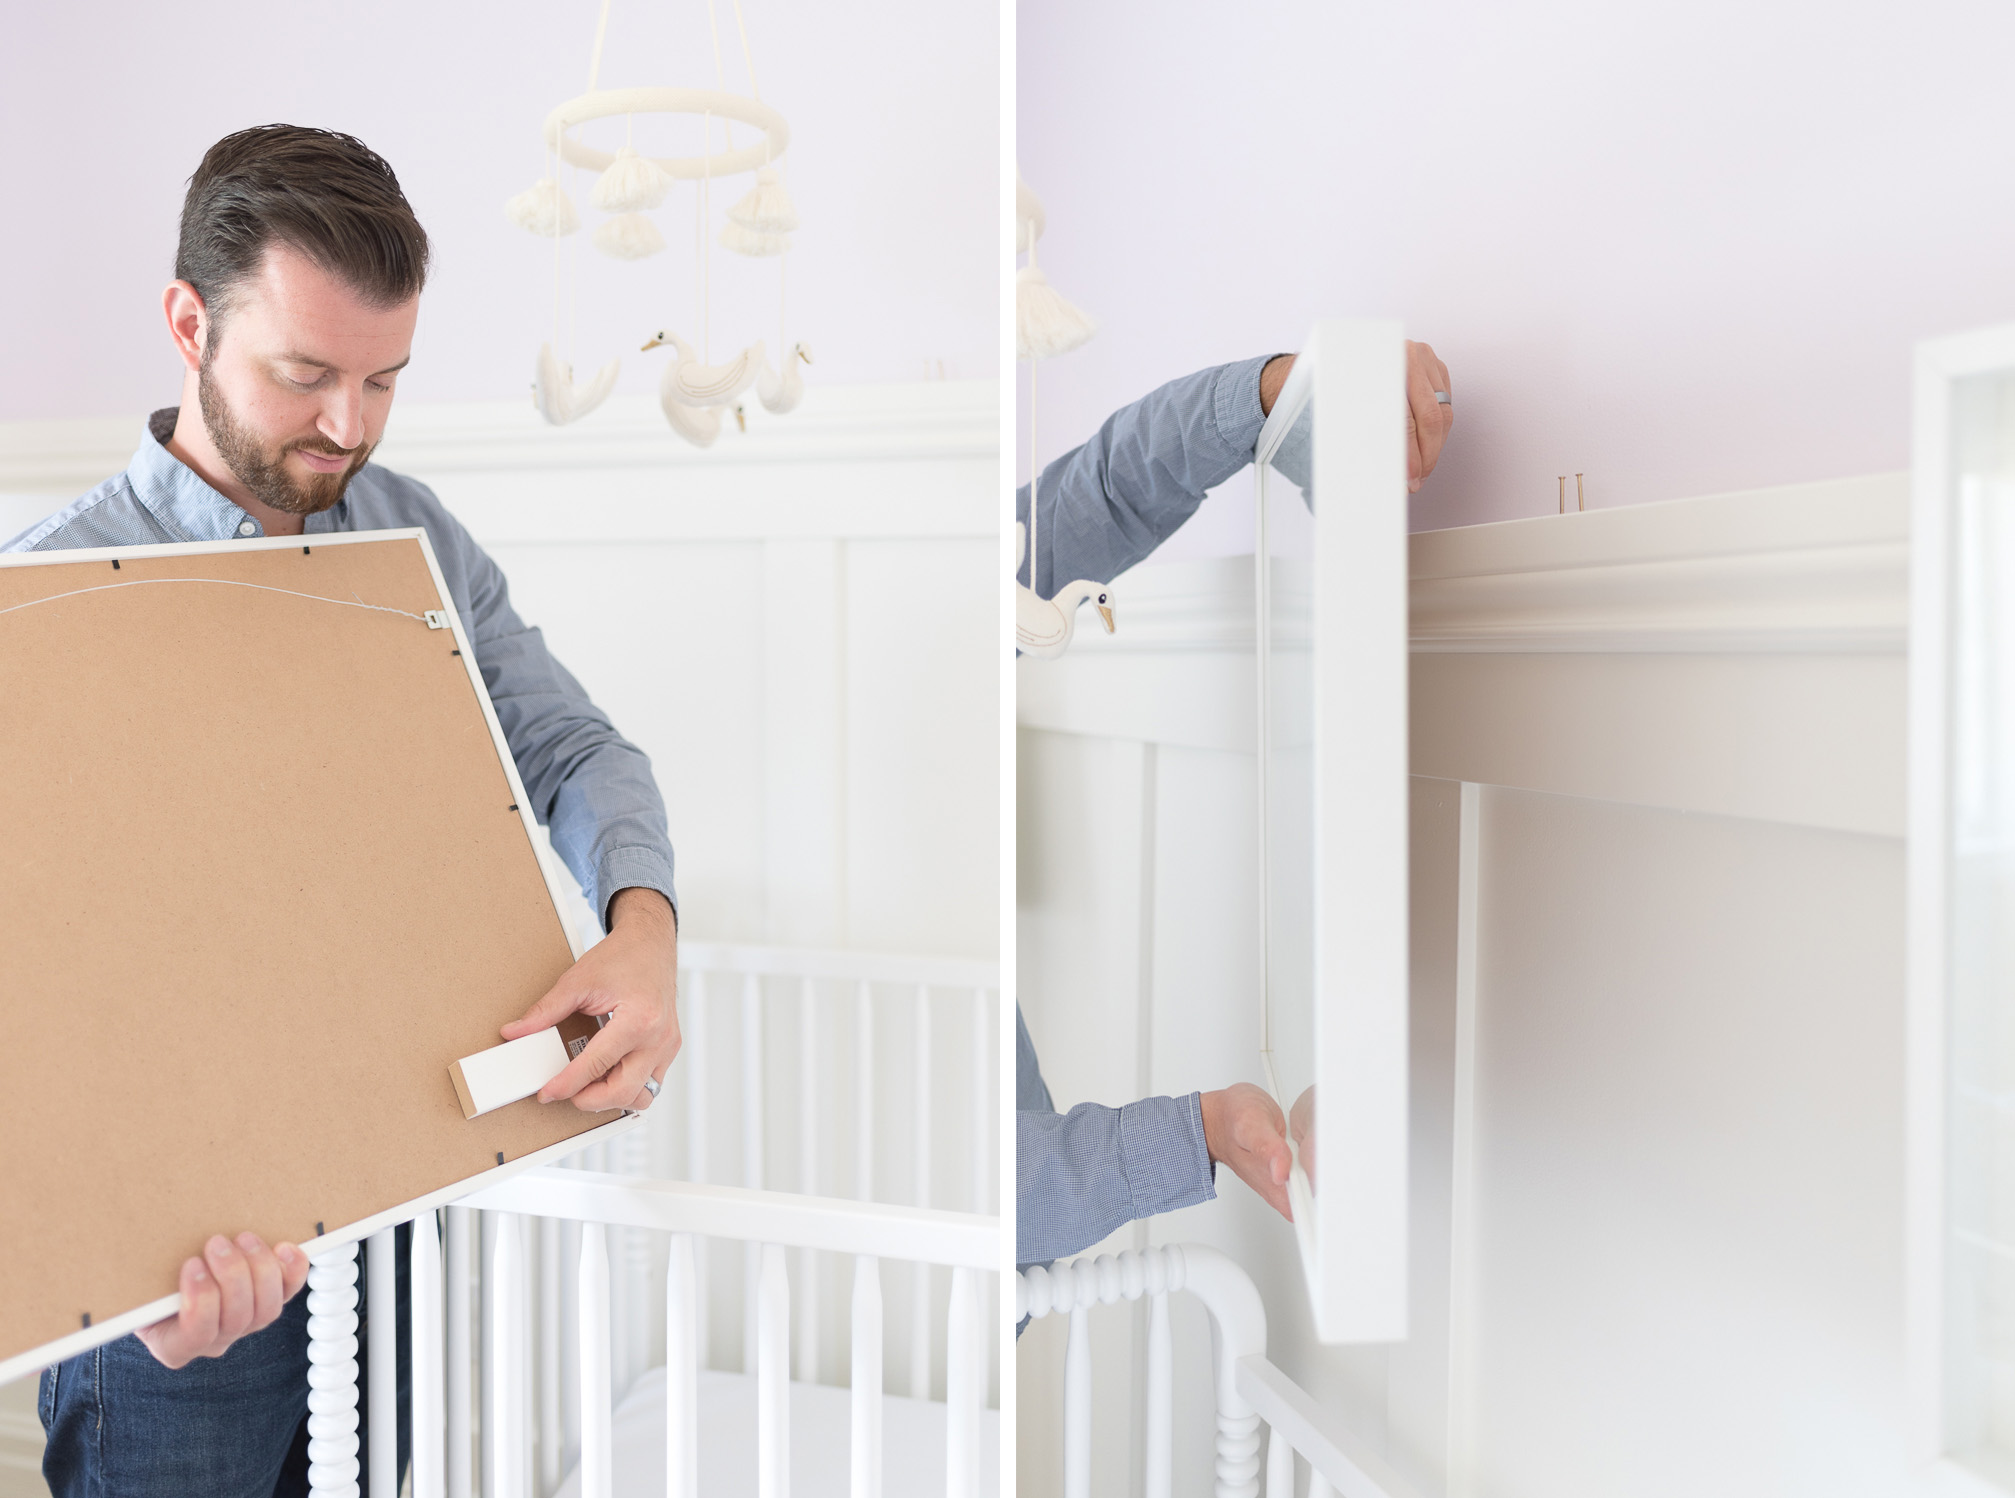
To hang these prints we put two nails at a slight angle on the top of the board and batten ledge and hung our frames with picture wire. We used two nails just as a precaution because I was nervous hanging these frames above her crib. We also added a small block of wood to the back of the frame with tape to help the artwork sit flush with the top ledge of the board and batten, otherwise, your frames will be slightly angled.
get the look

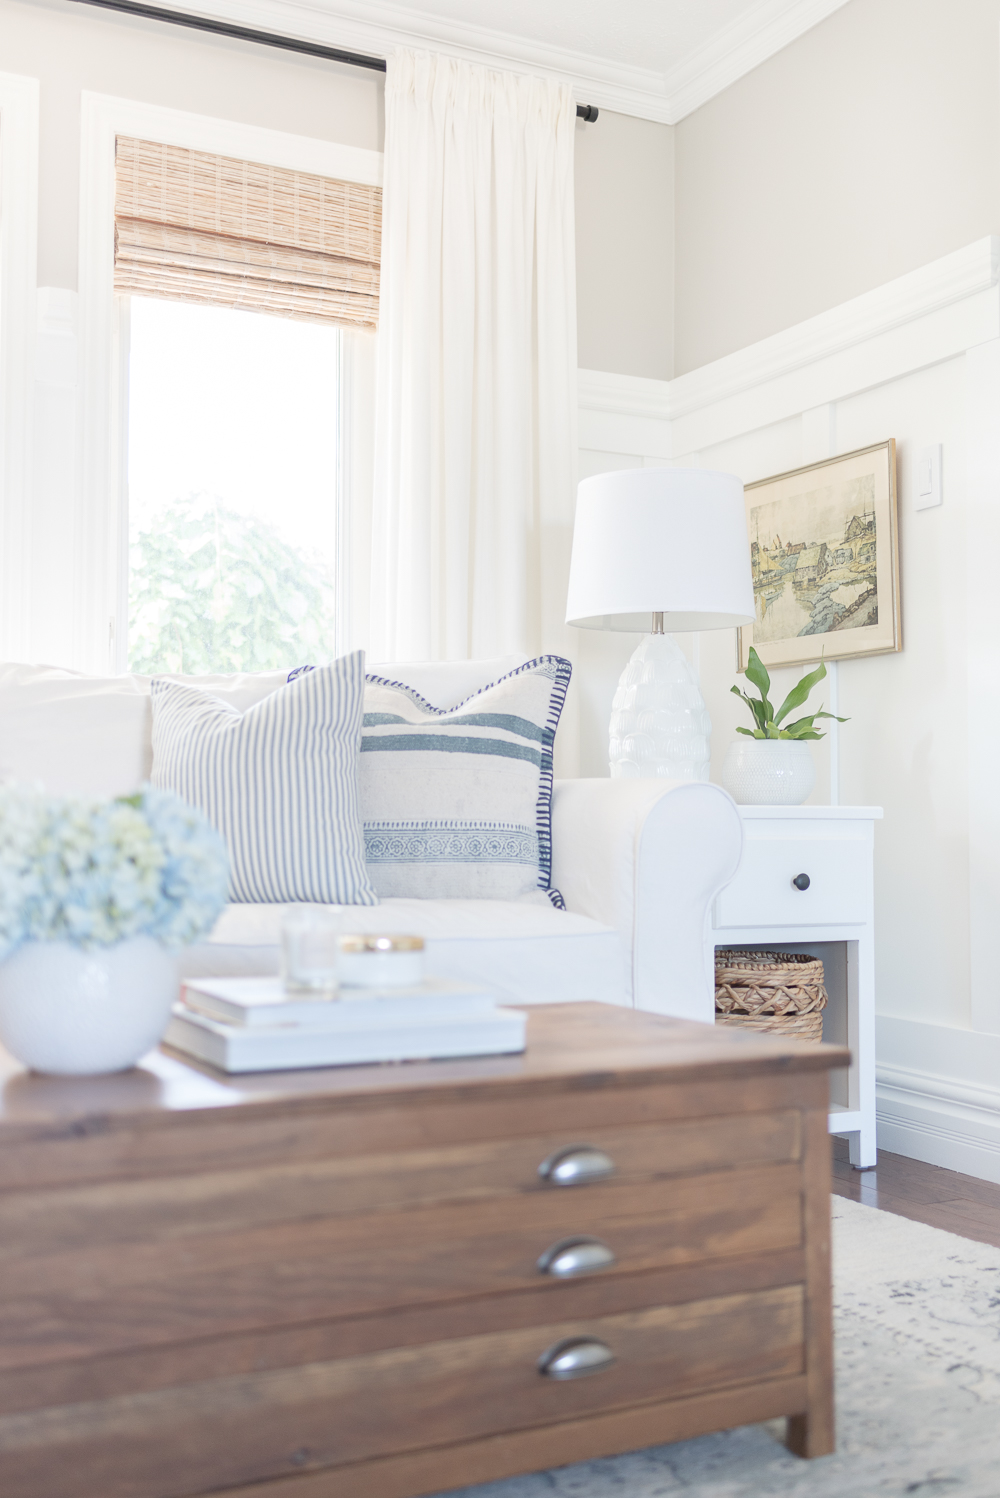
Hanging Art on On Board and Batten Panelling
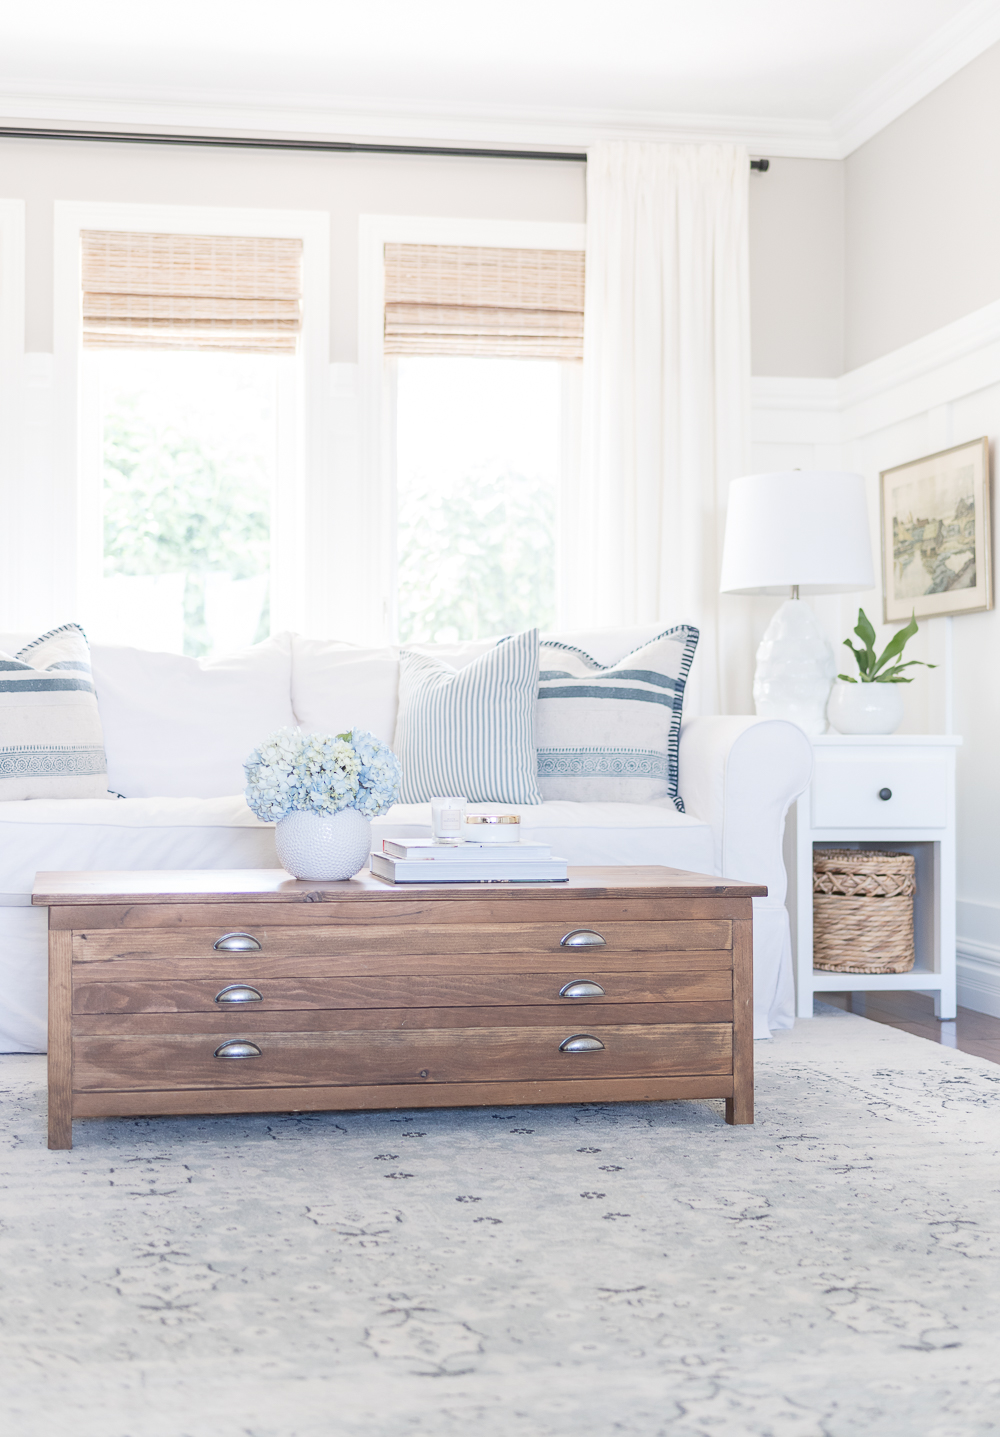
A while back we gave our living room a fresh new look. We rearranged our furniture and Nick built us a beautiful fireplace to hide our TV, but that meant we said goodbye to our layered gallery wall (a reader favourite!). It had injected so much personality into our space and without it, our living room felt a little bare.
I loved the idea of adding a little piece of art into this corner of our living room, to fill in the empty space and re-introduce a bit of personality. This time we didn’t follow either of our rules but instead hung the painting where it seemed to look the best. We centered the painting above the side table and mounted it on a nail using picture wire. Don’t worry if the paneling doesn’t line up with the middle of your artwork, if you take a look at Ella’s nursery again you’ll see the two pieces of art above her crib are not hung in the center of each panel and it still looks ok.
get the look
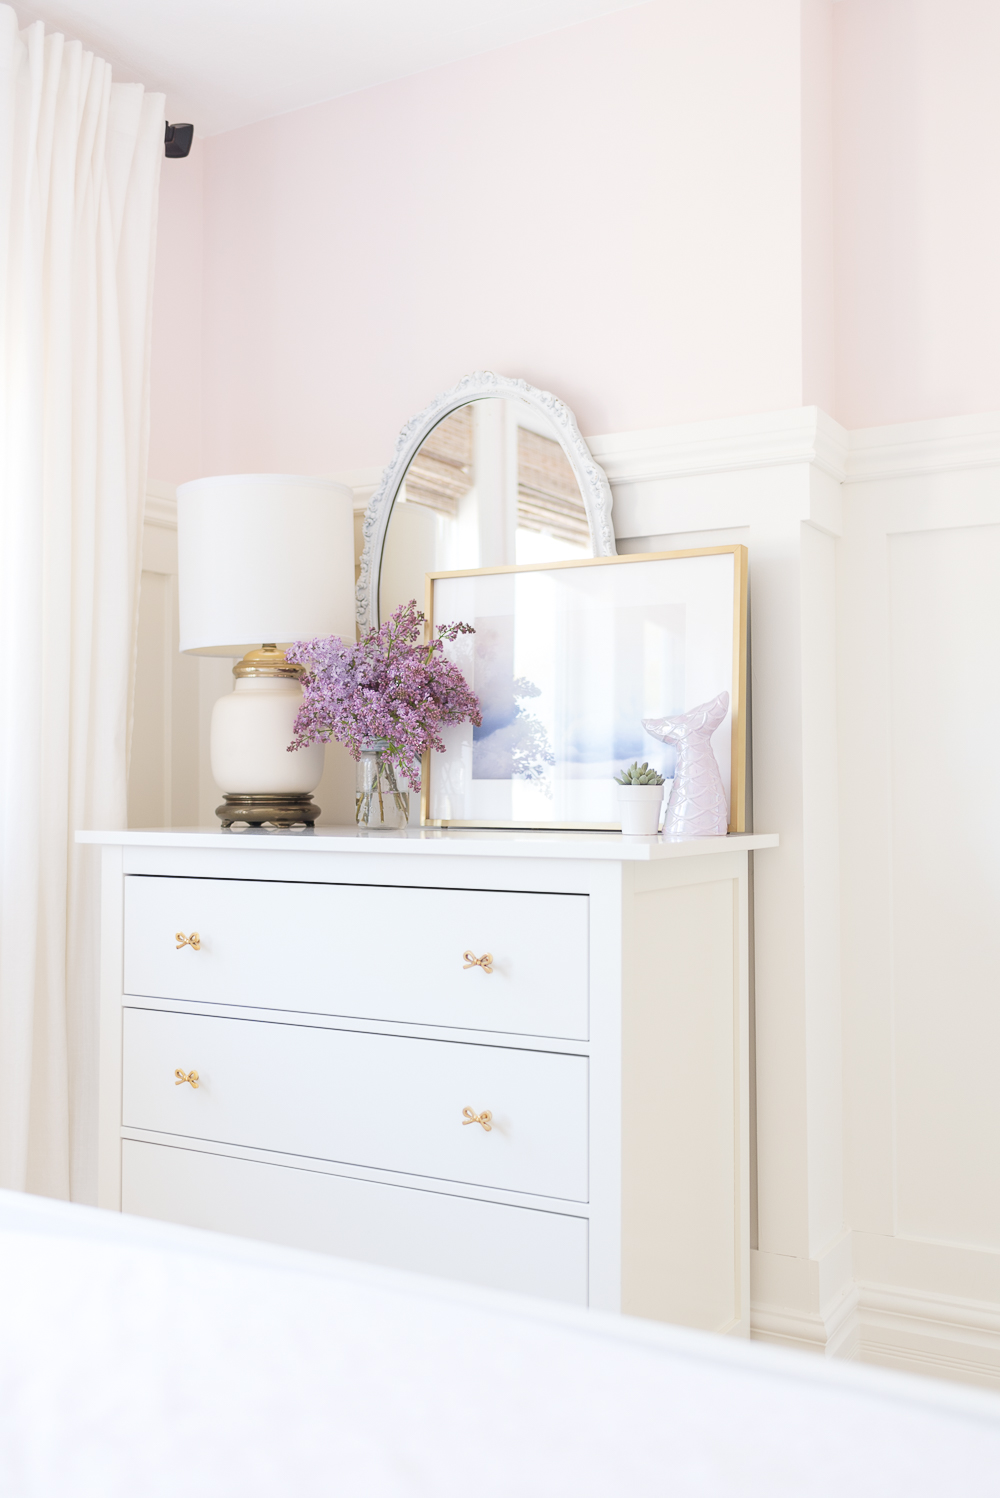
Leaning Art Against Board and Batten
Now, this is definitely the easiest method we’ve used, simply lean framed art against the wall. It doesn’t get much easier than that, does it?
In Zoe’s bedroom, we took three pieces of framed art and propped them on her nightstands and dresser and leaned them against the wall. This method adds a casual feel to any space, especially if you add layers. We layered this framed print against a vintage mirror, but you could also layer it against another larger piece of artwork for the same effect.
Our only piece of advice for this method is you may want to add adhesive rubber pads (like these) along the bottom edge of the frames to keep them from sliding or slipping.
get the look
Well, those are our tips and tricks for hanging art on board and batten. We know hanging artwork can be tricky, but we hope these methods might help some of you struggling with placement in your own home (especially with board and batten or wainscoting). If you have any questions we didn’t touch on here, please let us know in the comments below.

Heather says
Hi,
Love your post and your board and batton!
I have two questions: what height is your board and batton? And what moulding did you use on the top? Is the top, two different mouldings layered together?
Thanks, Heather
Nick says
Hi Heather! We have an entire tutorial on how we did our board and batten! You can find it by clicking here! Let us know if you have any other questions!
Rachel says
I love your tips for board and batten! What color of greige did you use in the living room photo?
Alicia says
Thank you, Rachel! Our living room is painted Collingwood from Benjamin Moore.
Amy Liang says
Beautiful rooms! Where did you buy your wood/bamboo shades and what color are they?
Alicia says
Hi Amy, they are from Blindsgalore. We have all of the shade details listed by room, under our Shop Our Home and Shop Our Cottage page:
https://www.nickandalicia.com/shop/our-home
https://www.nickandalicia.com/shop-our-cottage
Amy Liang says
Thanks so much! I particularly love your living room shades above your white couch but the link just shows “Bali Natural Shades”. Any idea what the exact color is?
Alicia says
No problem, Amy! The shades we have in our living room are from the Bali Natural collection, but unfortunately, the colour/material has been discontinued. It was called Sands/Beaches. I would contact Blindsgalore customer service team and send them a photo of our living room with the information and see if they can help you choose the closest match, from there they should be able to send you some samples (they are free!) so you can see them in your space. I hope that helps and if you have any other questions, please let me know!
Amy Liang says
That’s very helpful… thank you so much!!