BROWSE BY CATEGORY

  • Design
  • Projects
  • Lifestyle
  • Recipes
  • Shop Our Home
  • Home
  • About
  • Work With Us
  • Design Services
  • Contact
  • Design
    • View All Design Posts
    • Decor
    • Design Tips
    • Makeovers
    • Design Plans
    • Shopping Guides
  • Projects
    • View All Project Posts
    • Woodworking
    • DIY
  • Lifestyle
    • View All Lifestyle Posts
    • Entertaining
    • Seasons
      • Spring
      • Summer
      • Fall
      • Winter
    • Holidays
      • Gift Guides
      • Valentine’s Day
      • Easter
      • Thanksgiving
      • Halloween
      • Christmas
    • Recipes
      • View All Recipe Posts
      • Appetizers
      • Drinks
      • Breakfast
      • Dinner
      • Dessert
      • Seasonal
        • Easter Recipes
        • Fall Recipes
        • Halloween Recipes
        • Christmas Recipes
  • Browse by Room
    • Kitchen
    • Dining Room
    • Living Room
    • Bedroom
    • Kids Bedrooms
    • Family and Playroom
    • Office
    • Outdoor Living
  • Shop
    • Shop Our Home
    • Shop Our Cottage
    • Nick’s Workshop

Nick + Alicia

Timeless Design

December 2, 2019 | by Alicia

Build Your Own Wrapping Paper Storage

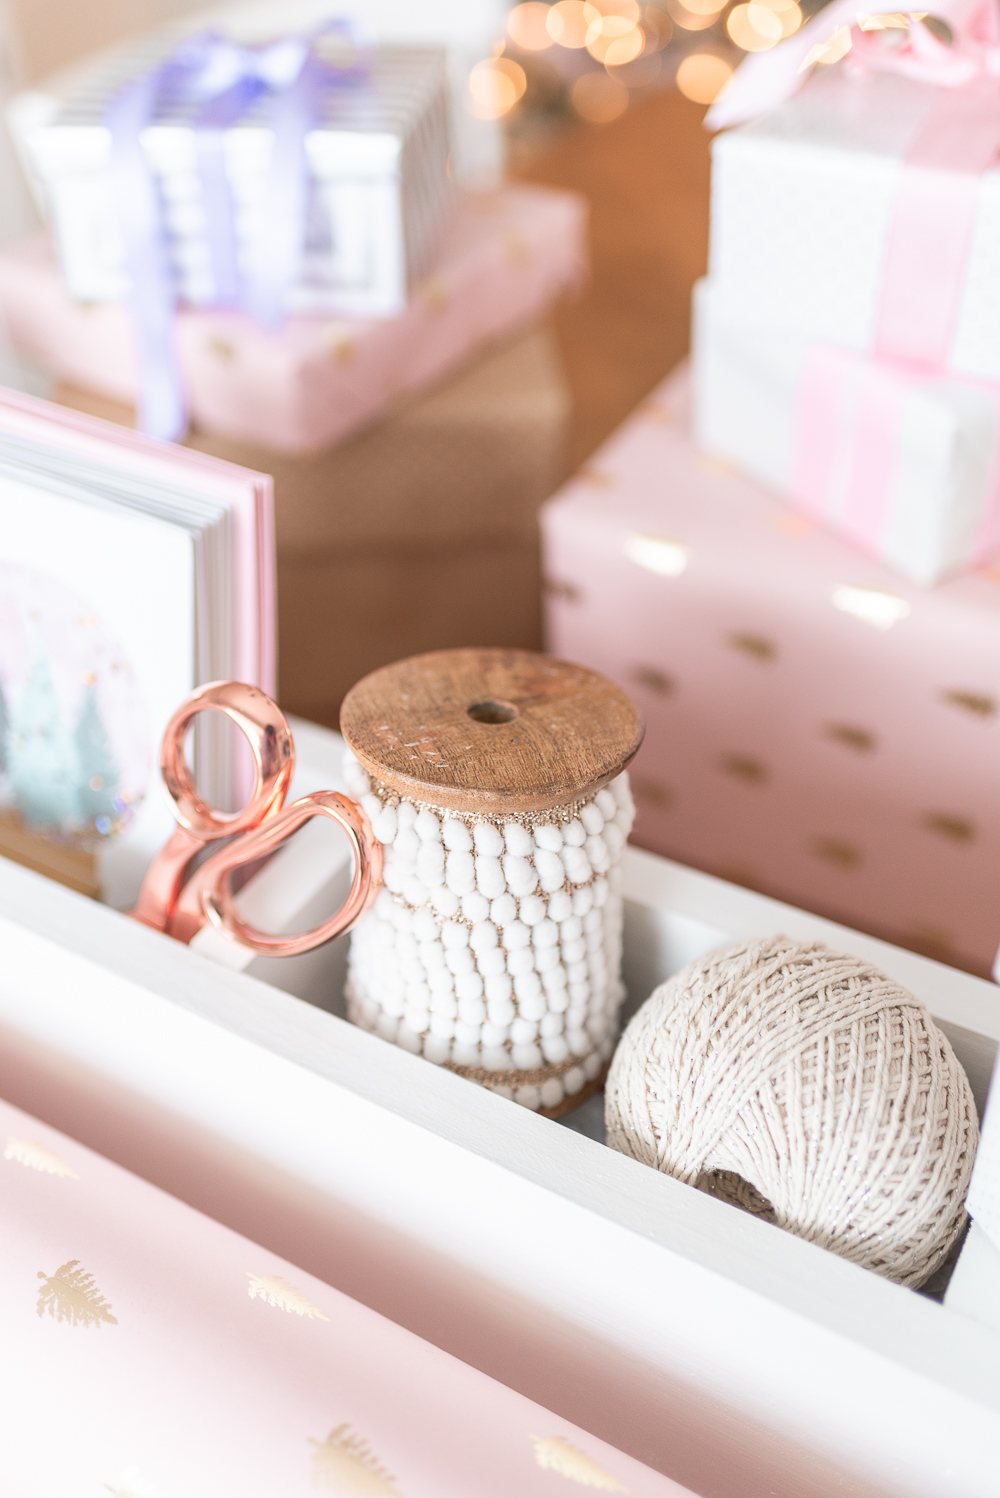
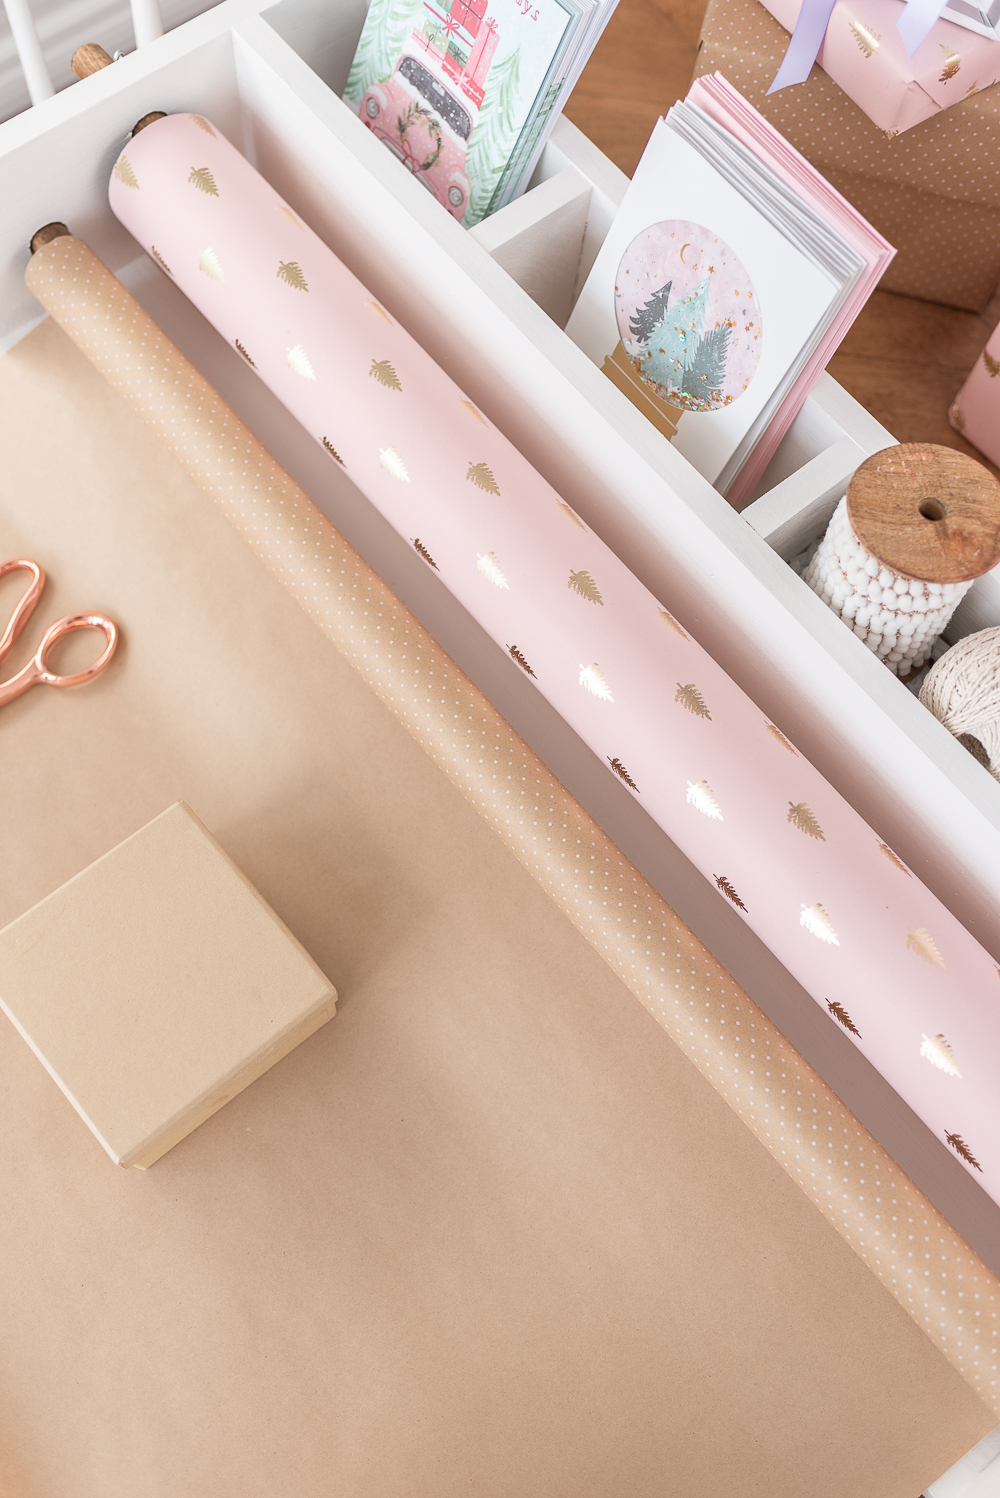
Build your own wrapping paper storage with two dowels to keep wrapping paper easily accessible and four cubbies to store all of your essentials, like Christmas cards, ribbon, scissors, and gift tags. A great project for the beginner woodworker.

Gift Wrapping Caddy Rolls and Christmas Cards

I recently joined Nick in his workshop for the very first time to learn a few tricks of the trade and try my hand at woodworking. I’ve never used power tools or done any type of woodworking, so I was a little intimidated. I even began questioning what I’d gotten myself into when I agreed to this project. But after a few hours, I had tackled a project from start to finish and gained a little bit of confidence in a new skill. I still have a long way to go, but it was a good start.  

We started with an easy project. I wanted to make sure I began with a simple build as a way to ease into using power tools and finding my way around a workshop. And this is a great project for a beginner.

Gift Wrapping Caddy

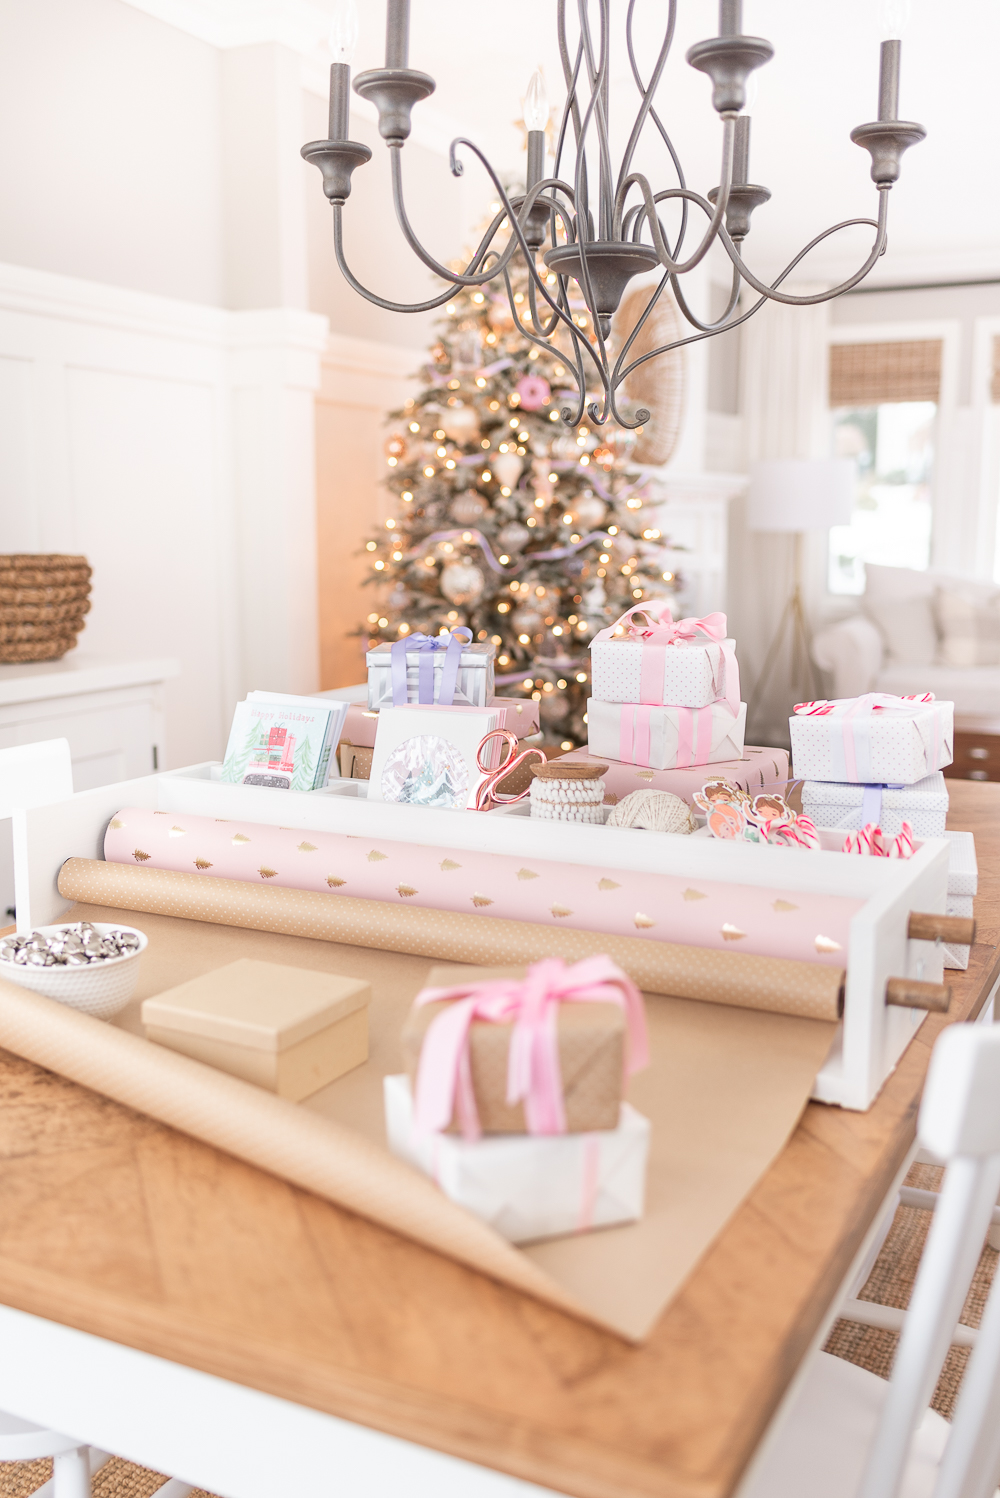
Partnering with our friends at Kreg we designed and built a portable gift wrapping caddy, just in time for the holiday season. We designed it to have two dowels to keep holiday wrapping paper handy and four cubbies to store Christmas cards, ribbon, scissors, and gift tags. The dowels are held in place with cotter pins to make changing wrapping paper quick and easy, plus I think it adds a cute detail. 

Gift Wrapping Caddy Scissors, Ribbon and Cards

Nick explained to me how there are many different types of joinery you can use to assemble woodworking projects and that if you’re looking for ease of use, endless applications and a great time-saver, the Kreg Jig is the tool to have on hand.

The K4 was actually one of the first tools that I bought Nick when he was just getting into woodworking. He had been talking about it for quite some time, so I finally bought him one for his birthday. There was a bit of selfishness in the gift because if he could start building me custom furniture and projects, then it was a win for me too. 😉

It was so easy to use this jig and it made the process very smooth. In all honesty, I’ve never tried any other type of joinery, but Nick swears this is the way to go, especially for the beginner to intermediate woodworker!

Christmas Cards in portable Gift Wrapping Caddy

To build this wrapping paper caddy we only used a single 1 x 12 x 8′ board, along with mitre saw, table saw, Kreg Pocket Hole Jig, drill and nail gun. And with a little guidance from Nick, I did it all on my own.

In hindsight I’m not sure why I was so hesitant to use power tools, of course, you need to be careful and always use personal protective equipment, but it was a lot less scary than I thought it would be. I had a lot of fun in the workshop with Nick and it was interesting to learn more about woodworking and why he loves it so much.

And it was great for Zoe to see that building isn’t just something “daddies” do. She was a little concerned I might hurt myself, but I could tell she was impressed that I stepped out of my comfort zone to learn a new skill. Now she wants to get into the shop with her daddy so she can be a “great maker” like him.

Christmas Wrapping paper and cards in mobile storage organization caddy

If you decide to build this wrapping paper caddy, once the holidays are over you can continue using it to store your gift wrapping supplies or repurpose it as an art caddy for your kiddos. Just add a roll or two of art paper, and fill the cubbies with art supplies, like pencil crayons, scissors, and glue. It would look cute on a table in a playroom or keep it handy for impromptu arts and crafts on a snowy afternoon. 

So, until January 31st, 2020, Kreg is offering $15 rebates on the K4, K4 Master System, K5 and K5 Master System. This is the time to get one. It would make a great gift to someone who has always expressed interest in woodworking, or even for the seasoned woodworker. This tool has a place in every shop no matter what skill level!

It’s so rewarding to try out a new skill and create something with your own hands. Who knows, maybe one day Nick will come home and find me building a new project by myself in the shop! 🙂

Click on the link below to get full access to the plans for this gift wrapping caddy! And while you’re on Kreg’s DIY plan site, I’m sure you’ll find lots of other projects to build with your new Kreg Jig!

We’d love to hear from you if you decide to try your hand at woodworking for the first time! Happy building!

DISCLOSURE:
This post is sponsored by Kreg Tool Company.
We have received compensation and/or product for this post.
However, as with all of our partnerships, all opinions and ideas are our own.

YOU MAY ALSO LIKE...

  • Christmas Decorating Ideas For Your Home
  • Mini Boxwood Wreath Tutorial
  • Make Your Own Christmas Advent Calendar

Shop the Post

Leave a Reply Cancel reply

Your email address will not be published. Required fields are marked *

Sweeping away the cobwebs to make room for summer Sweeping away the cobwebs to make room for summer adventures! ☀️#playhouse #playhouserefresh #springcleaning #interiordesign #interiordesigner #cottagecorehome #modernvintage
Vintage art prints: my secret to infusing charm, c Vintage art prints: my secret to infusing charm, character, and nostalgia into any space.While remodelling our family cottage, I incorporated a handful of beautiful pieces of coastal art into each room to evoke the timeless charm and character of days gone by.Head to nickandalicia.com today for a peek into my process of selecting, printing, and framing the perfect vintage coastal art prints, along with links to my fave pieces!
Our homes are so much more than just walls and roo Our homes are so much more than just walls and roofs—they’re where some of life’s best moments unfold.Do you have a favourite memory in your home?#modernhome #interiorinspiration #collectedhome #modernvintage #vintagestyle #transitionaldesign#smmakelifebeautiful
This is the drink of the summer! 🍹 With just fo This is the drink of the summer! 🍹 With just four simple ingredients, our lychee, guava, and elderberry cocktail is easy to make and oh-so-delicious. Save this recipe for your go-to summer drink!Lychee, Guava & Elderberry CocktailIngredients •1.5 oz St Germain liqueur •1/3 glass guava juice •1/3 glass lychee juice •Lemon-flavoured sparkling water: Top off glass •Fresh lemon juice: Squeeze from lemon wedge •Lemon zest: A pinch for garnish •Thyme sprigs: For garnishInstructions 1. Mix Ingredients: In a glass, combine 1/3 of the glass with lychee juice and 1/3 of the glass with guava juice. Add 1.5 oz of St Germain Liqueur.2. Add Sparkling Water: Top off the glass with lemon-flavored sparkling water.3. Add Lemon Juice: Squeeze in fresh lemon juice from one lemon wedge and stir everything gently to mix.4. Garnish: Garnish the drink with a pinch of lemon zest and a sprig of thyme for a fragrant touch.5. Serve and Enjoy: Your lychee, guava, and elderberry cocktail is ready to be served. Enjoy this refreshing summer drink!Will you be giving it a try this summer?
Obsessed with this versatile shade of green, it’ Obsessed with this versatile shade of green, it’s perfect for walls, trim, or cabinetry!Looking for more? Check out our all-time favourite green paint colours at nickandalicia.com today!#paint #greenpaint #kitchen #kitchenisland #kitchencabinets #classicdesign #traditionalcharm #vintagevibes
You’re tired of waiting on your dream home, so y You’re tired of waiting on your dream home, so you decide to make your house the dreamiest it can be. Who’s with me? 🙋🏻‍♀️#kitchen #kitchendecor #modernhome #interiorinspiration #homedesign #collectedhome #transitionaldesign #traditionalcharm
April Recap: thrift finds, spring vibes, and our f April Recap: thrift finds, spring vibes, and our first trip to the cottage! Catch up on our favourite moments of the month at nickandalicia.com.

Join our Newsletter

Copyright ©2025 Nick + Alicia
  • Contact
  • POLICIES + DISCLOSURE