
Our easy step by step guide to decorating a beautiful Christmas tree covers all of the basics, from choosing the perfect tree to stringing garland and layering ornaments.
Decorating the Christmas tree is a favourite holiday tradition, and is one of the best ways to usher in the holiday season. We always look forward to it and the way it boosts our holiday spirit. While I tend to decorate the tree in our living room, the girls pitch in and help decorate the tree in the playroom. And this year we added miniature trees in each of their bedrooms to add a little holiday magic to their own spaces. They loved decorating their very own trees with ornaments they’ve collected or made over the years, and I love tucking them into bed each night to the glow of twinkle lights.
While decorating the Christmas tree is a lot of fun, it can be tricky to create a tree that feels festive, cohesive and beautiful. So today we’re sharing our step by step guide to decorating a beautiful Christmas tree in your own home.
And if you love the look of our neutral holiday decor you can visit our Christmas Shop page for all of our favourite holiday pieces.
Step by Step Guide to Decorating a Beautiful Christmas Tree
Find the Perfect Tree
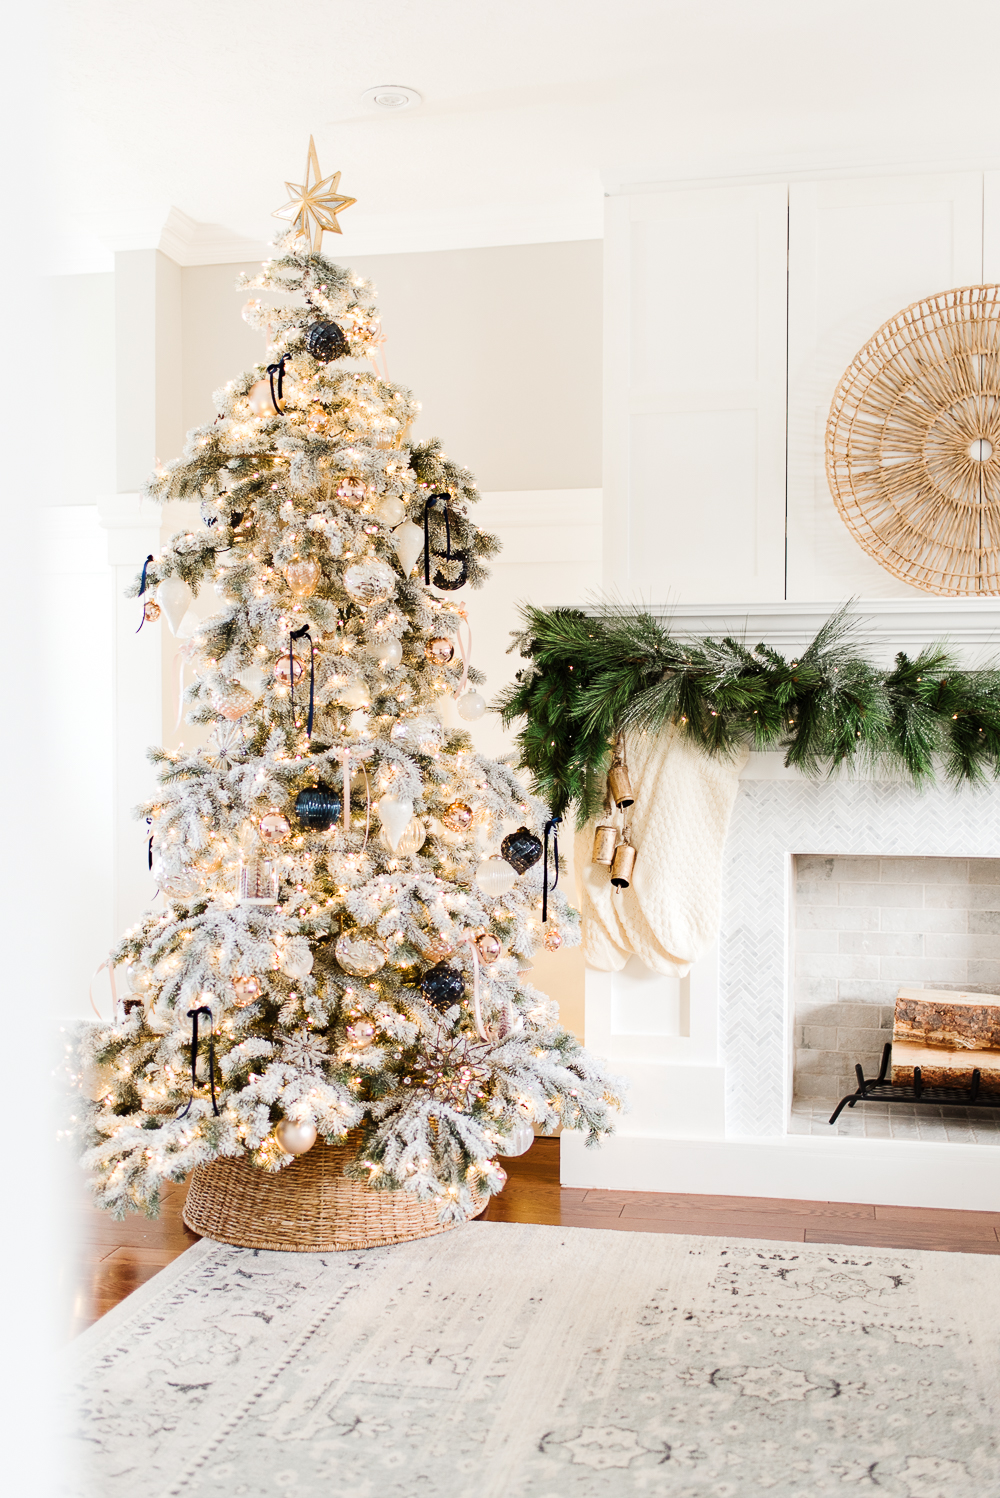
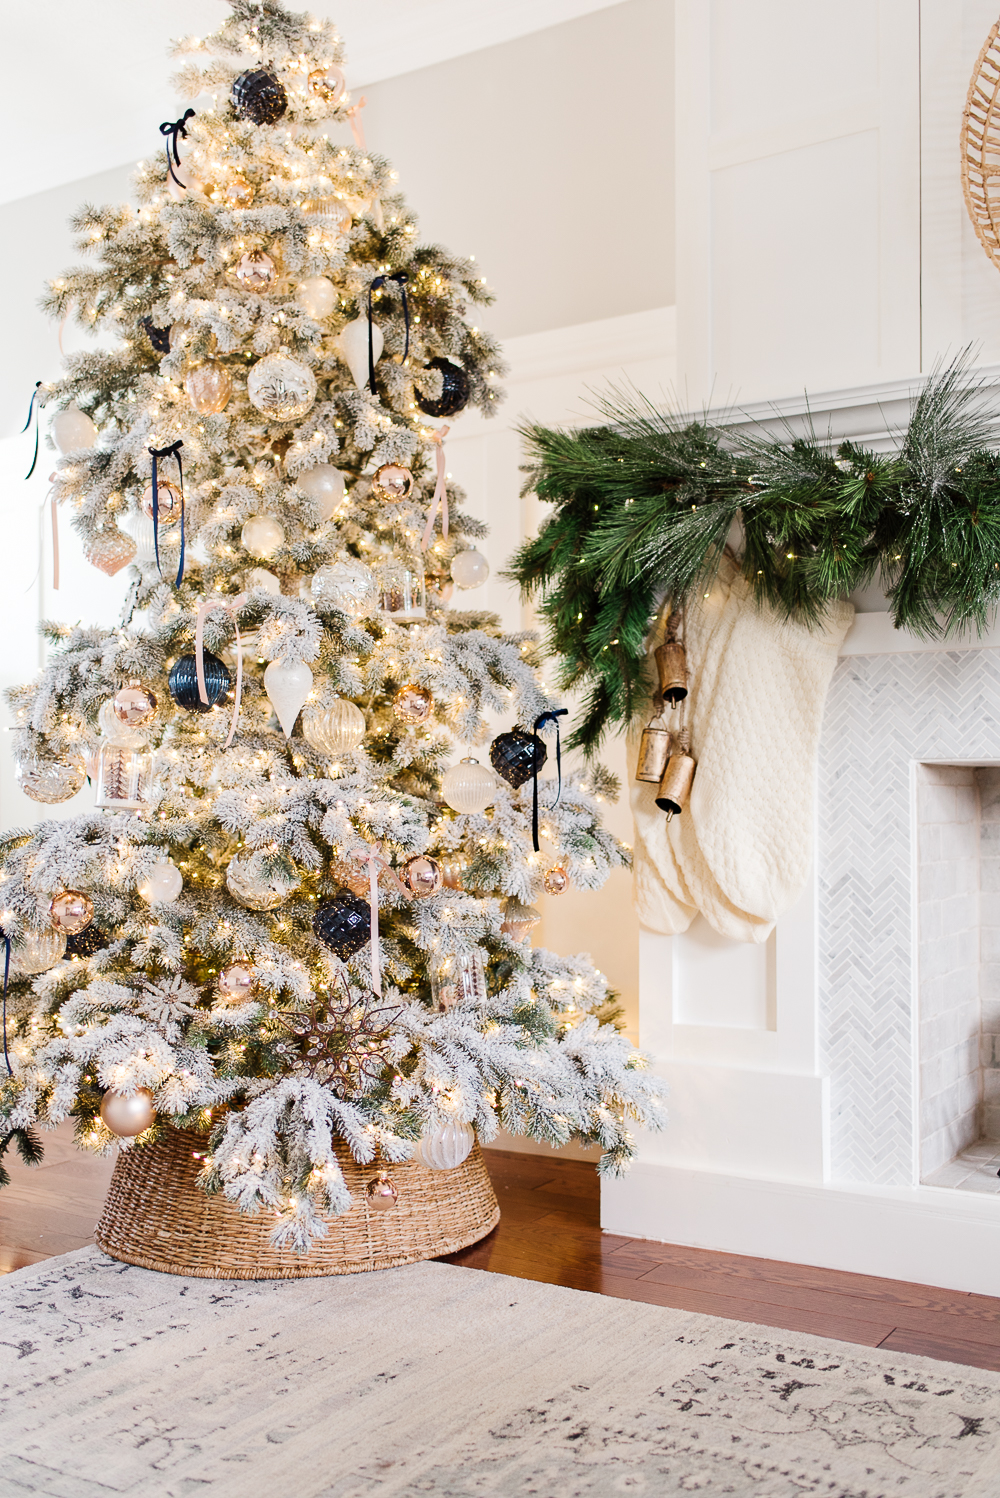
Whether you prefer a real or faux tree starting with a great base is essential to a beautifully decorated Christmas tree. Look for a tree that is well proportioned with full and shapely branches. Real trees are obviously a bit more unpredictable, however, if it’s an artificial tree you prefer, investing in a high-quality pre-lit tree within your budget will make a big difference. We have this tree in our living room, and this tree in our playroom, while the girls each have these trees in their bedrooms.
Start with the Base
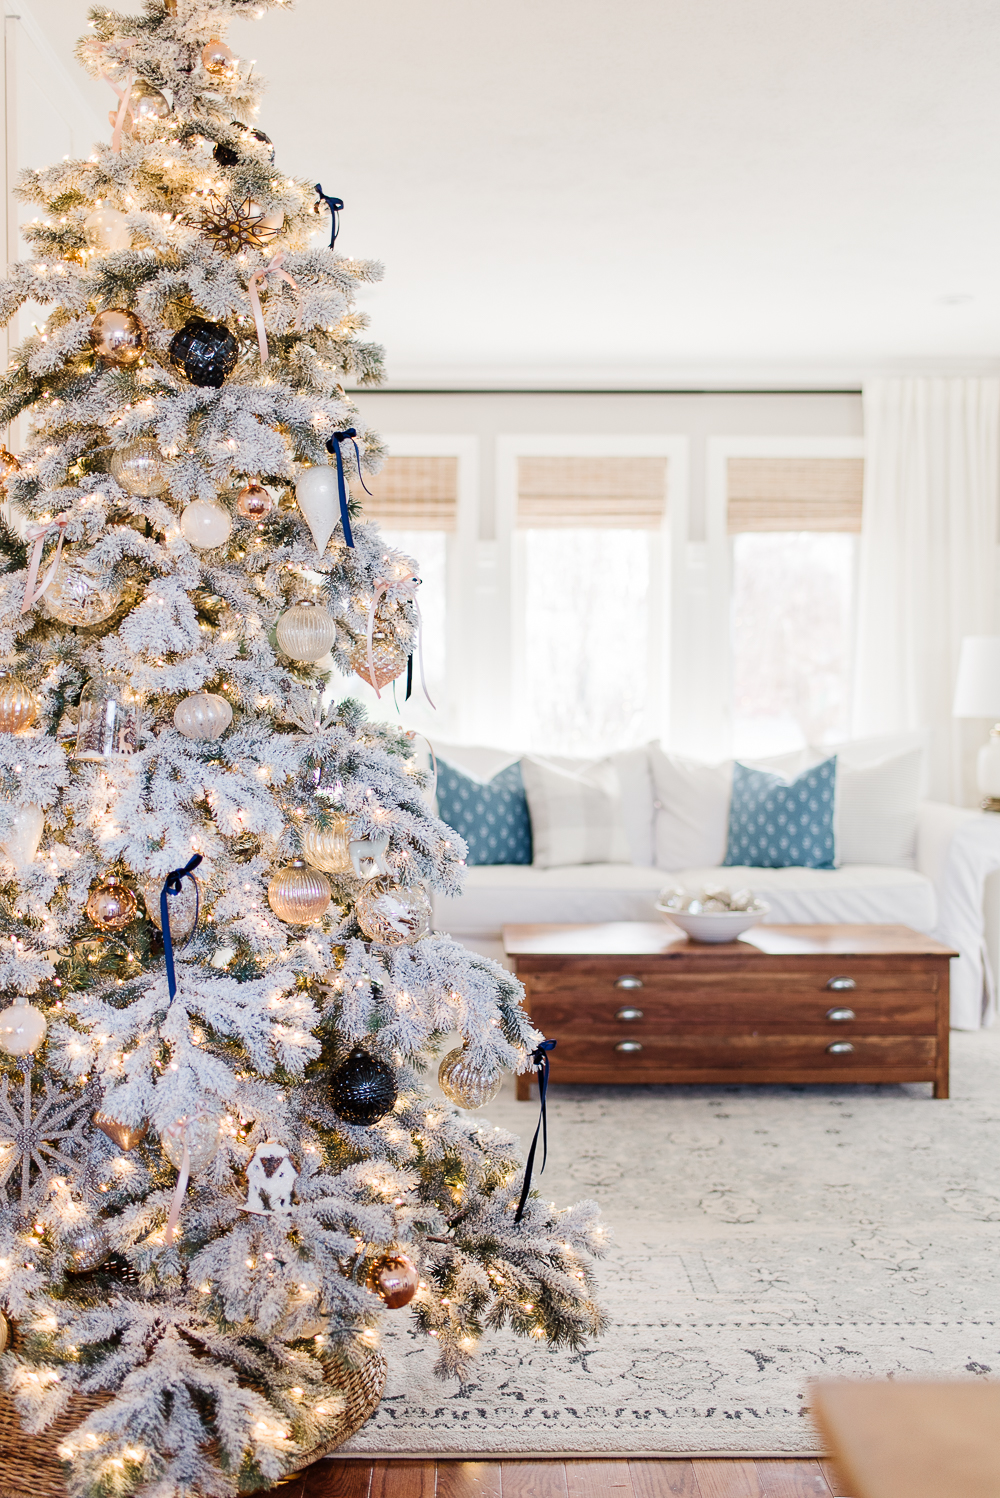
Now that you’ve found the perfect tree, you’ll want to hide that unsightly tree base or stand with a beautiful tree skirt, collar, or basket. In the past, we’ve used tree skirts, but this year we invested in a collar and I love its minimal look.
Fluff and Shape
An artificial tree loses its shape and fullness while being stored, so before you begin decorating your tree it will need to be fluffed and shaped. This is a time-consuming task, but one that needs to be done. Take your time fluffing each branch so that the tree looks full and does not have any gaps.
Decide on a Theme or Colour Palette
Before you begin shopping for ornaments take a few minutes to decide on a theme or colour palette for your Christmas tree.
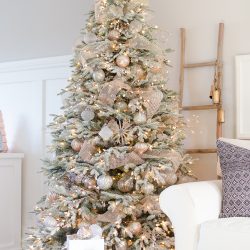
While I don’t like our trees to feel too “themey”, I do definitely decorate around a specific colour palette. This helps to keep the tree feeling cohesive and intentional. Generally, I decorate our tree in neutrals because it flows really well with the rest of our home and holiday decor. Although, last year we took a completely different approach and decorated our Christmas tree in pastels and whimsical ornaments (see it here). It was such a fun tree, however, this year we’ve gone back to neutral and let the girls decorate their own trees in their favourite colours.
get the look

One of the main reasons I prefer to decorate our tree in the same colour palette each year is that it helps while building a collection of timeless ornaments. Each year I add a few new decorations to our collection that will transition from year to year or room to room in our home during the holidays. Another reason I think starting with a neutral base is great because it allows you to easily add a pop of colour if you’re craving a different look.
Add Ribbon and Garland
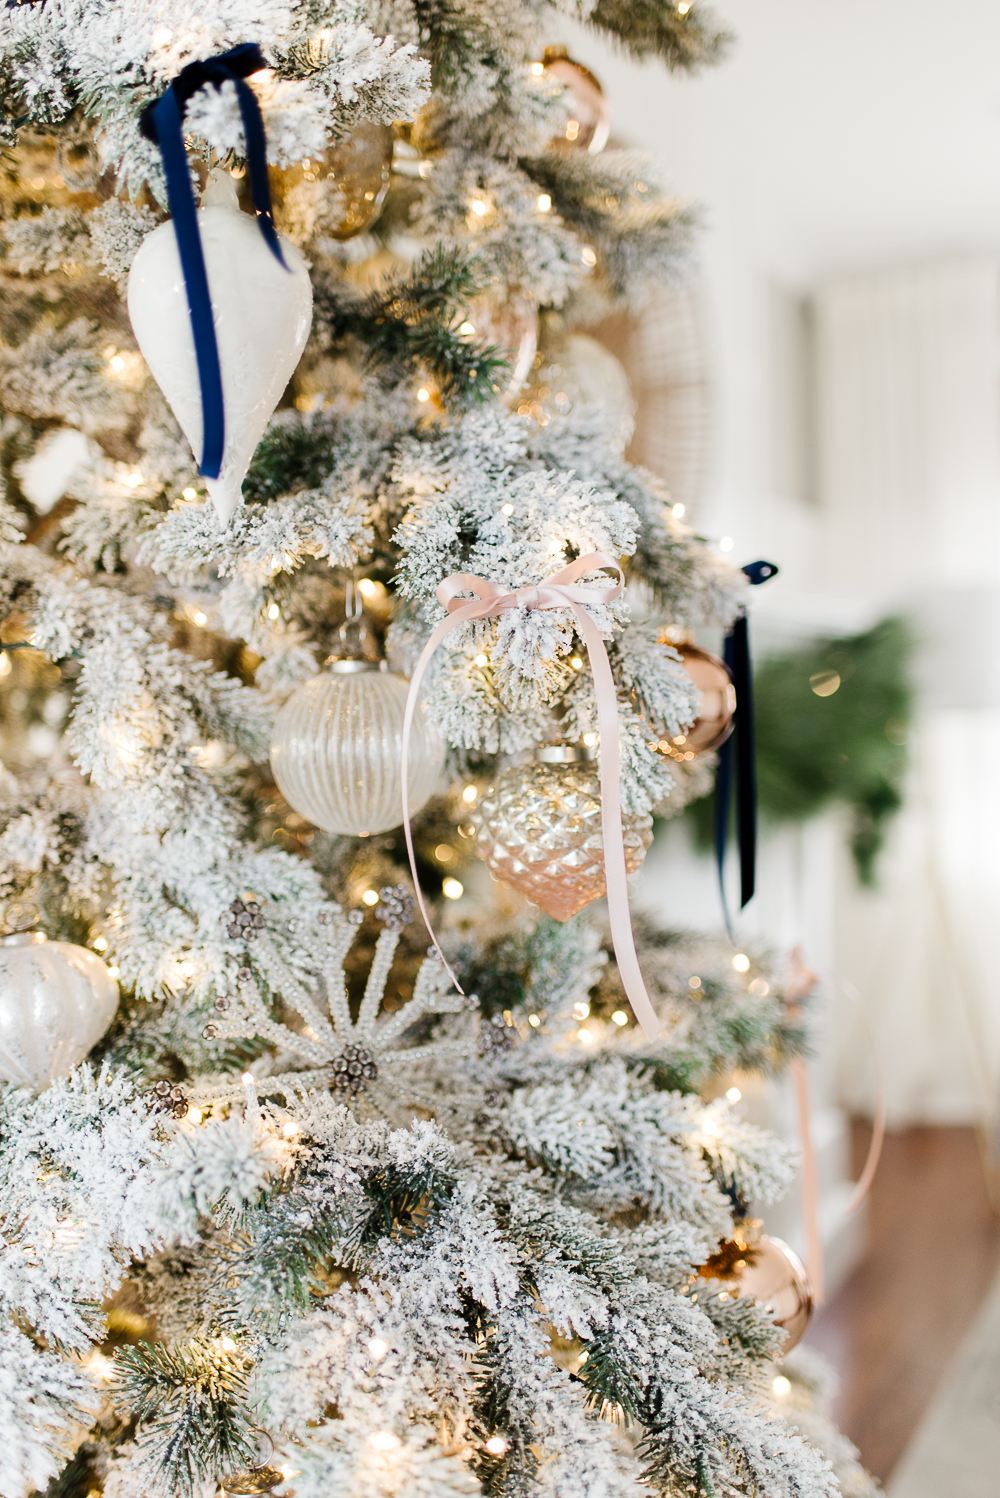
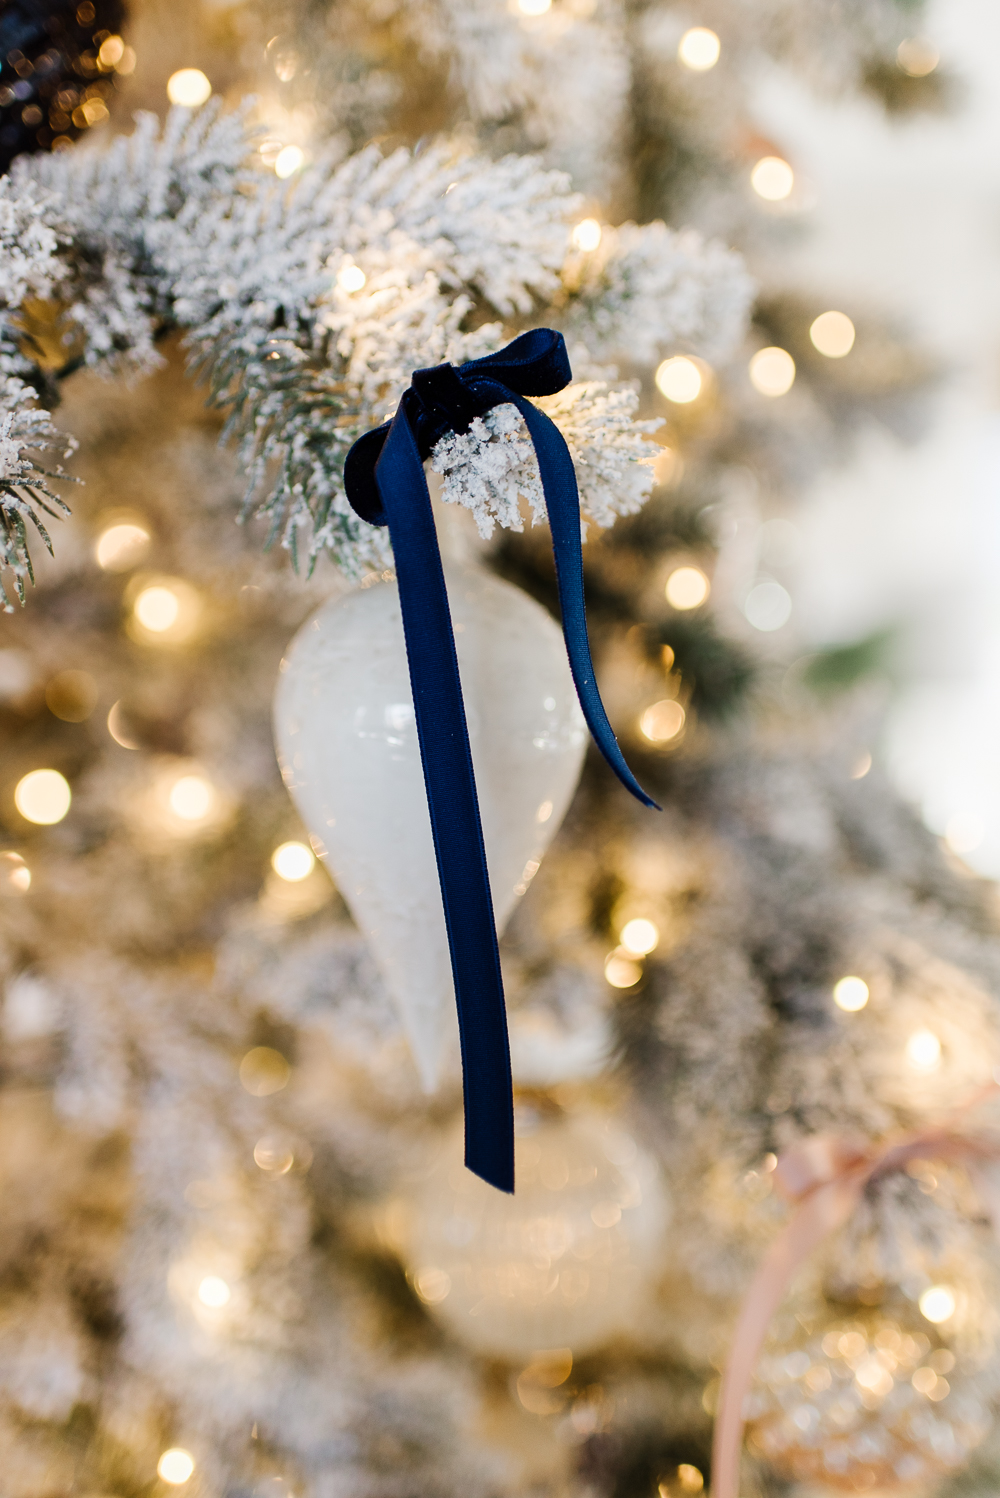
It’s finally time to decorate the tree, and I always begin with ribbon and garland. Before any of the ornaments have been placed I wrap the tree in garland or weave through ribbon for a dose of texture and interest. I love to incorporate dainty garland made of wood beads or metallics, and simply swag the garland over the branches and around the tree. Garland is fairly straightforward, however, there are a few more options when it comes to adding ribbon. I’ve used a mix of wide wired ribbon that I shape while weaving through the tree and thin ribbon that I organically draped across the branches. This year, I opted to tie velvet ribbon into loose bows on the branches tips.
Layer in Ornaments
Using a variety of ornaments in varying sizes, shapes and colours will help create a tree that feels layered and balanced. I usually buy ornaments in groups of three, nine or twelve as this helps to create a unified look (we have three of these ornament sets which is a great base). And when hanging these groups of ornaments I do so in a zigzag pattern to create a visually appealing effect.
I tend to start with the largest ornaments first and hang them towards the center of the tree on the sturdier branches while adding the smaller baubles last and hanging them on the tips of the branches. Layering ornaments in this way helps to create depth and dimension.
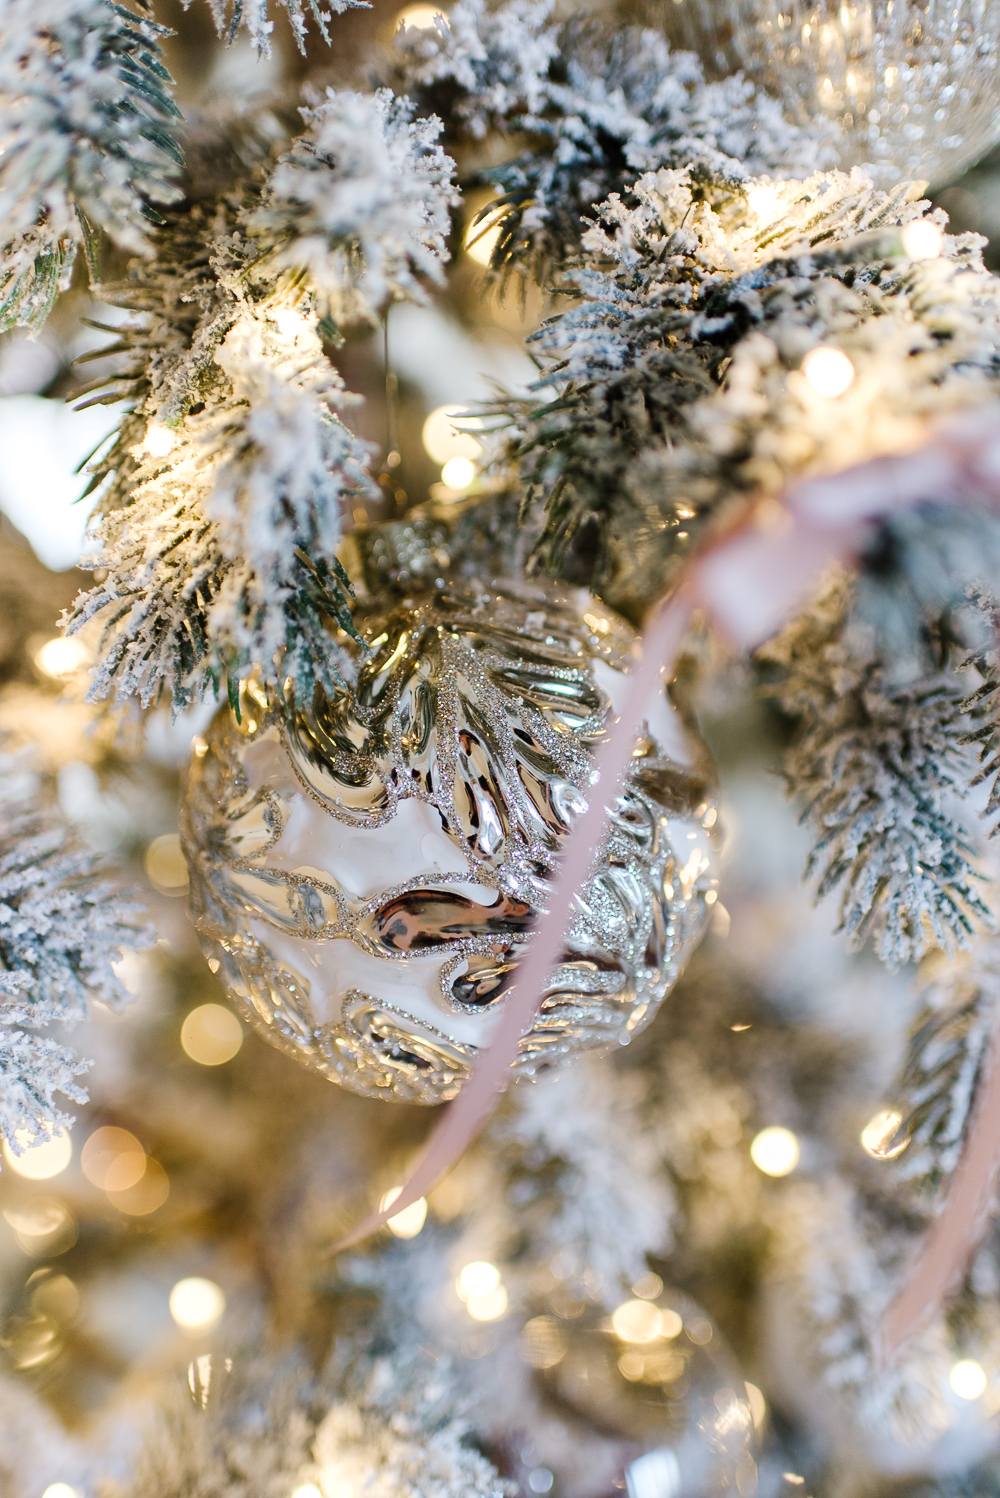
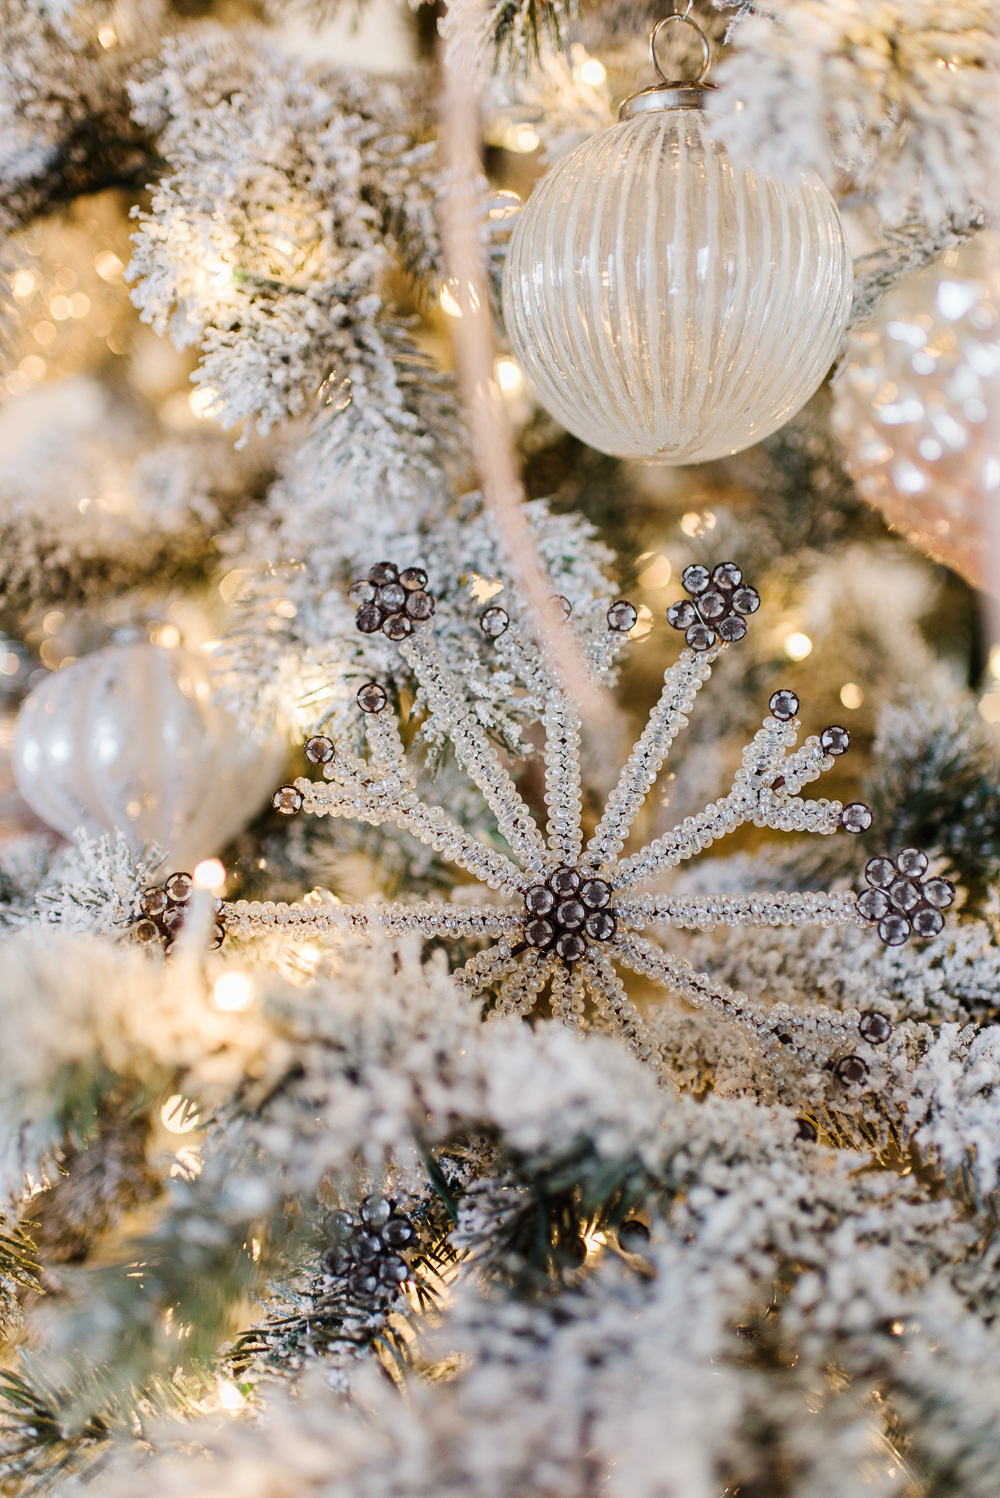
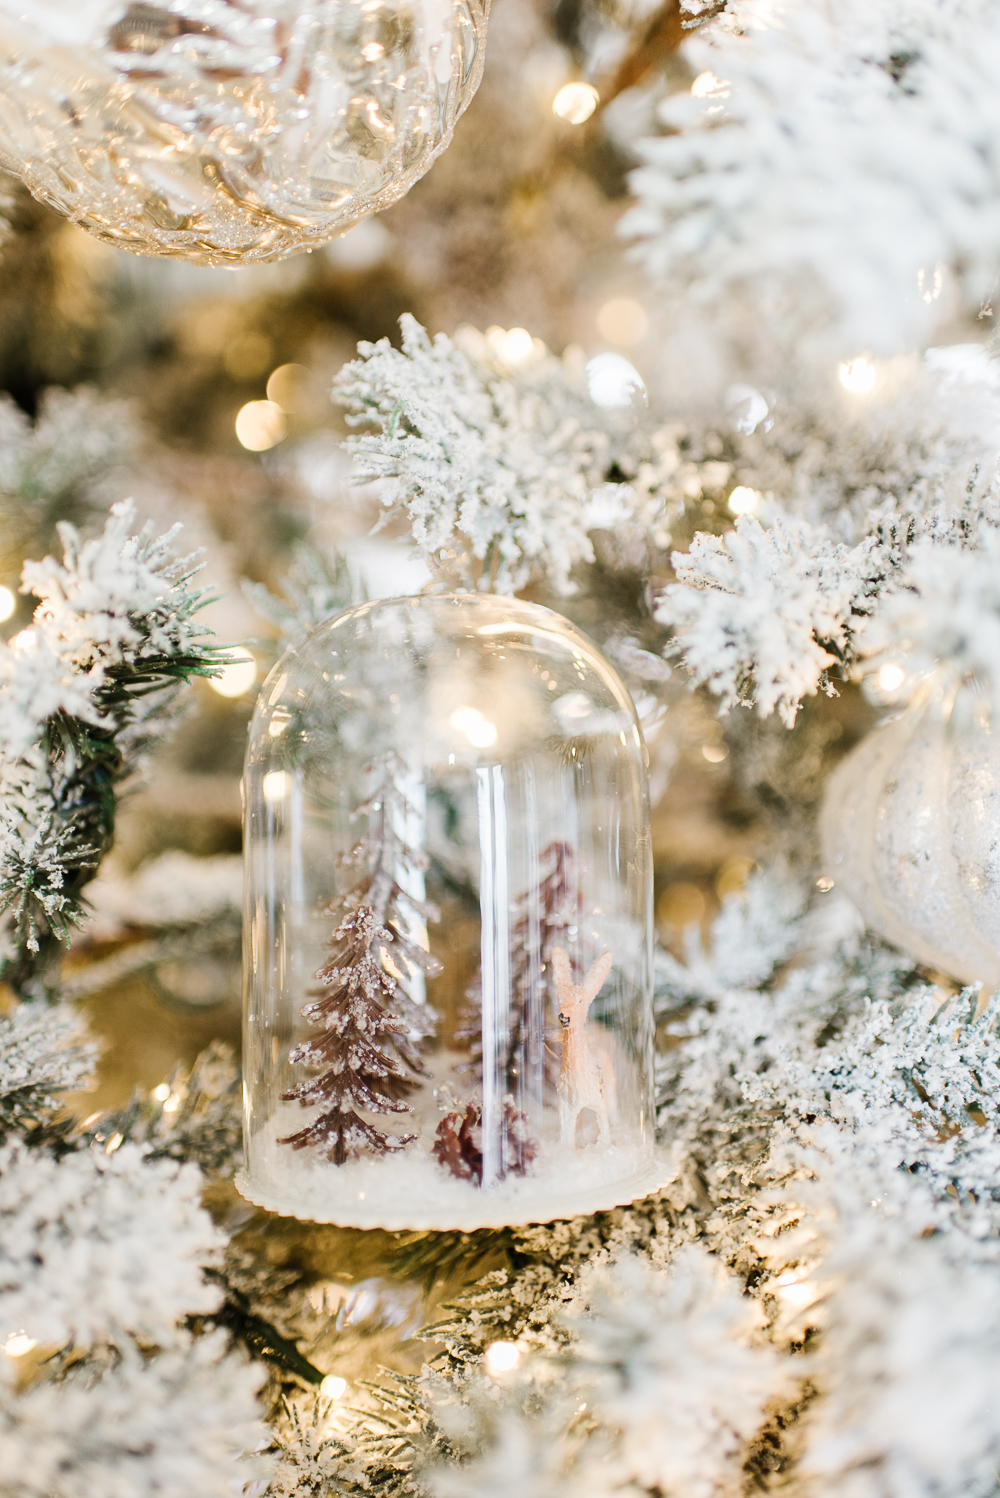
Once all of the ornament groups are hung, I layer in individual baubles. These tend to be statement pieces, heirloom decorations, or handmade treasures that lend personality and interest to your Christmas tree.
Finally, you can top your Christmas tree with a show-stopping topper or leave it plain for a simple understated look.
We hope you found these tips helpful, and while it’s wonderful to have a Christmas tree that looks beautiful and unified, it’s more important to enjoy the process while making memories with your family. So, don’t get too caught up on ornament placement or tieing the perfect bow and instead turn up the Christmas corals and have fun!


Leave a Reply